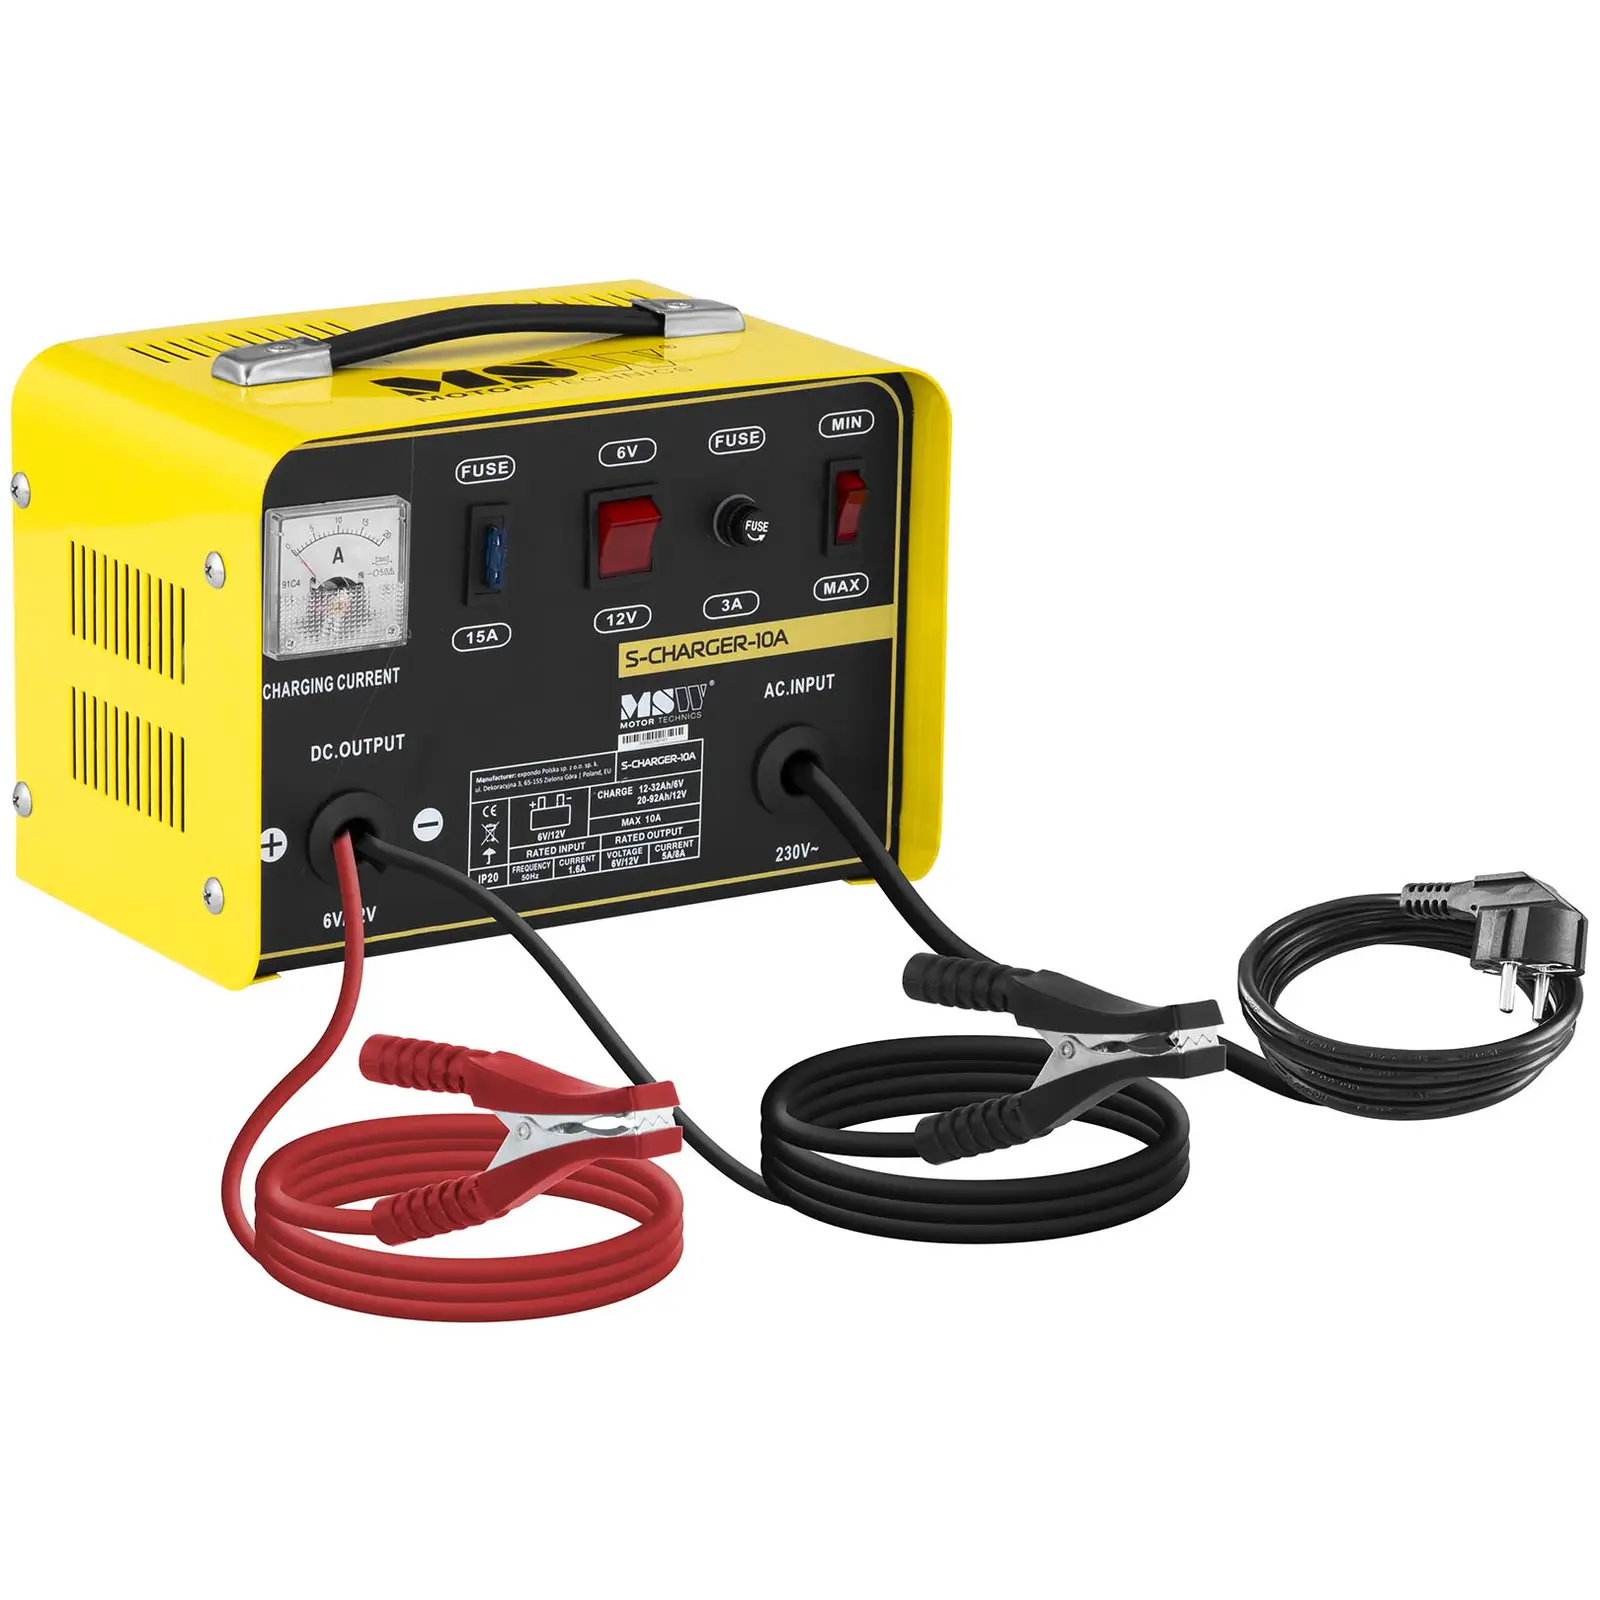
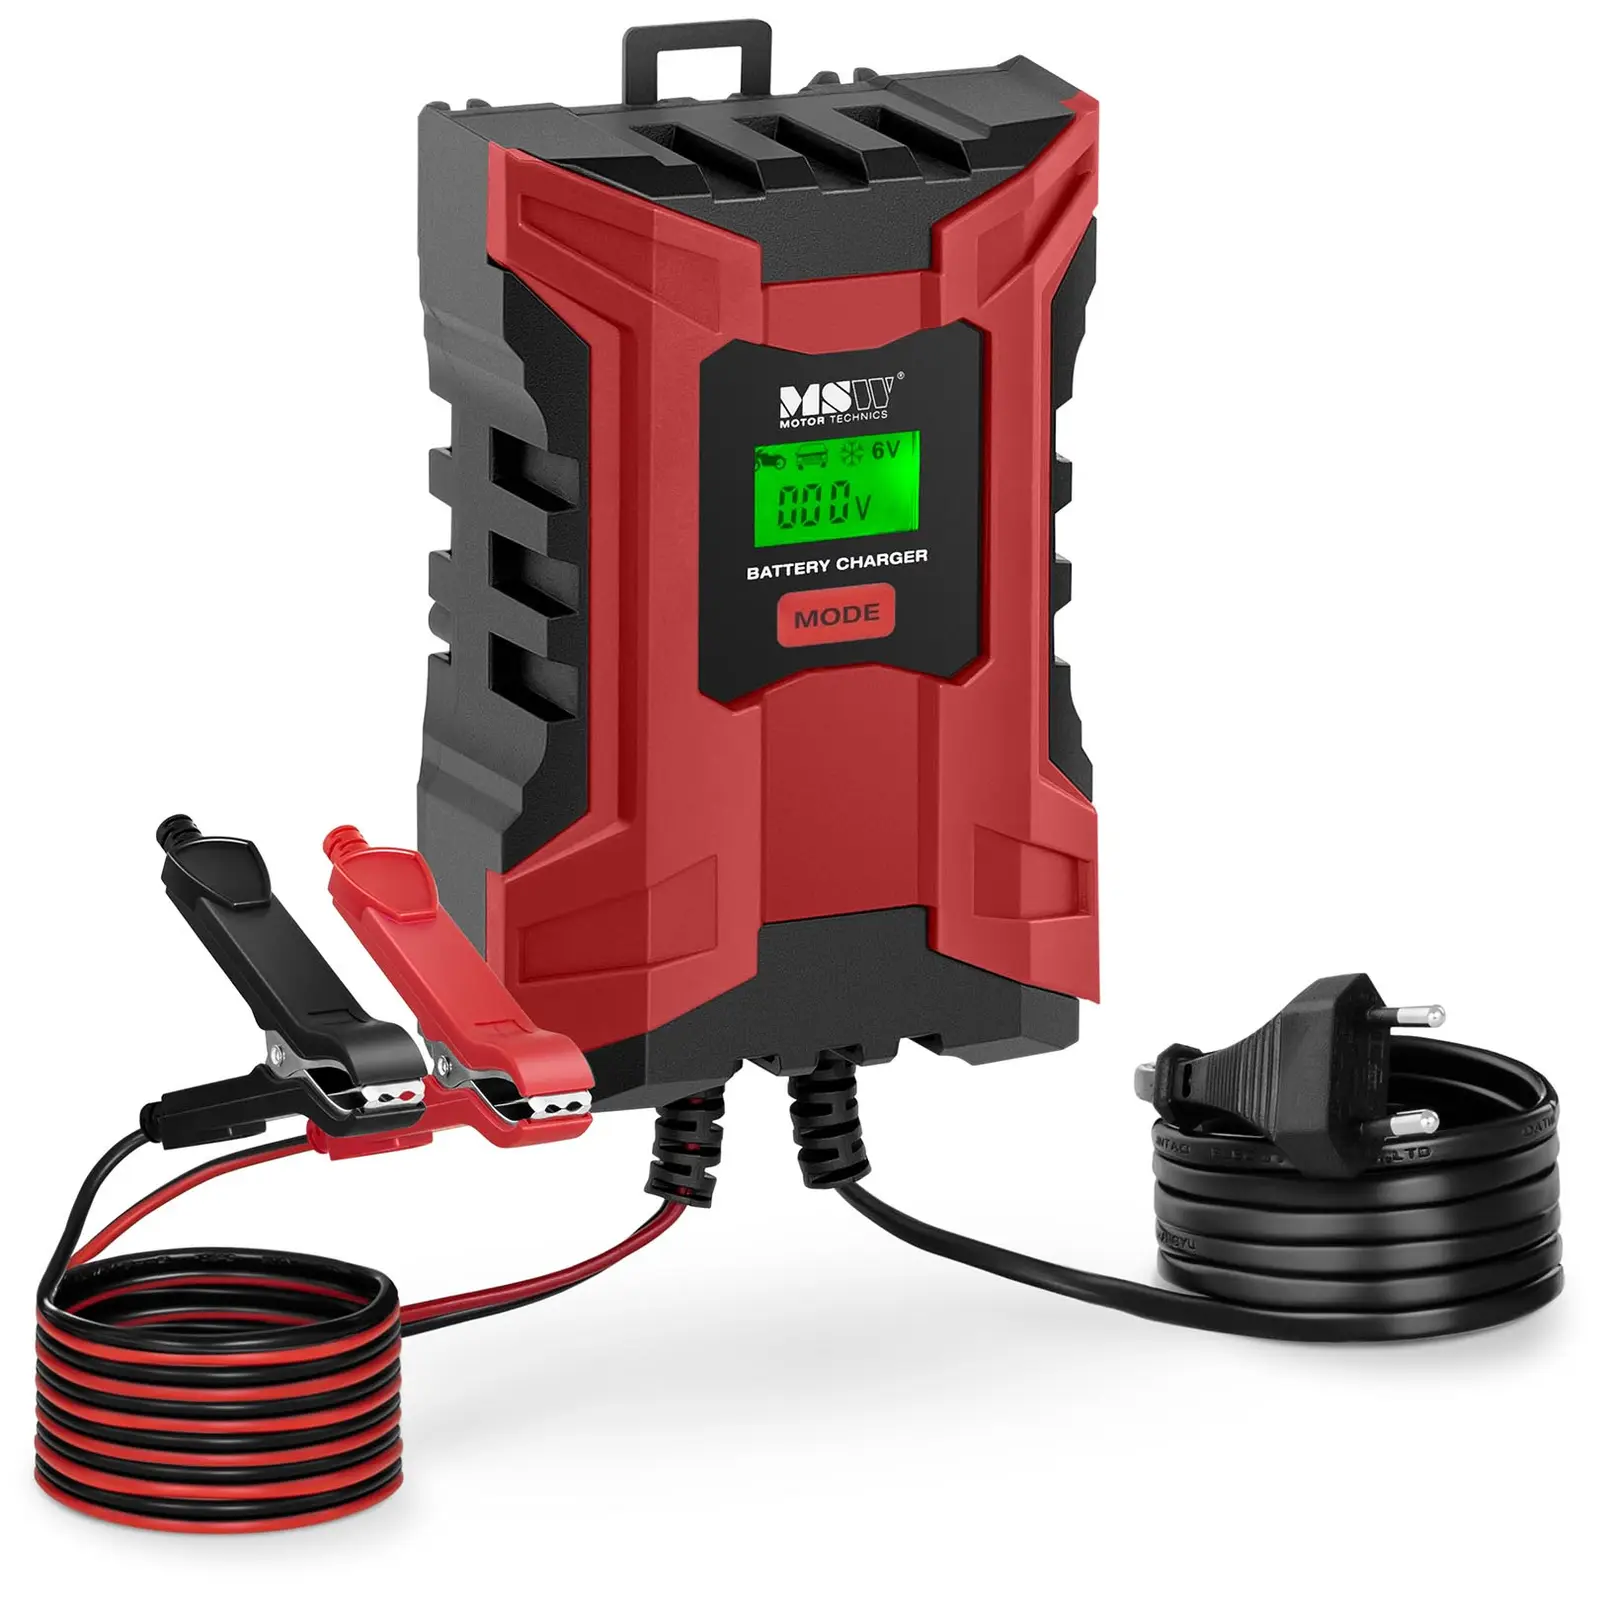
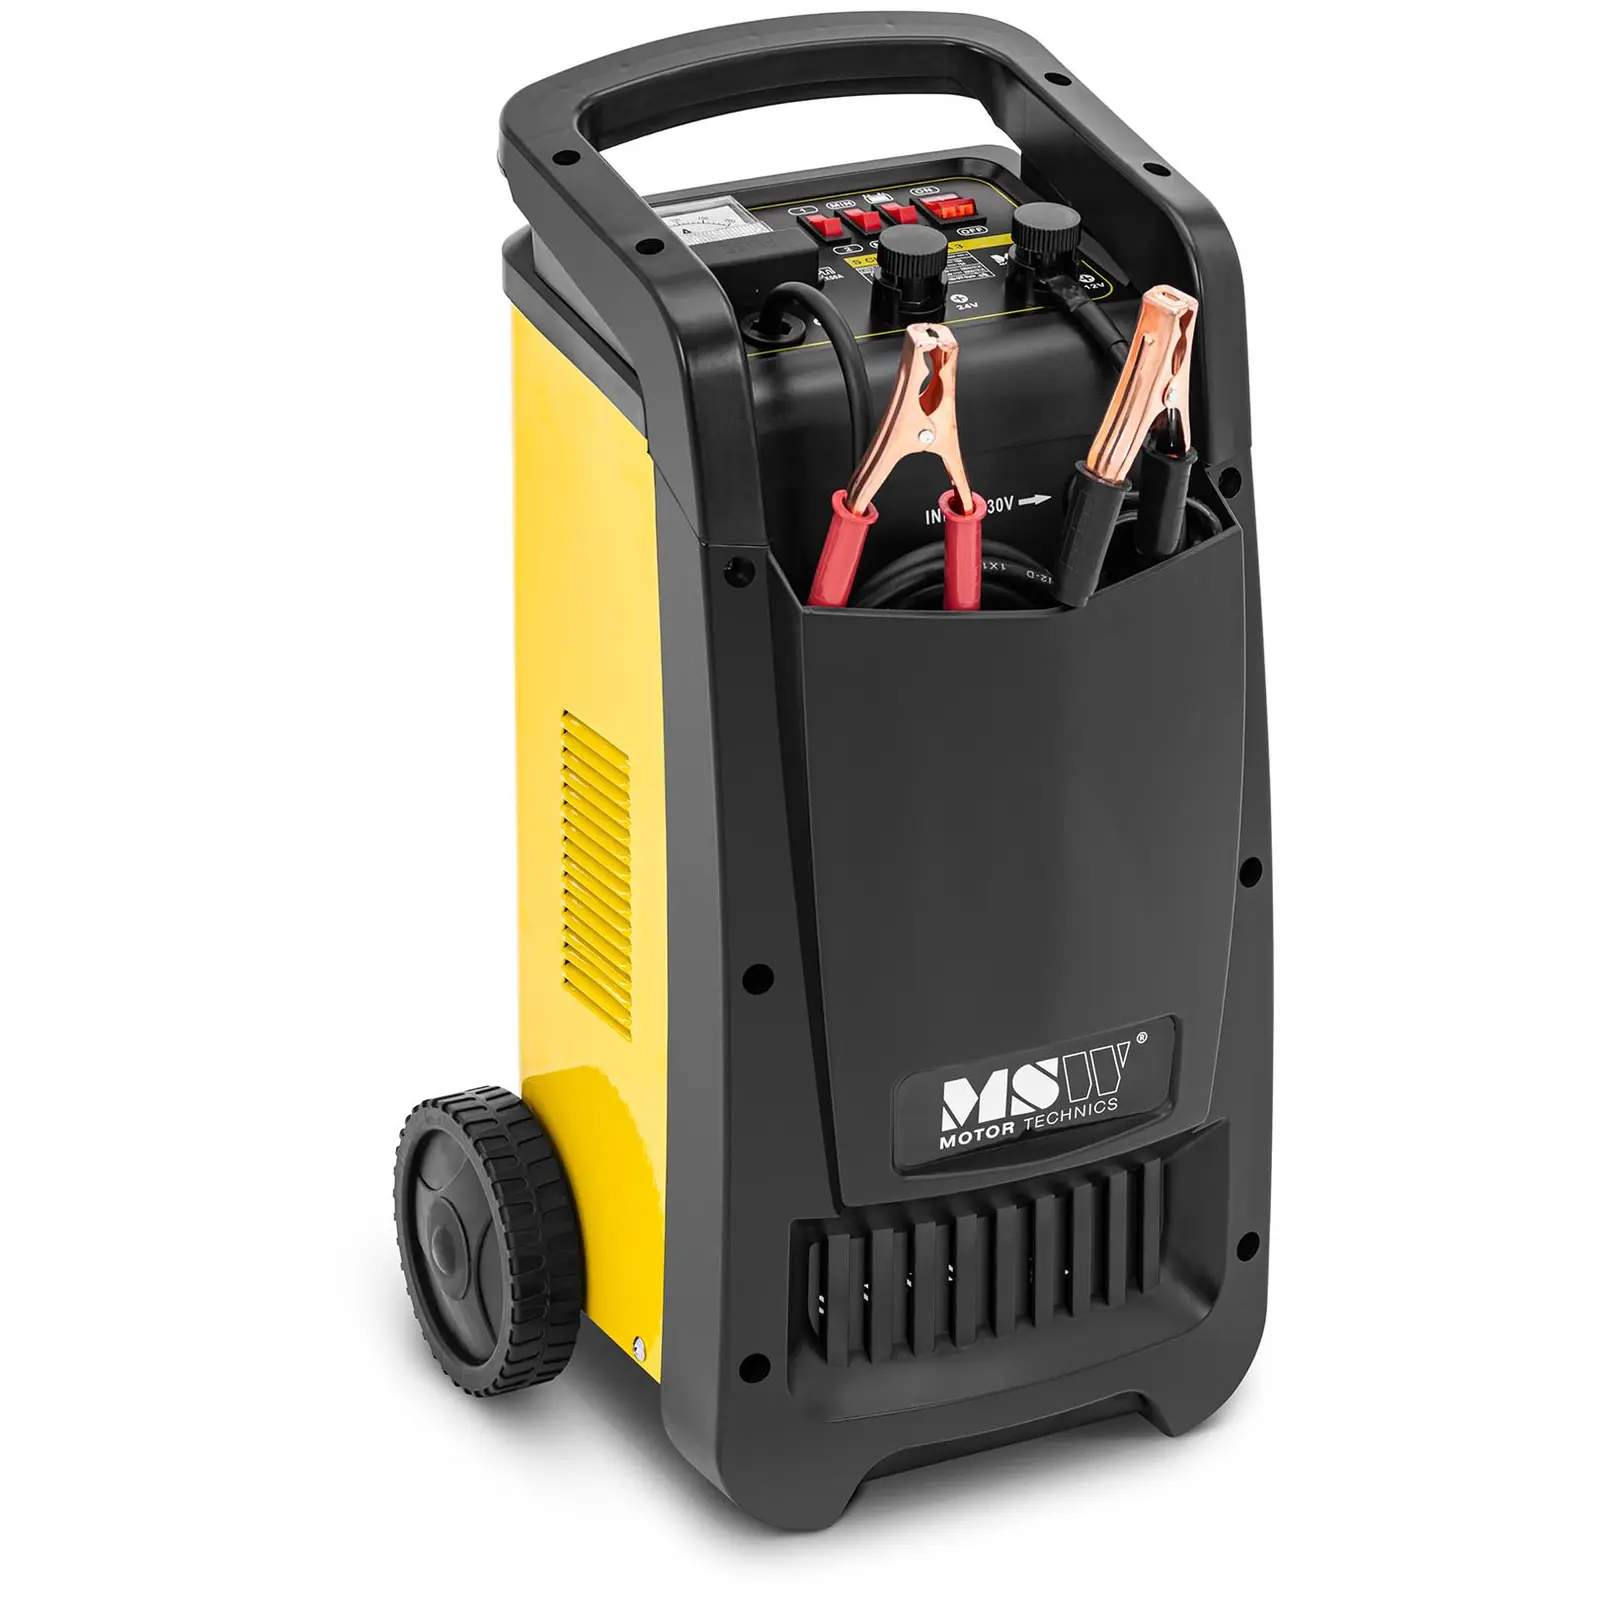
It’s the morning after a frosty night and you’re in a rush to get to work. You jump into the car, turn the ignition and… silence. Oh, dear. The battery is flat! Not exactly ideal, but it happens more often than you might think. But don't worry, it's not the end of the world. Read on to find out how to connect a charger and bring that car battery back to life.

It’s the morning after a frosty night and you’re in a rush to get to work. You jump into the car, turn the ignition and… silence. Oh, dear. The battery is flat! Not exactly ideal, but it happens more often than you might think. But don’t worry, it’s not the end of the world. Read on to find out how to connect a charger and bring that car battery back to life.
Before Connecting: Check the Voltage
Do you drive a car or scooter? Whatever vehicle you’re driving, a flat battery is always an unpleasant surprise. But if you know how to connect a charger, the problem can be fixed quickly. So, first things first, check what type of battery your vehicle has.
Start by checking the voltage of your battery. Most cars use 12V batteries. Older vehicles and motorcycles might still use 6V batteries. Trucks typically require 24V batteries, which are usually two 12V batteries wired in series.
Why is voltage important? The charger’s output voltage needs to match the battery’s voltage. Otherwise, you risk damaging the car battery or, worse yet, causing an explosion! Choose a charger with the right settings, or better yet, use an automatic charger that selects the voltage for you.
Before Connecting the Charger
Properly connecting the charger isn’t just important for your battery – it’s crucial for your safety too. Make sure to follow these basic steps before getting started.
Step 1: Ensure Good Ventilation
Make sure there’s good airflow and check that all the battery’s ventilation slots are open. While charging, the battery releases a flammable gas mix. This combination of hydrogen and oxygen increases as the battery nears a full charge. This is why you should ensure there’s good ventilation, especially towards the end of the charging process. Never charge the battery in areas with open flames.
Step 2: Find a Dry, Protected Area
Moisture and cold temperatures can disrupt the charging process, and some chargers won’t work properly below 0°C. Keep the battery charger safe from rain and snow and charge it in a garage, workshop, or other sheltered but ventilated space.
How to Connect a Charger to a Car Battery
Before you hook up the charger to your battery, check your vehicle’s manual. Most vehicles require you to disconnect the battery while charging. However, on some models, disconnecting the battery can reset the control units. If you don’t want that or you’re unsure how to reset the electronics, it’s best to avoid disconnecting it. You won’t have this issue with older cars.
Disconnect the Battery: Negative First, Then Positive
Make sure the engine is off. To disconnect the battery, first remove the ground terminal to break the circuit. On modern vehicles, this is the negative terminal, which is usually marked black or blue. Only after that should you remove the positive terminal (usually red).
Quick tip: You’re taking something away = negative first.
Connect the Charger
First, check the operating parameters of the charger. Automatic models do this for you once they’re switched on. Older chargers need your input. Set the charging current (A) to 10 – 25% of the battery capacity (Ah). For a 70Ah battery, the charging current should be between 7 and 17.5A. You’ll find the battery’s capacity listed on the label.
To begin with, make sure the car battery charger is unplugged. Follow the golden rule for connecting the charger: positive to positive, negative to negative. Attach the charger’s red positive cable to the battery’s positive terminal, then attach the black negative cable to the negative terminal. Ensure the clamps are tight on the battery posts. Now, plug the charger into the mains.
How Long Does It Take to Charge a Car Battery?
Charging time varies based on the battery’s capacity and charge level. The ambient temperature also affects it. In general, you’re looking at around 10 – 12 hours.
How to Disconnect a Car Battery Charger
There’s a specific order for disconnecting the charger from the car battery too. Otherwise, you risk a short circuit. Follow the steps in reverse order:
- Unplug the charger from the mains
- Disconnect the negative clamp
- Disconnect the positive clamp
Reconnect the Battery: Positive First, Then Negative
Now reconnect the car battery by following these steps:
- Attach the positive terminal
- Attach the ground terminal (on modern cars, this is the negative terminal)
Quick tip: You’re adding something = positive first.
Stick to this order to avoid short circuits.
The Car Battery is Charged. Let’s Get Back on the Road!
Knowing how to disconnect and reconnect a car battery and charge it with a charger isn’t just for mechanics. Every year, when temperatures drop – or if you mostly drive short distances – there’s a risk your car won’t start because of a flat battery. It’s a good idea to regularly check your battery’s charge level. If the charge is low, either take a long drive to recharge it with the alternator or use a car battery charger. And now you know how!


Share