Do you use firewood and also need storage space for garden equipment? Find out how to make a woodshed - what materials and tools you will need, as well as how to build a woodshed step by step.

Do you use firewood and also need storage space for garden equipment? Find out how to make a woodshed – what materials and tools you will need, as well as how to build a woodshed step by step.
Why would you want to build a woodshed?
Before finding out how to make one, let’s first find out what it’s for. One of the fundamental advantages of a woodshed is convenience. Using a woodshed makes it easier to keep things tidy in your garden.
It will also positively influence the quality of your firewood. A properly constructed woodshed will effectively protect wood against moisture, for example from rainfall. Another advantage could be the design of your woodshed – with a little bit of imagination it could be a one-of-a-kind decoration.
Necessary formalities
There are no formalities related to building a woodshed, be it notifications or permits. Woodsheds, like general garden sheds, are considered to be what’s called permitted developments, which means they shouldn’t come with any planning constraints – to a degree. Whilst they usually won’t need any planning, there are certain limits and conditions that need to be considered.
Your shed cannot exceed 4 metres in height for a dual pitched (apex) roof or 3 metres with any other type of roof (pent/flat roof). If it will be situated within 2 metres of a dwelling house boundary, the maximum height is 2.5 metres. Woodsheds should be at least 5 metres from the main dwelling. …
Landscape planning, or where to build the woodshed
Now let’s take a look at where the woodshed should be in your garden. In addition to legal requirements, don’t forget about your own convenience and optimal conditions for storing wood. For this reason, it is a good idea to place the woodshed not too far from the house. If you want to have easy access to firewood, you will not want to walk to the other end of the garden each time. A path leading straight to the woodshed could also be a practical solution.
If it is a simple, open wood shelter, it could also be by the wall of your house, which will allow you to save space in your garden. As for convenience, when choosing the perfect spot for a woodshed you should also take into account the possibility of accessing it by car. This is important each time a new supply of firewood is delivered.
When it comes to the right conditions for storing wood, you should try to find a sunny and airy spot. Wood will dry well in the sun, and fresh air will help ventilate the wood and keep it from becoming moist. For this reason, you should avoid building a wood shelter on the north side of the building. There will not be enough sun, and there will be a higher risk of moisture.
When arranging wood in the woodshed, remember to keep some space between the pieces of wood. If they are too tightly packed together then there will be limited air circulation. Wood should also not be stored in closed, unheated rooms without any ventilation. This could lead to it getting covered in mould.
In the case of a wood shelter located next to a building, make sure it doesn’t touch the walls. Otherwise, moisture could form on the facade of the building, which in turn would lead to the formation of fungus. Wood should also not be laid directly on the ground. Instead, you could prepare a base e.g. from wooden planks. The best way find the perfect spot for a woodshed is to take it into account when designing your garden.
Building a woodshed step by step
If you have already chosen a spot, it’s time to plan the woodshed itself. To do so you should follow strictly defined guidelines, concerning, among others, the foundations, which must be solid enough to ensure stability of the whole structure.
To achieve this, it is important to properly prepare the base on which the firewood will be placed. Make sure you have openwork walls, and that the roof adequately protects the logs against rainfall. This is all basic knowledge on the topic, but let’s see how to use it in practice.
Preparing the base of the woodshed
It is very important that the ground on which your woodshed will be placed is slightly raised, and at the same time smooth and well hardened. This will make sure that no rainwater will accumulate under the wood, which would lead to moisture.
The foundations for the woodshed could be made on concrete footings. To do so, you will first need to dig holes in the ground, about 1.2 metres apart, in which to place them. In the next step you will need to pour concrete over the holes and place the wooden poles in the centre of the footings when it starts to set. These, in turn, will serve as supports. Next you can lay out concrete foundation blocks. Depending on the width of your woodshed, you can do this in one or more rows.
The blocks should be firmly wrapped with an insulating foil. You can also use roofing felt. protecting the ground in this way will not only prevent moisture from affecting the wood, but also against bacteria that would lead to the formation of mould.
Installation of supporting posts in the woodshed
Another thing you will need to do when building a woodshed is installing load-bearing poles. If you want to build a wood storage in the form of a shelter, the rear poles, as well as those at the front, should be rectangular. The columns in the corners should preferably have a square profile, and should also be properly cut to length.
The pillars at the rear of the structure should be lower than those at the front, in order to obtain a right angle with the roof slope. It should be at least 3 degrees, to ensure drainage of rainwater.
Installing woodshed roof supports
Next, attach two roof rafters to the top of the supporting posts of your woodshed using angular carpentry joints. You can connect them using screws or nails. Remember that in the case of larger structures, the carpentry joints should be on both sides of the posts. This will increase the stability of the load-bearing structure of the woodshed.
Installation of the woodshed floor and walls
You will then need to do is attach the joists to support the floor. You can attach them to load-bearing poles and to foundation blocks, and then screw the boards to the joists. Ideally they should be mounted crosswise, but the most important thing is to leave gaps between them. This will allow air to flow to the wood, and at the same time prevent it from touching the ground.
You can now proceed to fitting the walls of your woodshed. This is an important stage of the work, as without rigidly connected walls it would be impossible to ensure the stability of the entire woodshed. Therefore, you should start with making solid supports that must be installed at the bottom and at the top of the structure. The front and rear walls will be attached to them, remembering to keep a right angle, i.e. 90 degrees.
Next, assemble the side walls from wooden planks. As with the base, remember to keep some space between the planks, taking into account the need to ventilate the wood. When planning the materials for your woodshed, why not consider openwork panels, which will give the whole thing a more elegant design.
-
Magnetic Drill Machine – 1.680 Watt – 370 r/min – Weldon Shank 19 mm 589.00 €
-
Drill Bit Sharpener – 70 W – 1,600 rpm – replaceable head – grinding range 3 to 16 mm
-
Magnetic Drill Machine – 1380 Watts – 600 rpm – Weldon Shank 19 mm
529.00 €449.00 € -
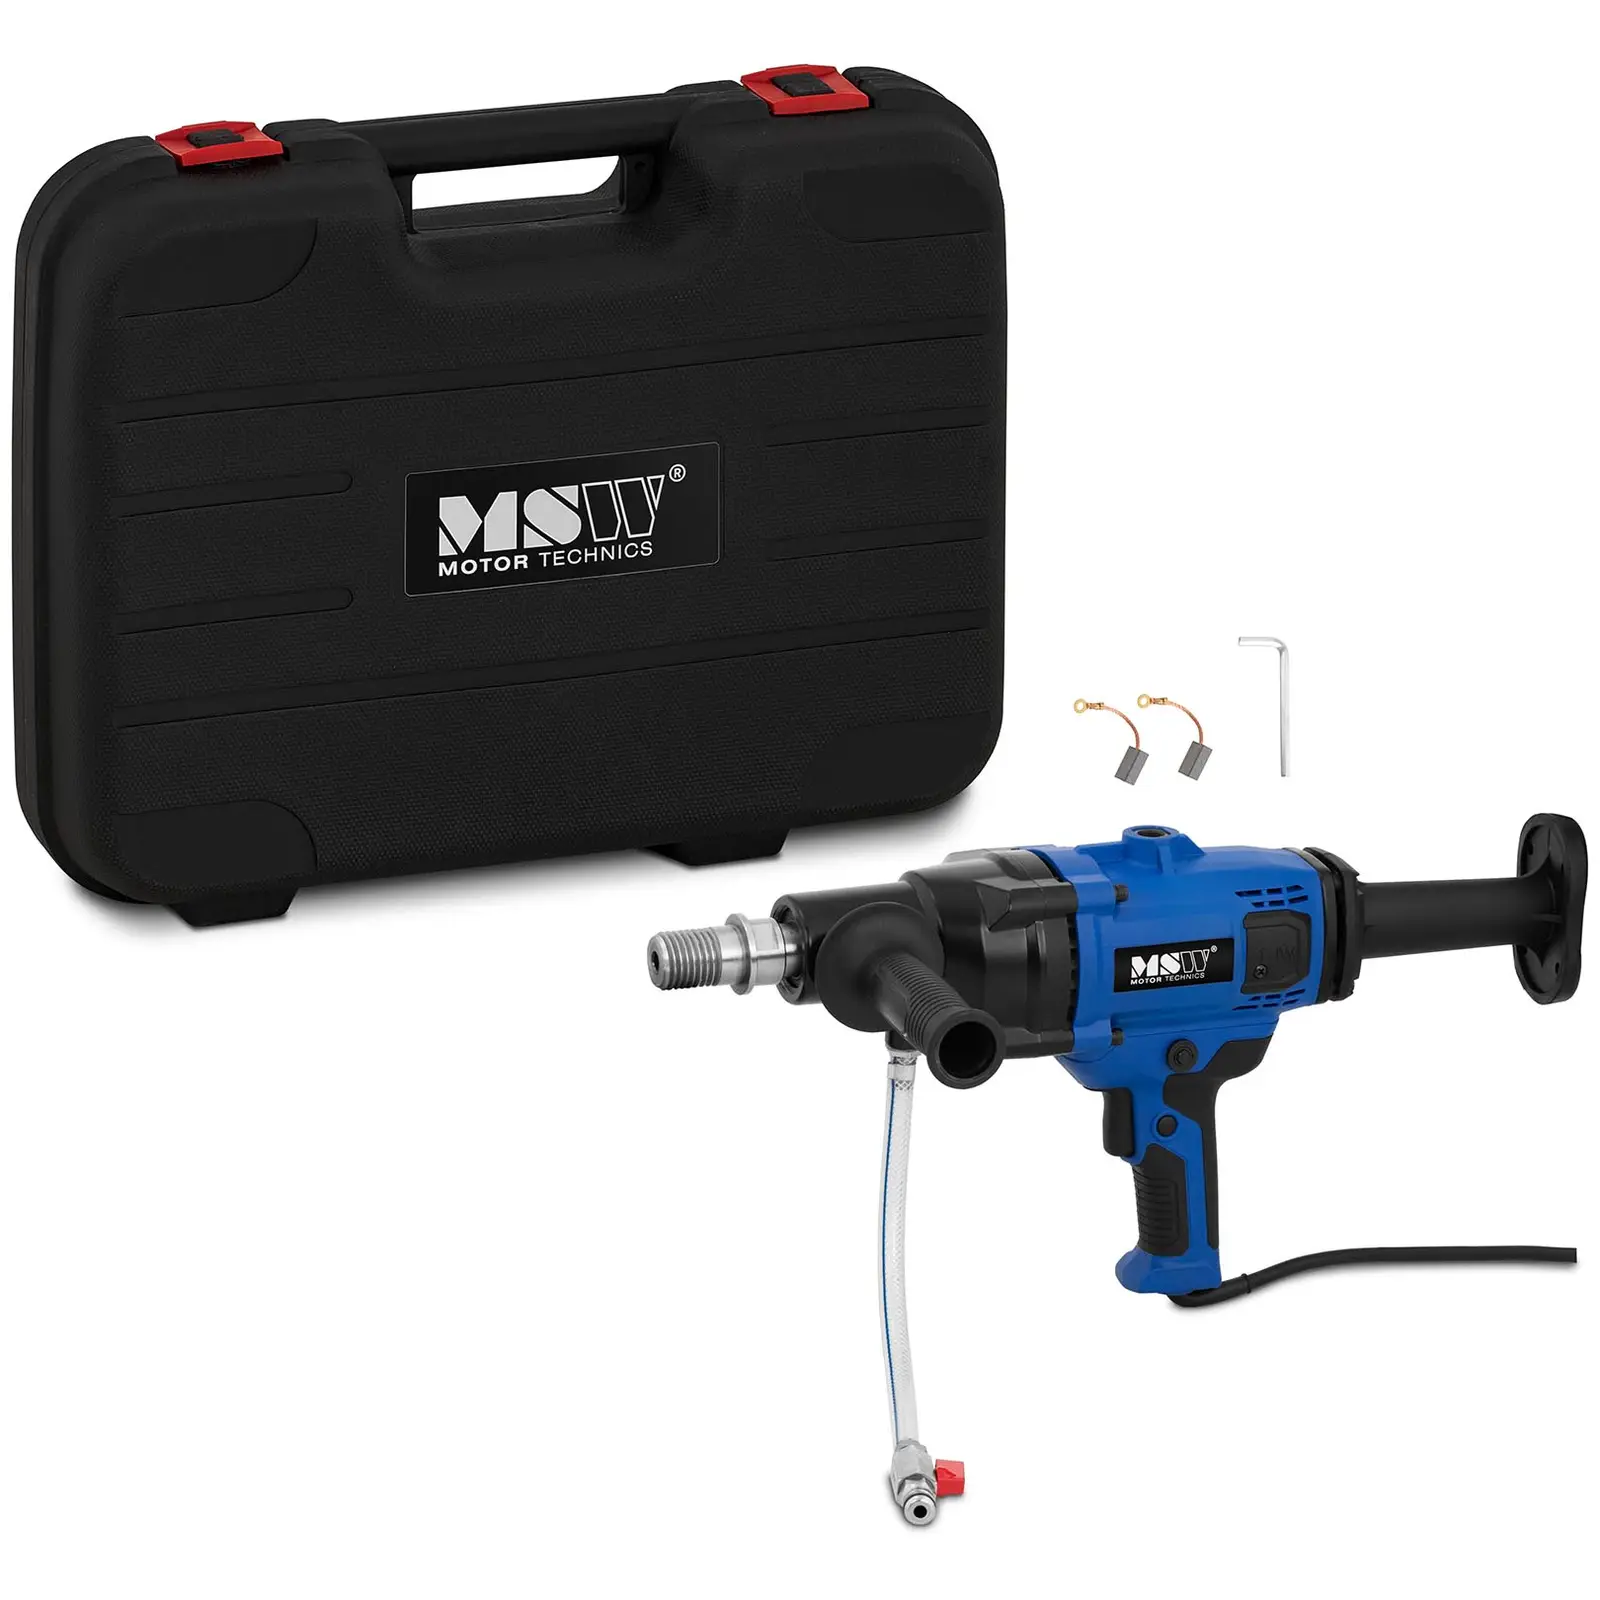
Core Drilling Machine – 4,350 W – 580 rpm
259.00 €239.00 €
Installing roofing
The last remaining element is the roof. If you’ve managed all the previous steps, assembling the roof will not be much of a challenge. Choose a wooden board that will serve as a roof. A universal, waterproof OSB board is a good solution, attached to the roof supports. Make note that on each side it should stand out beyond the supporting structure by a minimum of 30cm, effectively protecting the wood against rainfall.
If you want to go for a more attractive finish, you could choose to install a roofing material, e.g. in the form of roof shingles, sheet metal, tiles or roofing felt. You can also attach corner boards to the edges of the roof, which will give it a more pleasant feel.
Impregnating the woodshed
All that’s left to do is protect it against the effects of the weather. In order to do so, you should properly impregnate it. Skipping this stage could lead to the formation of fungi and mould on the surface of the structure, which you definitely want to avoid.
You should also make sure that all metal fasteners used in the construction of your woodshed are resistant to corrosion.
Building a woodshed with pallets
An interesting alternative could be to build a woodshed or wood shelter with wooden pallets. There are many design suggestions available on the internet, but here are a few proven suggestions. The first one is to take the pallets apart and use the pallet planks. The pallets should be spread out to avoid damage. Then, after getting rid of the nails, smooth the boards and impregnate them. The construction process is the same as in the previously described case.
Another method is to use the pallets without dismantling the planks. A significant advantage of this option is that it is without doubt the easiest one. Simply connect the pallets to each other, using nails and angle bars to do so. There is, however, a downside. Simply connecting pallets without adding additional planks in the gaps will not fully protect against weather conditions.
A good solution in this case would be to additional place the wood shelter under a roof. You could also construct it next to the wall of the building and equip it appropriate roofing.
Necessary tools for building a woodshed
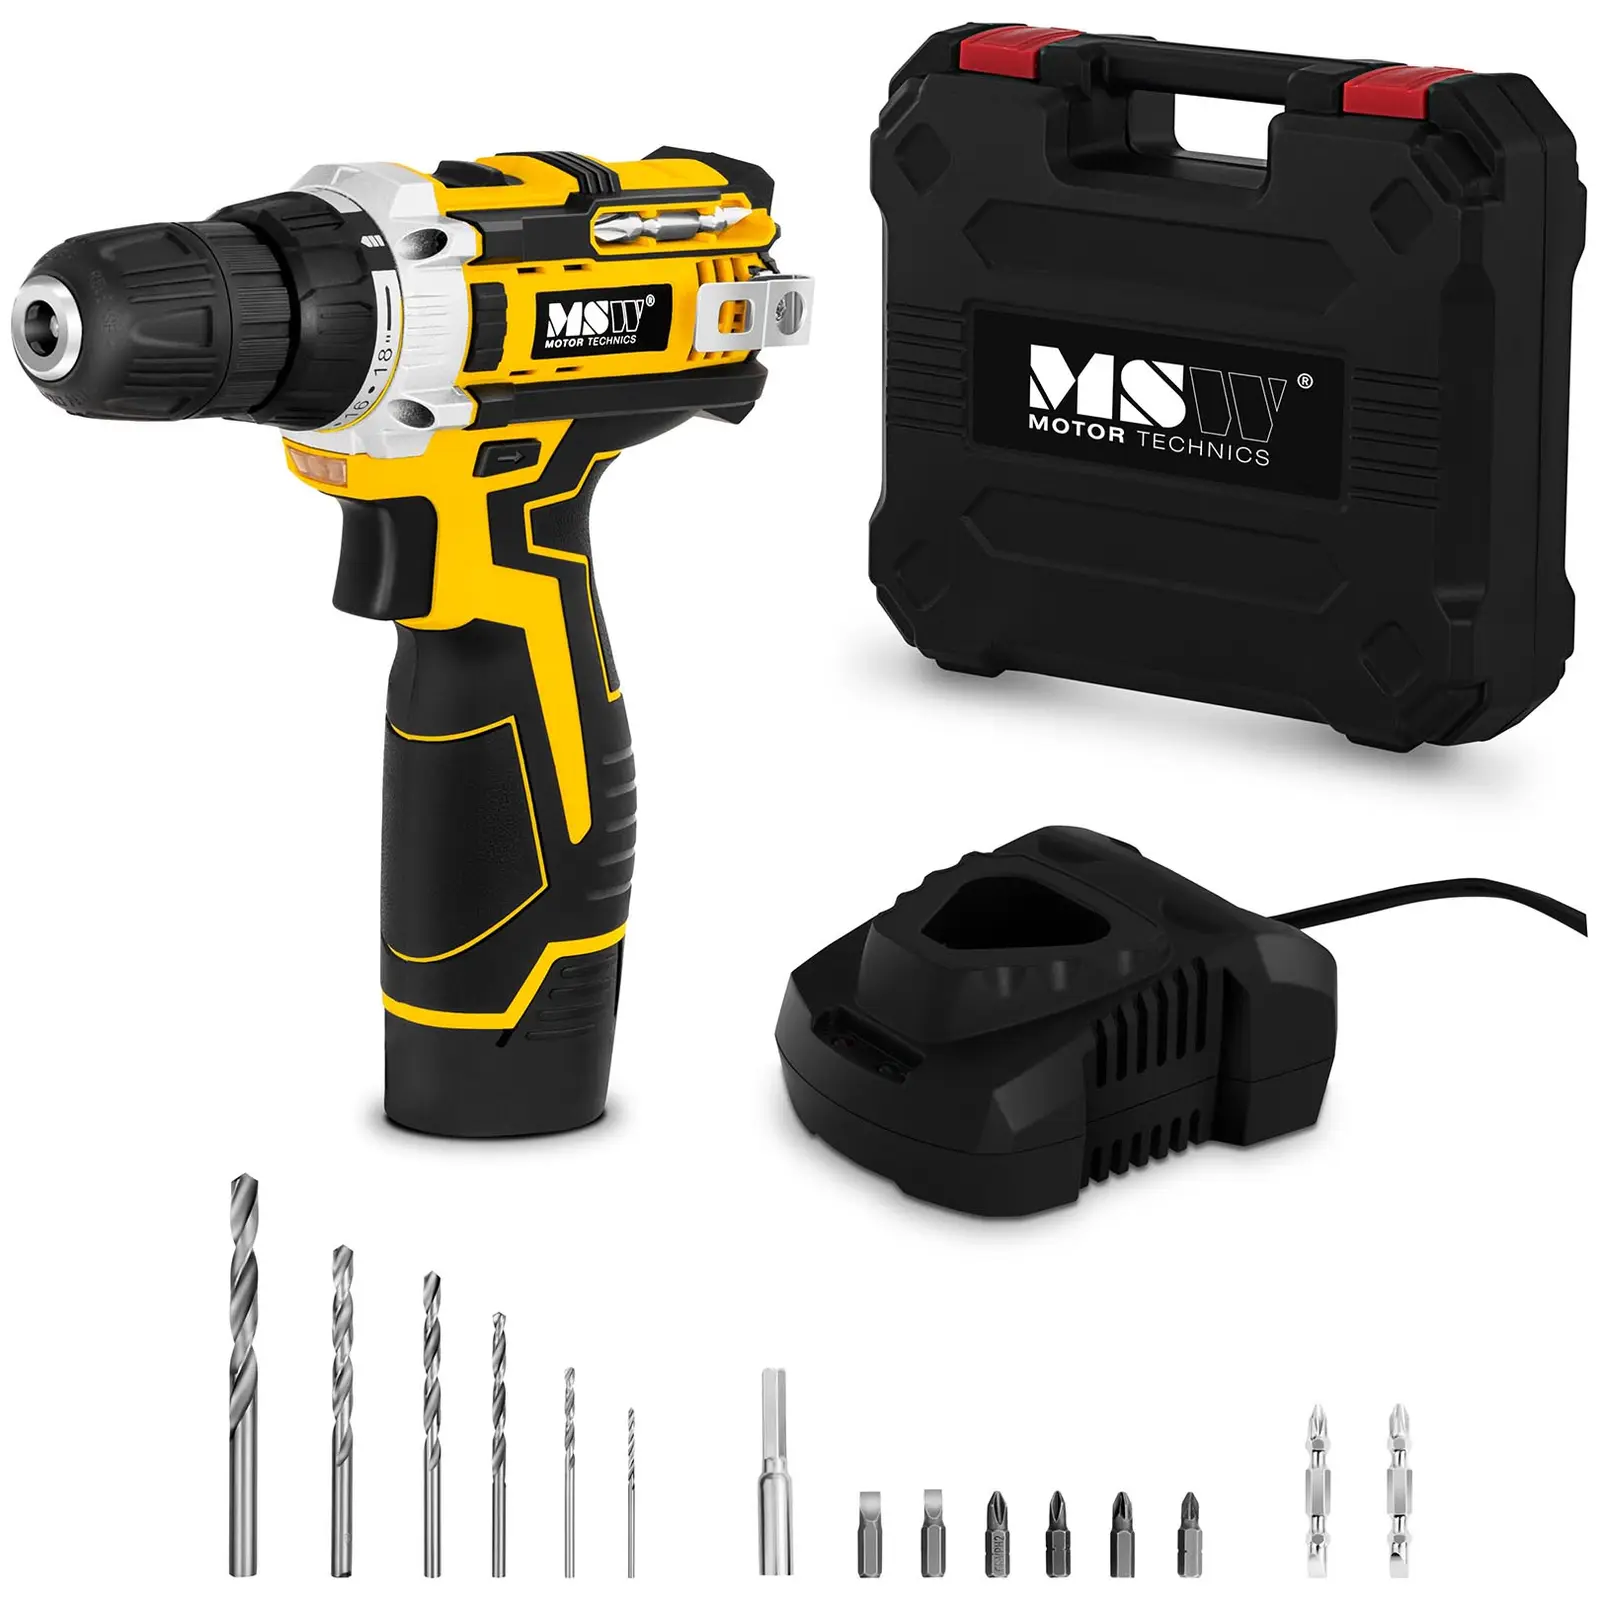
When looking for ideas on how to build a woodshed, you should also pay attention to the appropriate equipment that will allow you to effectively build the entire structure. Therefore, check if you have everything you need. This will definitely include such tools as a drill or an impact driver and a jigsaw. A hammer, saw, spirit level and measuring tools will also come in handy.
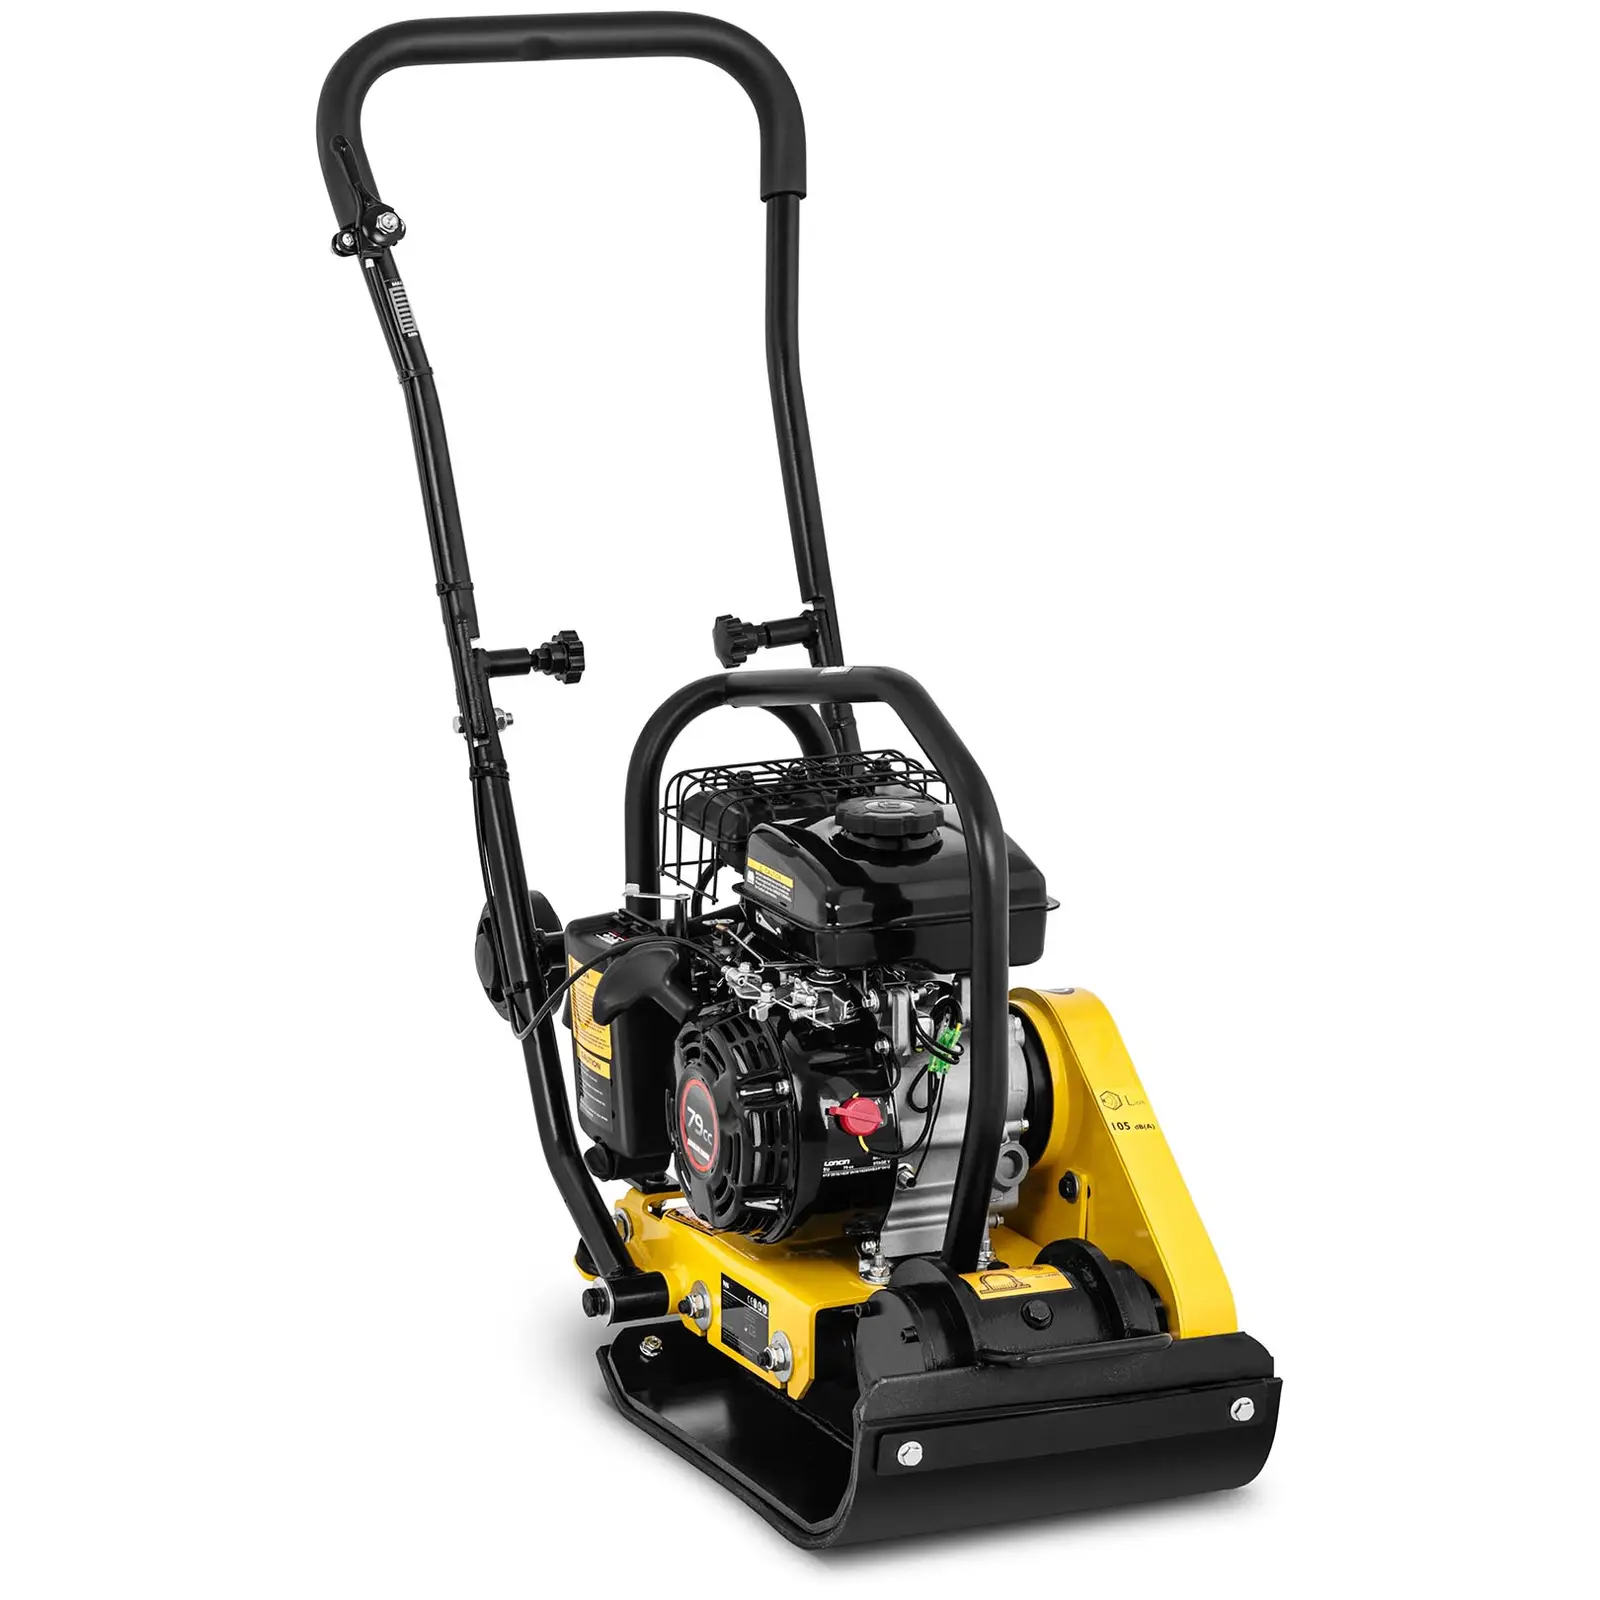
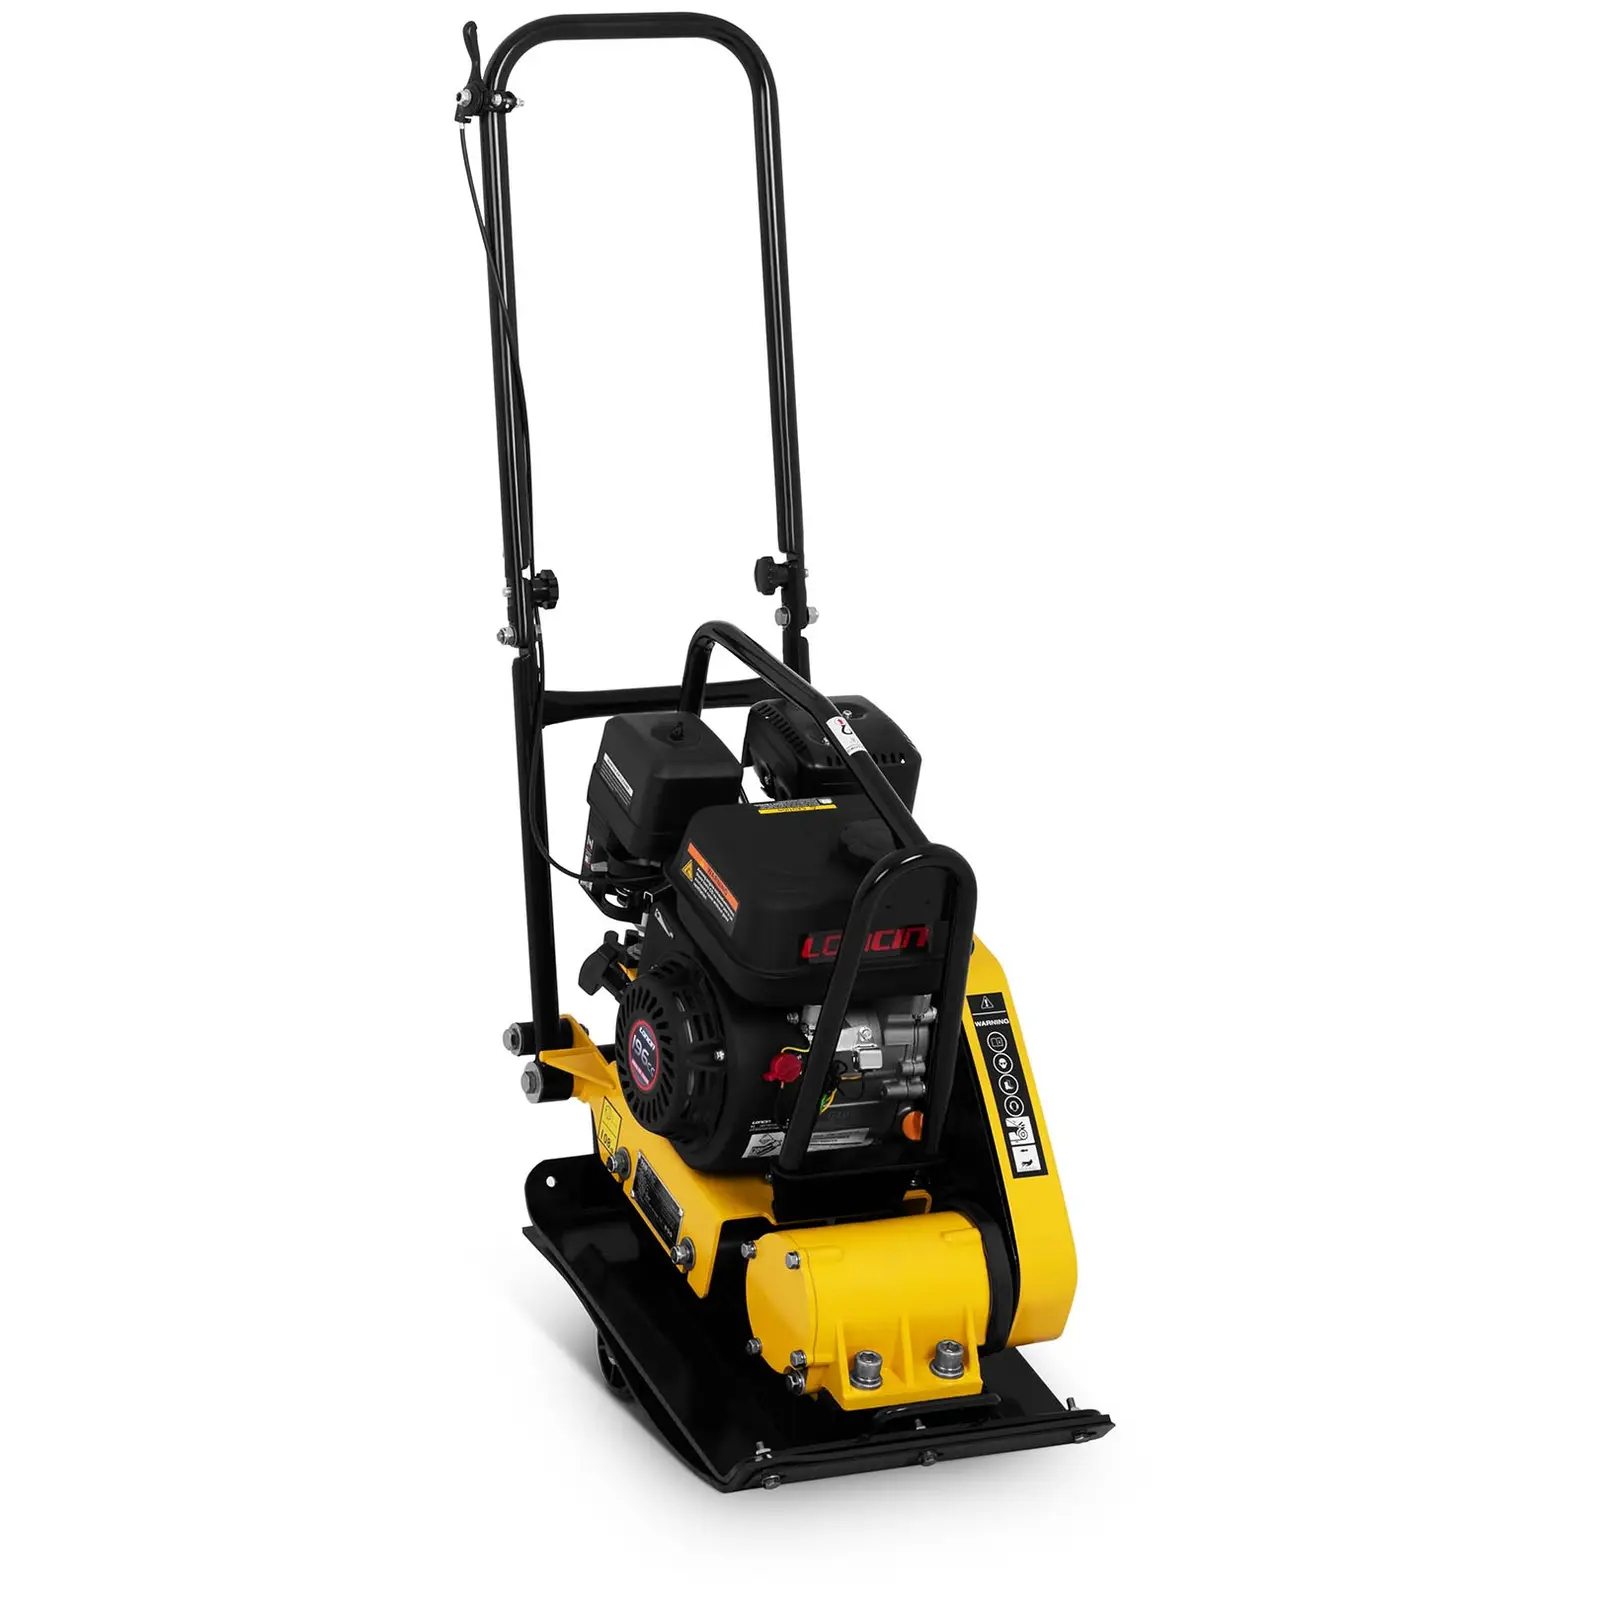
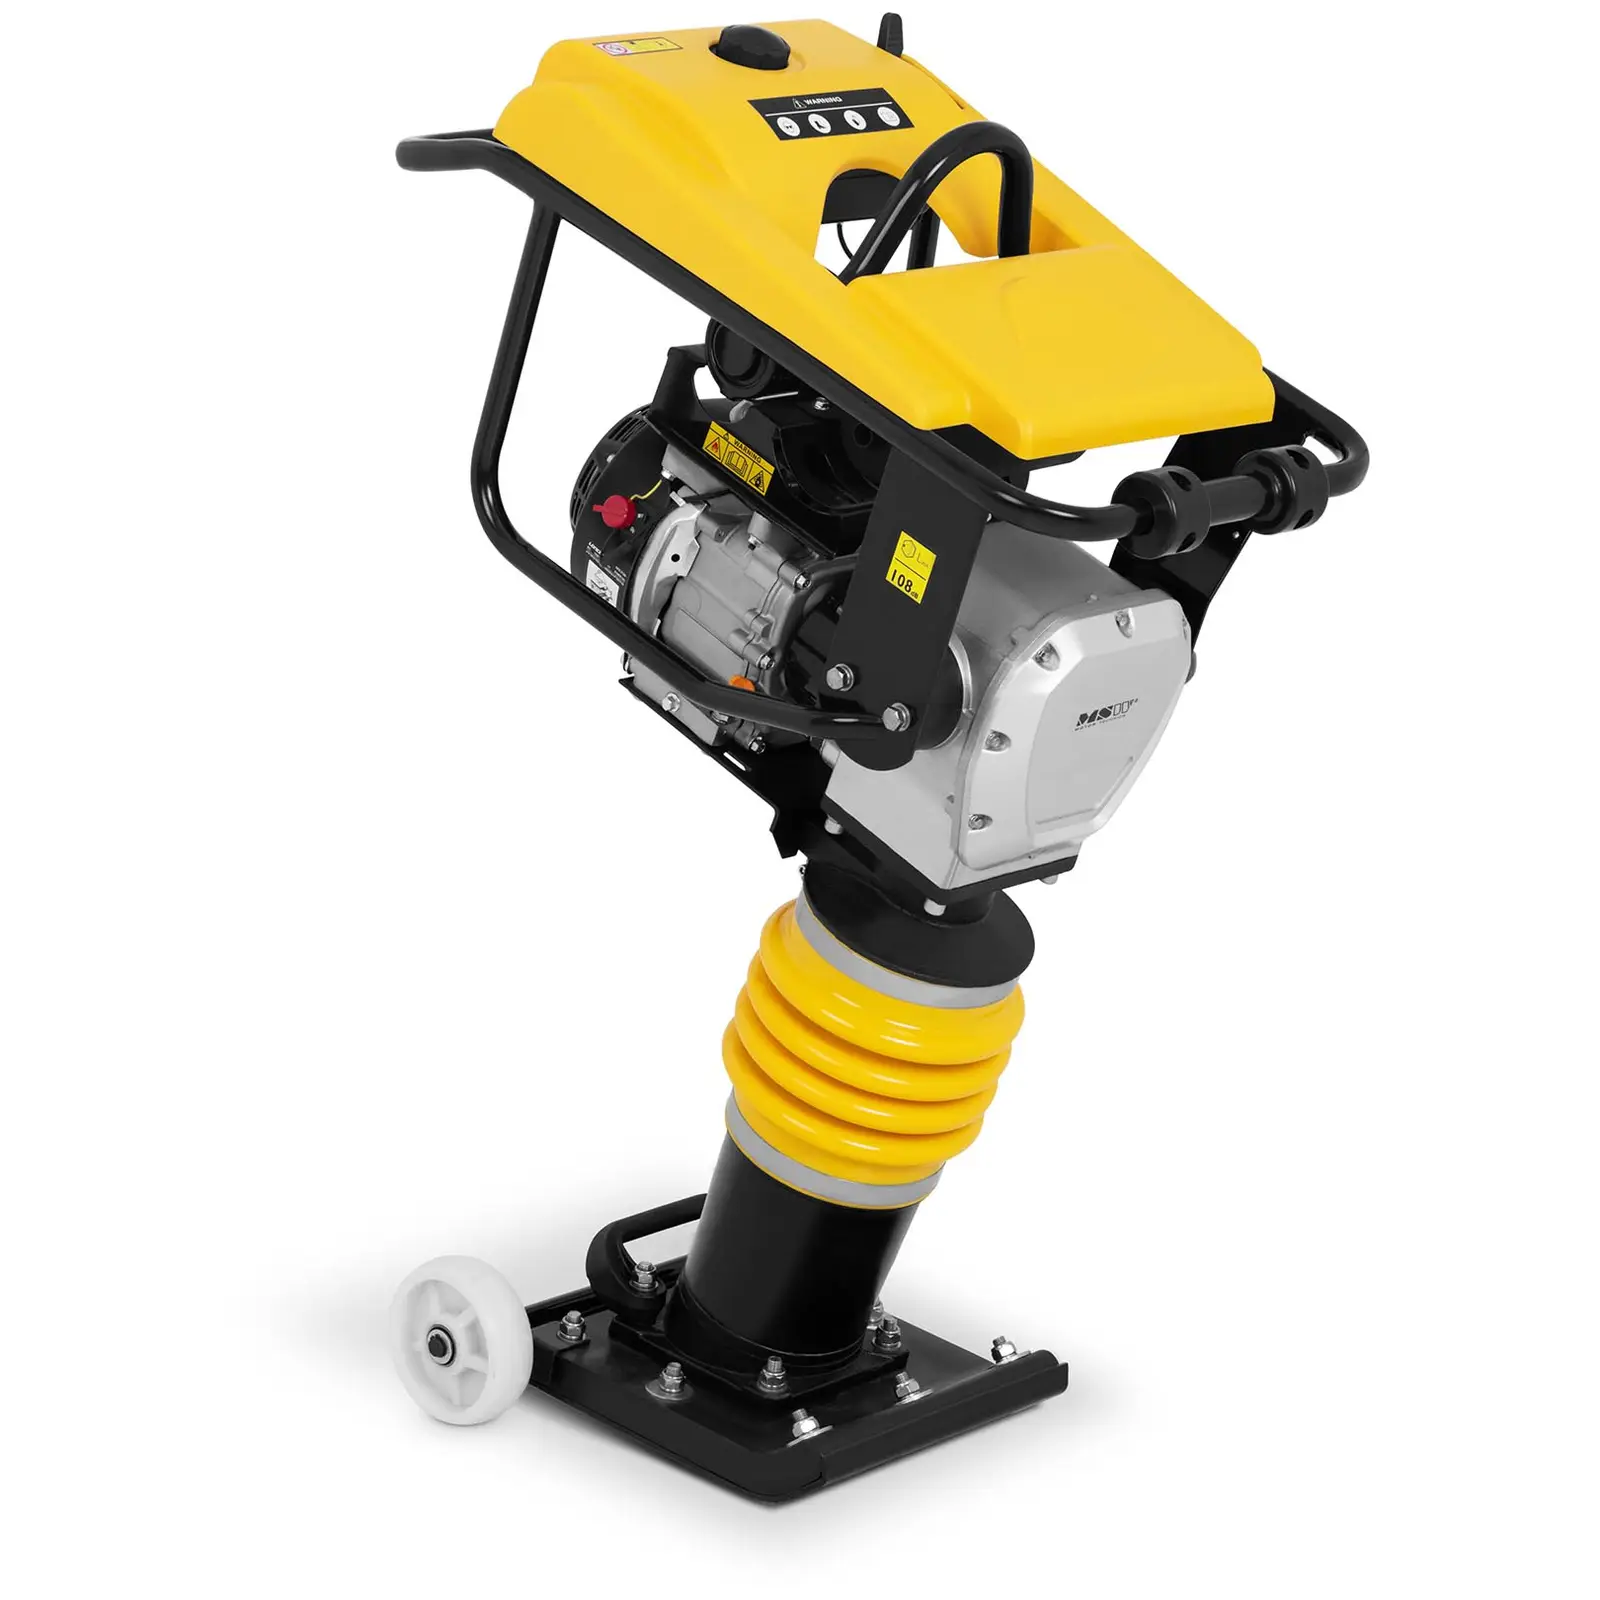
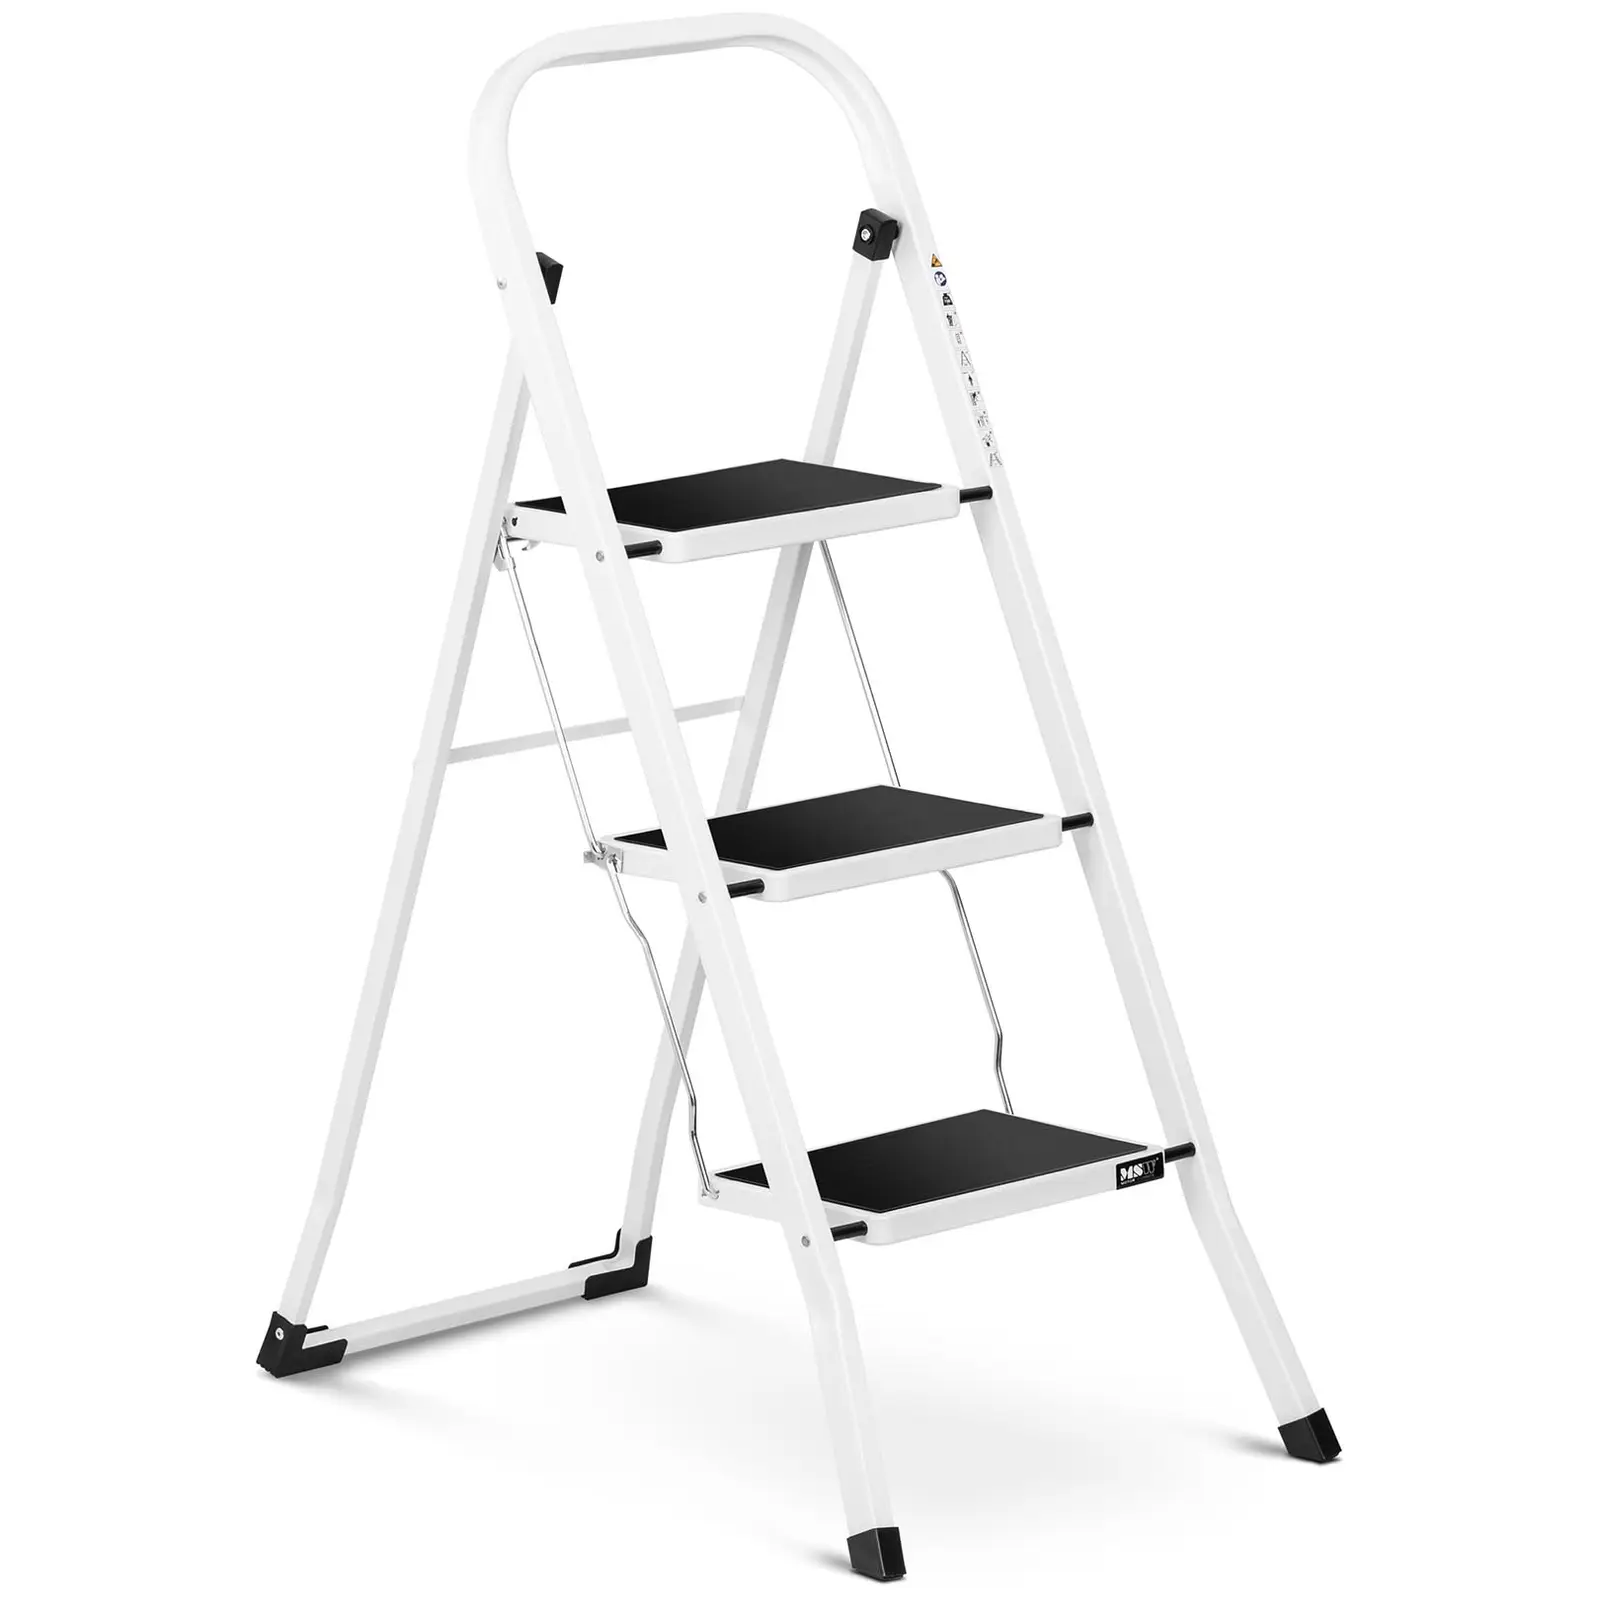
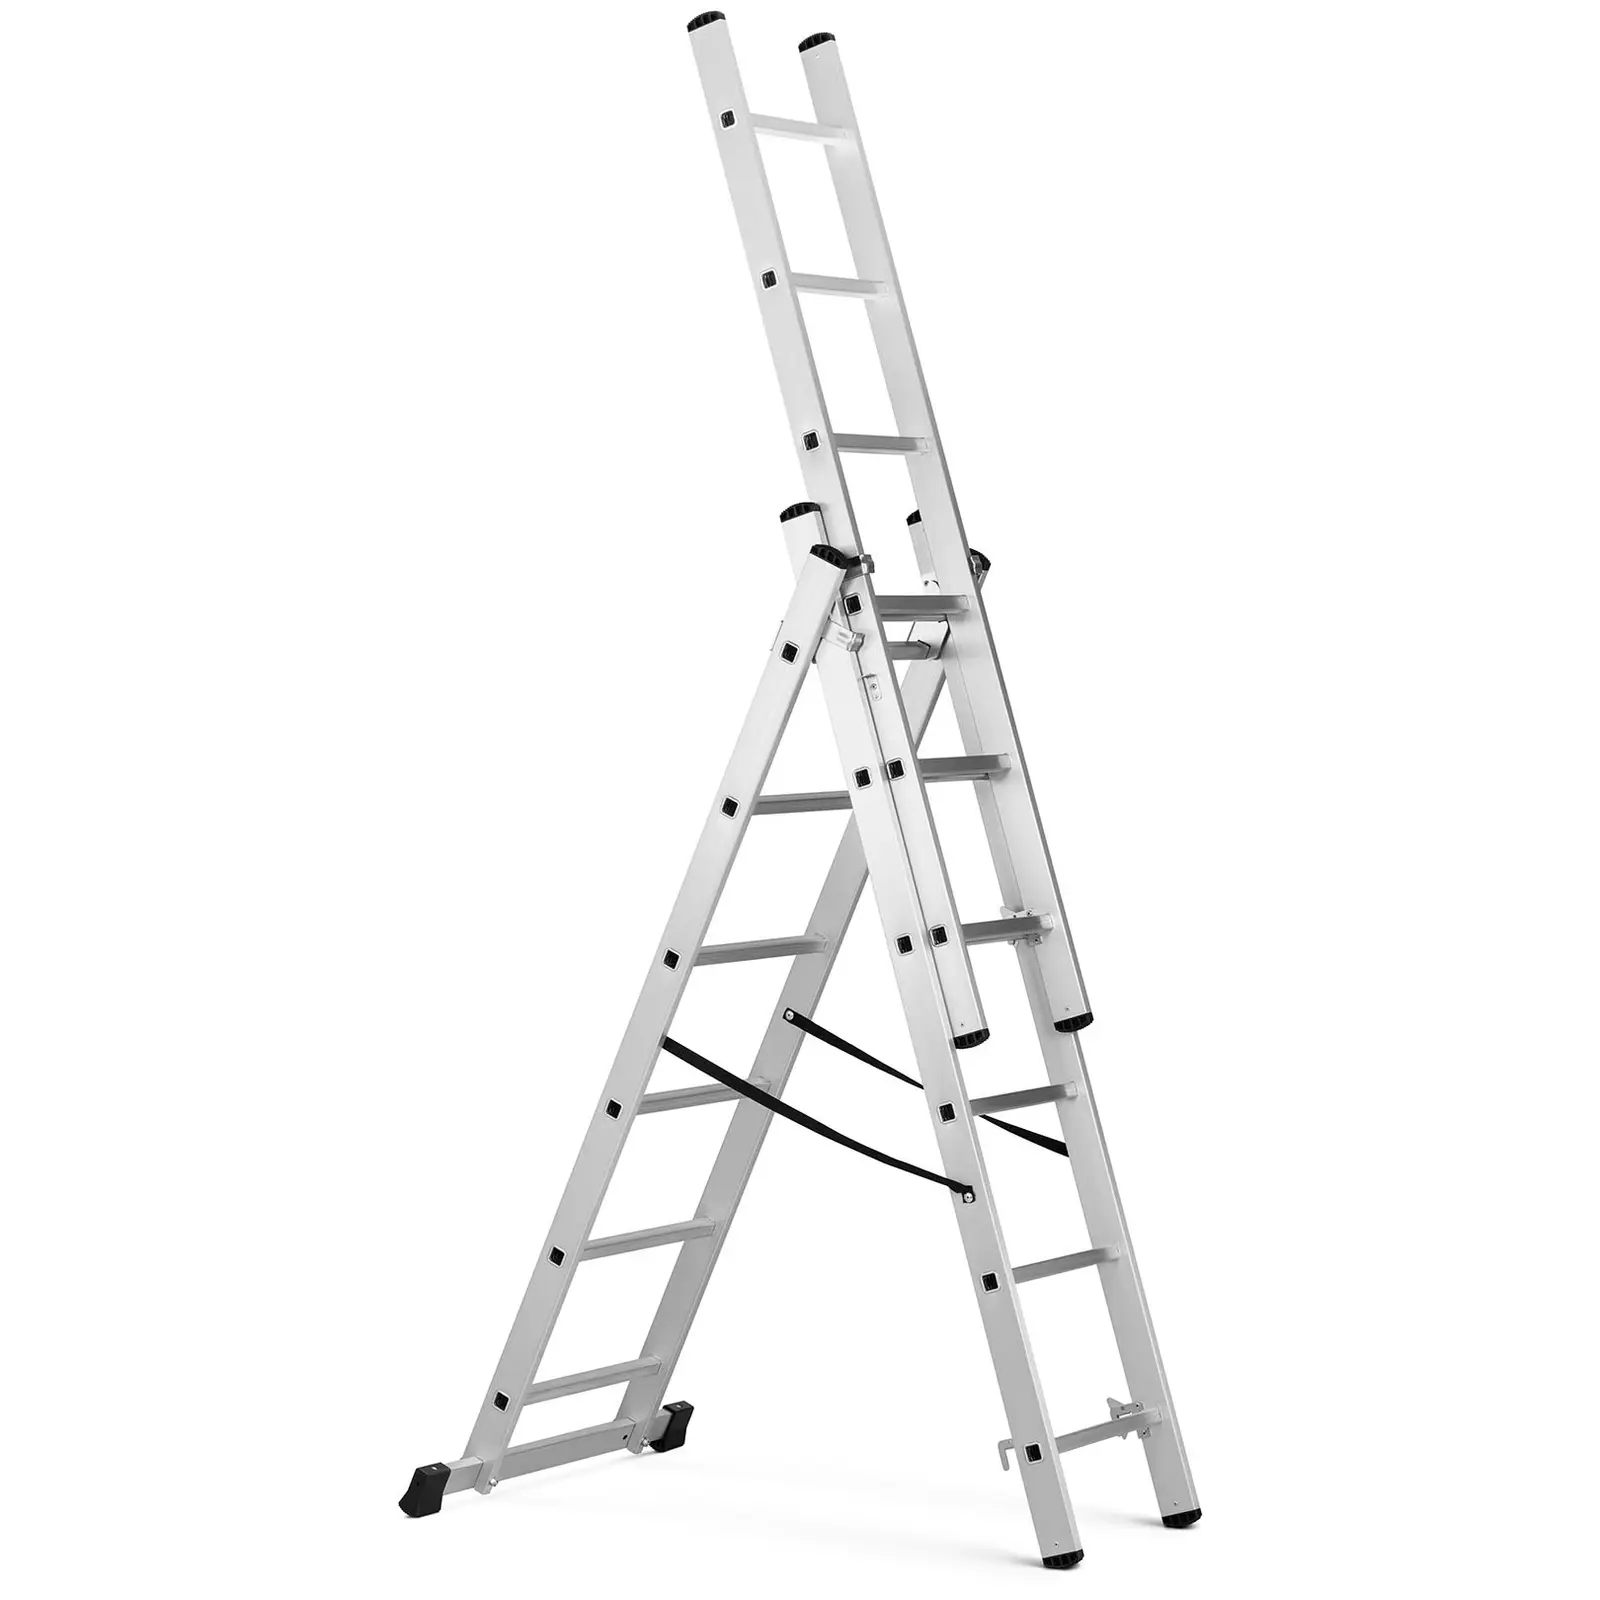
It is also worth making sure that you have access to a ladder and the right tool to apply paint or impregnation, e.g. a spray gun and brushes. For hardening the ground and building the foundations, and possibly creating a path to the woodshed, you will need a shovel and some basic construction equipment, such as a soil compactor or a paving stone cutter.
How to build a woodshed – summary
Knowing how to build a woodshed you will be able to better protect your fire wood, and also store it more conveniently. However, before you start work, it is worth getting acquainted with potential regulations regarding this type of construction. While in the case of smaller woodsheds you will not have to apply for permits or report the fact of construction, with larger constructions you should check this before starting.
The construction of the woodshed itself requires using the right materials, as well as choosing a suitable design. This can be a simple wood shelter under which your firewood will be stored, a well-ventilated gazebo, or a storage shed made out of wooden pallets. Regardless of the design, remember to optimally locate your woodshed, and ensure ventilation.



Share