Rare, medium, or well done – no matter which way tickles your taste buds most, preparing a perfect steak is always a challenge. Luckily, there's more than one way to get the job done. Unsure which is best? You'll find the answer to this question in this article.
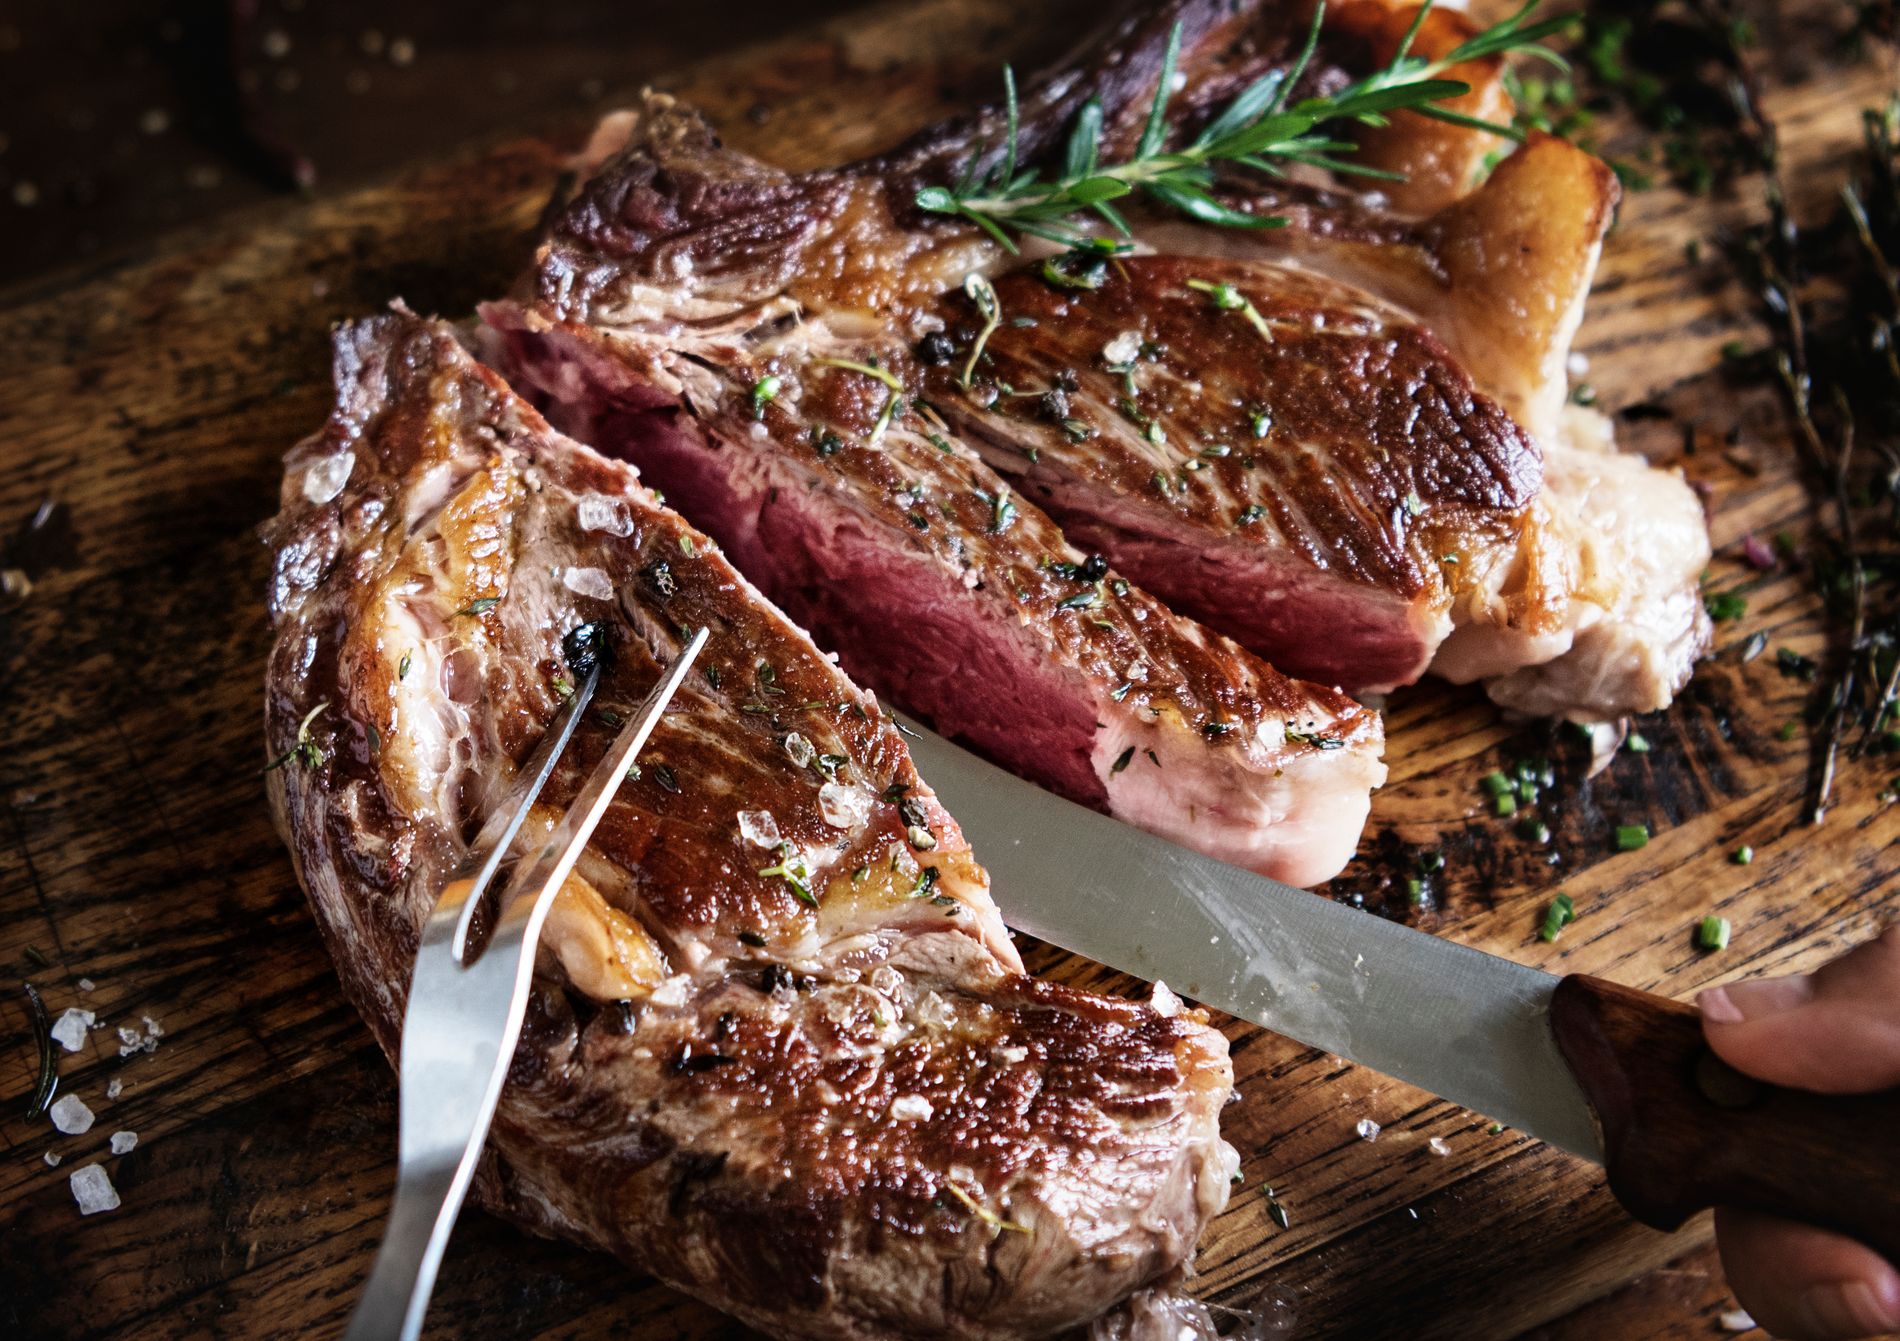
Rare, medium, or well done – no matter which way tickles your taste buds most, preparing a perfect steak is always a challenge. Luckily, there’s more than one way to get the job done. Unsure which is best? You’ll find the answer to this question in this article.
- What type of meat do you choose for a steak? Ideally an aged one!
- Prepare your steak before you fry it
- Method 1: the traditional pan-fried steak
- Method 2: steak on the electric grill
- Method 3: steak on the contact grill
- Method 4: gas-grilled steak
- Method 5: deep-fried steak
- Method 6: microwaved steak
- Which steak method is the best?
What type of meat do you choose for a steak? Ideally an aged one!
But before you fire up the grill, we’ll let you know which types top chefs prefer. While the choice of cut depends mainly on your personal preference, there’s no doubt seasoned meat wins the taste test. Our expert Michał and his guest Rafał from “Gotuj z Rafał” have selected the choicest cuts of dry-aged roast beef for us to enjoy.
But what do we mean by “aged”? Put simply, it is the process by which the meat matures and gains its characteristic features. The blood evaporates, leaving the beef drier, but not crispy, and preserves its tender consistency for roasting. There are two main ways to age beef:
- Dry ageing – special cabinets with constant humidity and temperature are required for this process. Meat is stored within these for at least four weeks. It primarily dries on the surface, forming a kind of crust that is then trimmed off.
- Wet ageing – steaks and other cuts of beef, for example, are vacuum-packed in foil and refrigerated for two to three weeks. The meat loses less moisture than with dry ageing.
Prepare your steak before you fry it
Once you have selected your meat, it’s time to prepare it. First take the raw steak out of the fridge so that it reaches room temperature. This stops the surface from forming a dry crust, while the centre remains icy and inedible.
When it comes to seasoning your steak, there are two approaches. Some cooks add salt and pepper before frying, others afterwards. The difference is based on the assumption that pre-salting makes the meat tough, while pepper burns when exposed to high heats. However, if you season the steak with a little salt and pepper on both sides, there is no danger of this happening. Rub it with a few drops of olive oil. Depending on the cooking method, Michał also throws in a clove of garlic or garlic powder. Okay, it’s time to fry!
Method 1: the traditional pan-fried steak
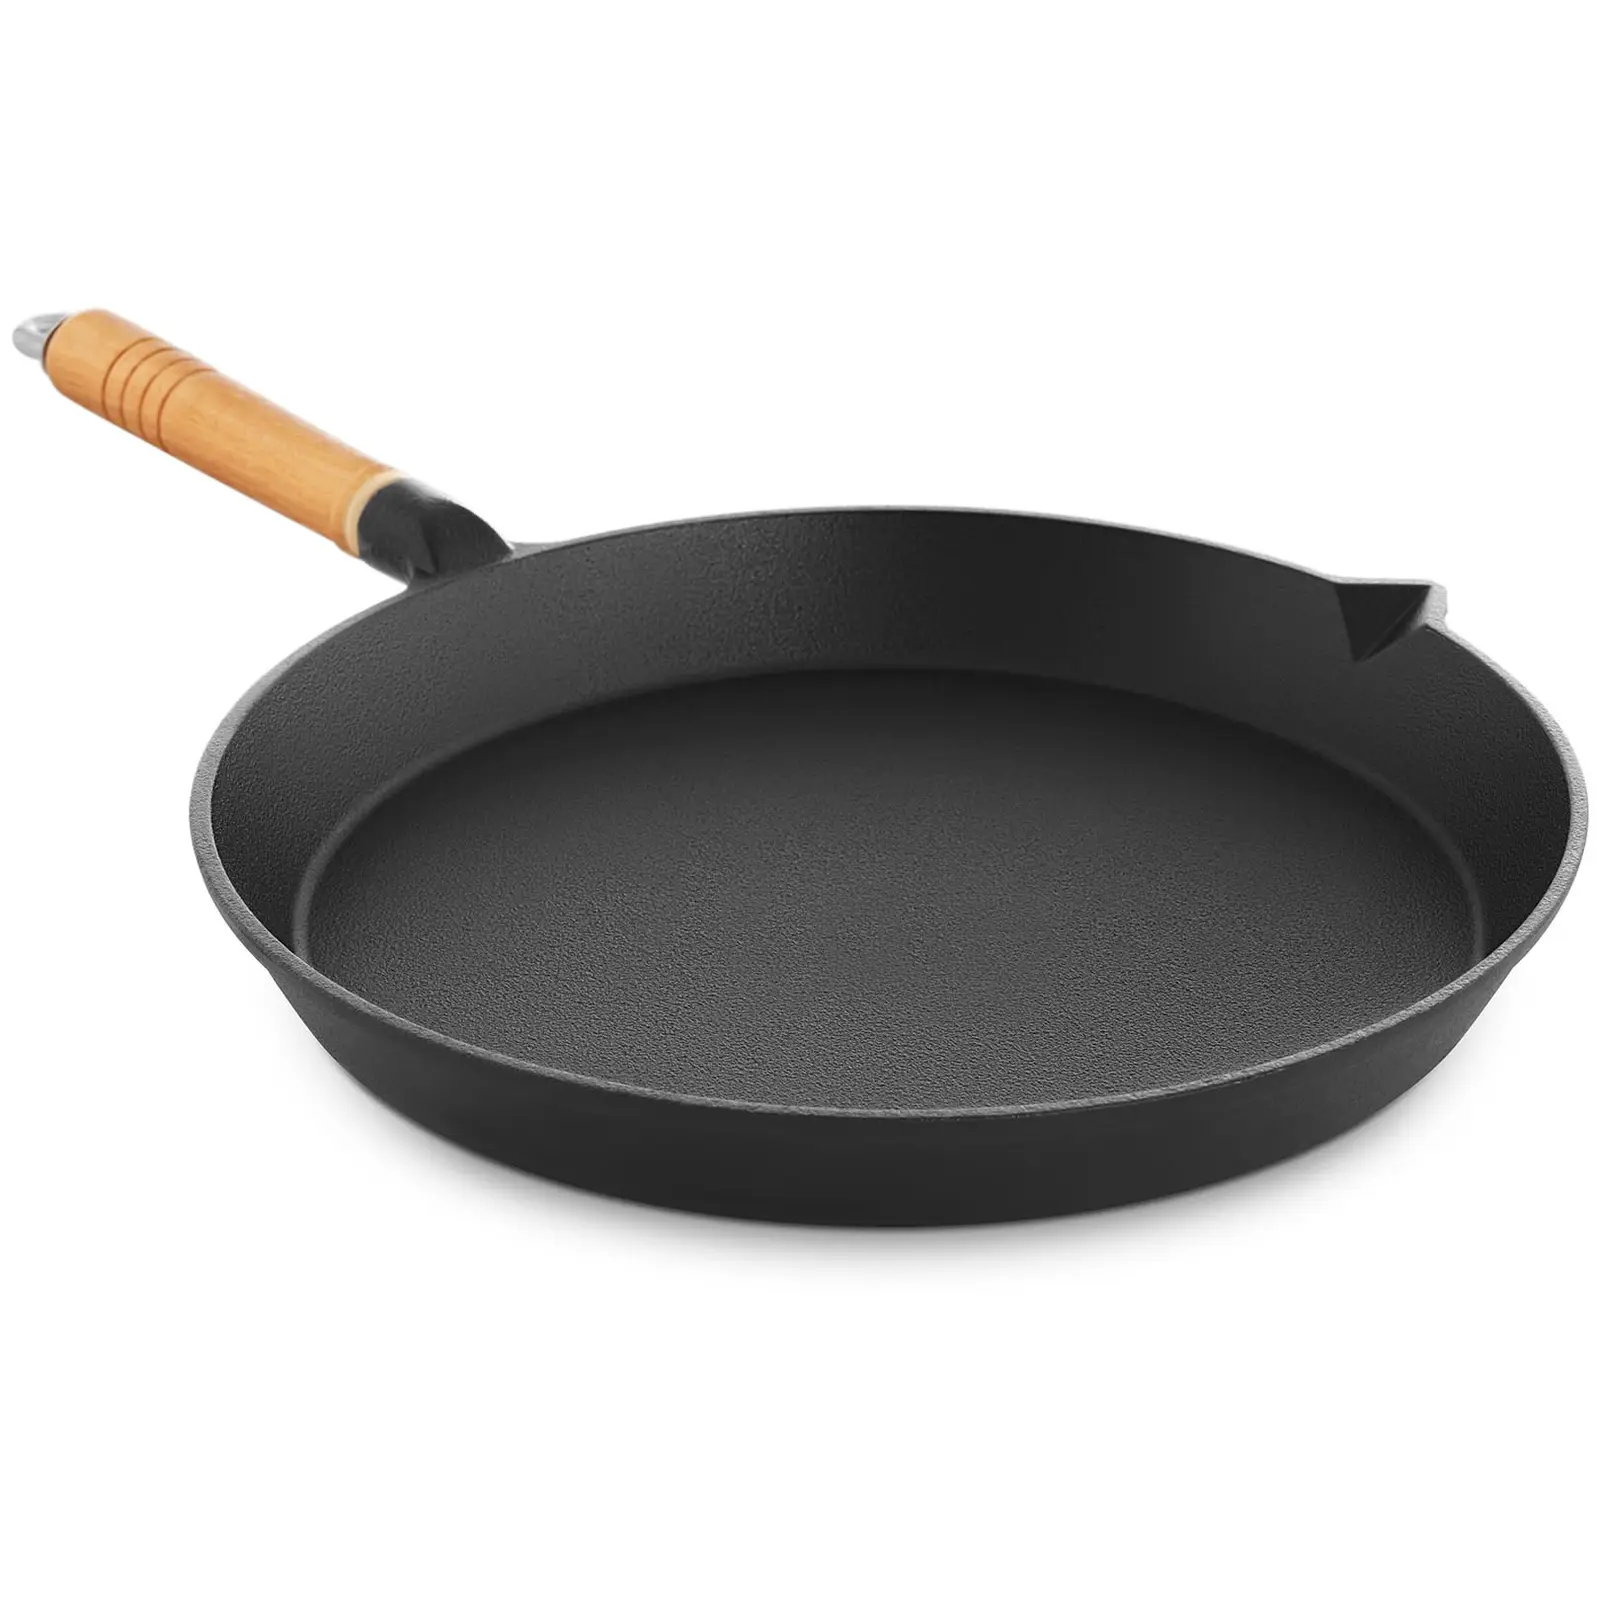
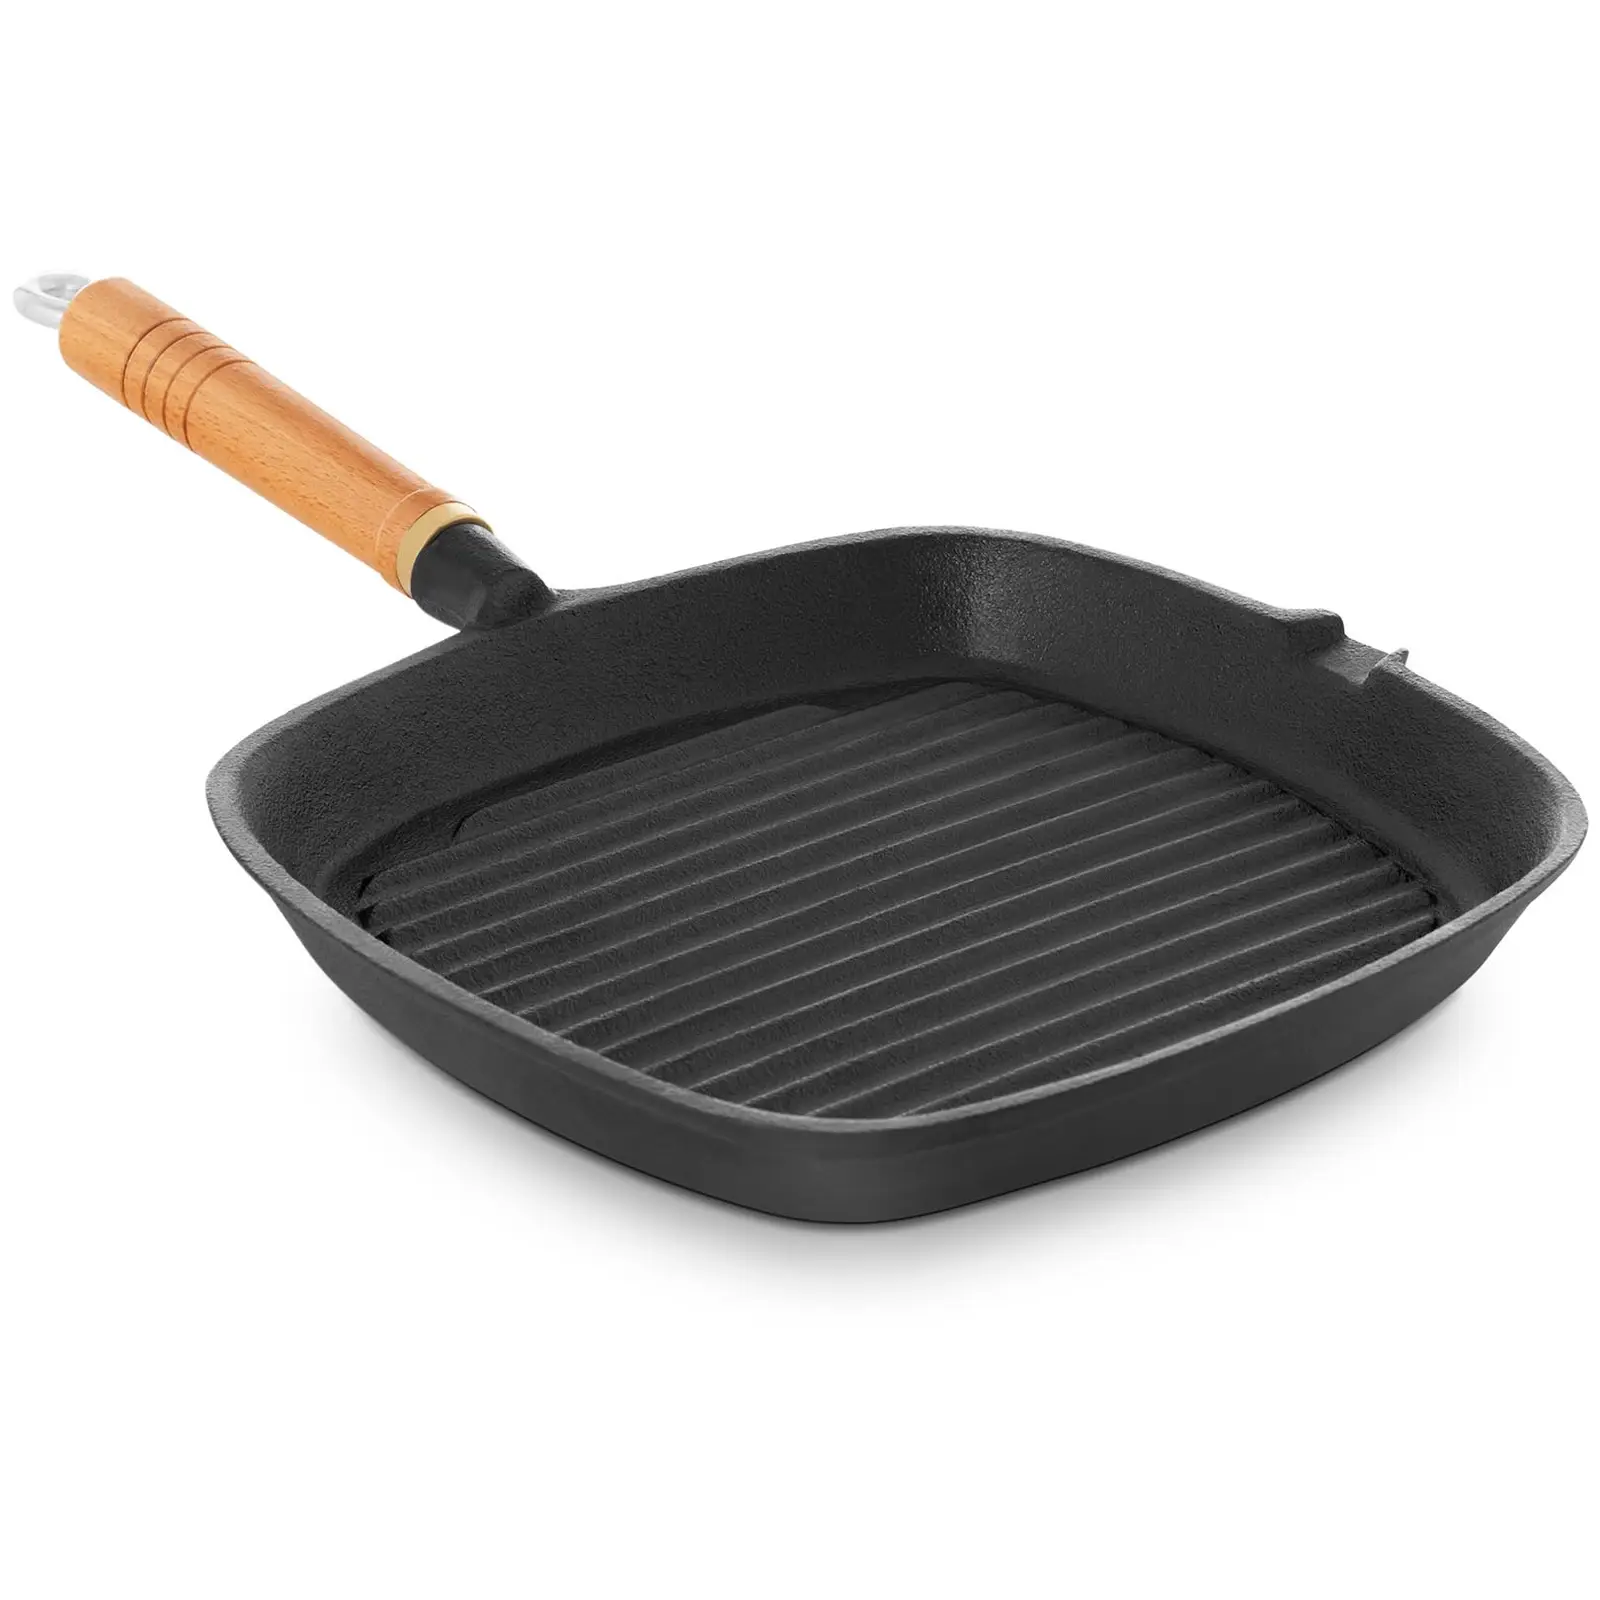
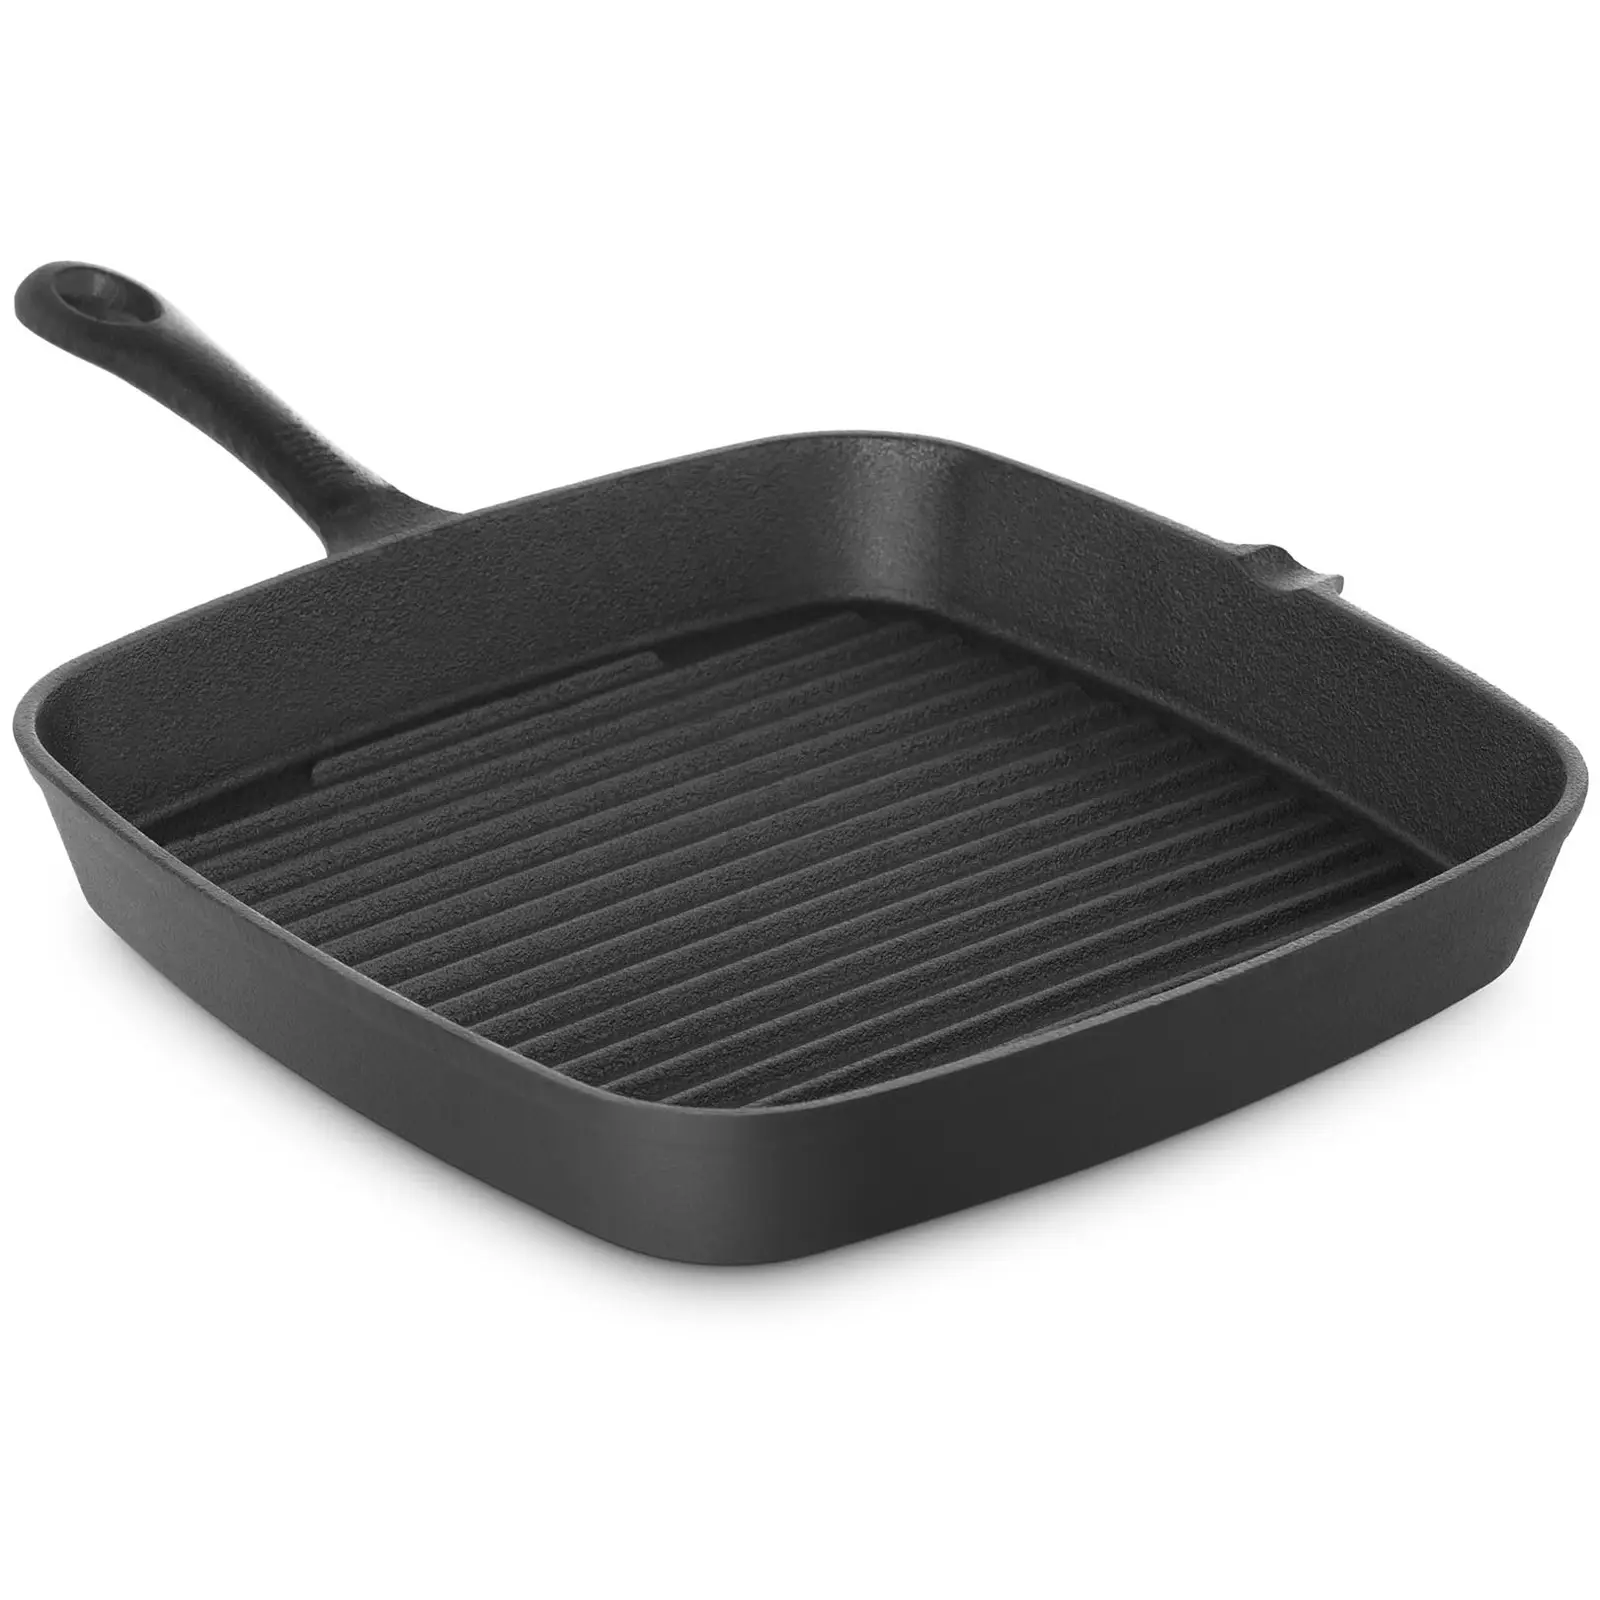
The classic way to prepare a steak is to fry it in a pan. This method is a rite of passage for every cook. The key here is to choose the right pan. While some prefer simple, flat skillets, others opt for pans with ridges to achieve those mouth-watering grill marks.
The crucial factor, however, is not the type of surface but rather the material from which the pan is made. Cast iron is certainly the first choice. Although it heats up more slowly, the heat distribution is more even and significantly better than with steel models, for example. It also maintains the high temperature for much longer, which is an advantage when frying. That’s why Michał opted for a cast-iron pan with a flat surface.
Place the pan on the hob and crank it up to maximum heat. As soon as the skillet reaches the right temperature, put your steak in it. Fry until the surface is crispy. The best way to determine this is to move the pan slightly. When the meat moves freely on the surface, flip it over. However, avoid doing this too often, as it lowers the frying temperature. Never press the meat into the pan! All the juice runs out, and you really don’t want that. As a rule of thumb, flip the steak once. Knowing when to do this comes with practice, so you’ll probably need to turn it several times when you’re starting out.
After turning, add a little butter to the pan. Once liquid, add a crushed clove of garlic and optionally a sprig of rosemary. Tilt the pan slightly and brush the top of the steak with a spoonful of melted butter. This process is called watering. Reduce the heating temperature towards the end so nothing burns.
Remove the meat from the pan once it reaches an internal temperature of 54 °C. Measure the temperature most accurately with a dedicated probe thermometer. As the steak is still hot, the centre will continue to cook at this temperature. We know it’s tempting but resist the urge to cut into the steak right away. The meat should rest a little, usually for half the cooking time. The meat loosens, which allows the juices to evenly coat the entire surface. This means there’s no excess liquid on the plate when sliced.
Method 2: steak on the electric grill
As with pans, there are two types of surface for electric grills – flat or grooved. You decide whether you want those signature grill stripes or not. Again, Michał opted for a flat model.
-
Electric Griddle – 72.5 cm – smooth – 2 x 2.2 kW 339.00 €
-
Double Electric Grill – 60 cm – smooth and ribbed – 6,400 W
329.00 €299.00 € -
Electric Griddle – 727 x 420 mm – Ribbed + Flat – 4,400 W 319.00 €
-
Electric Griddle – 55 cm – Royal Catering – smooth – 3000 W
199.00 €179.00 €
Preheat the grill plate to 3/4 of the maximum temperature, add some oil, and wait. Once it’s hot, start searing the steak. Something to keep in mind: you can’t baste a steak on the electric grill. So if you’re a garlic fan, season the meat with granulated garlic before cooking. The next steps are the same as in the pan method.
Method 3: steak on the contact grill
Contact grills come in flat and grooved versions, and some feature a combination of both surfaces. What sets the contact grill apart is that the heating plates sear the food from both above and below simultaneously. This saves you time when preparing the steak, and there’s no need to flip it.
-
Contact Grill – smooth – 2,200 W 179.00 €
-
Contact Grill – Ribbed Griddles – 2200 W
189.00 €169.00 € -
Contact Grill – Ribbed Upper Griddle – 2200 W 189.00 €
-
Double contact grill – Ribbed + Flat – Royal Catering – 3,600 W 279.00 €
Preheat the grill plates to 260 °C and place the seasoned steak on the lower plate as soon as it has reached the right temperature. Then close the top panel of the appliance very carefully. If you press the meat too hard, the juices will escape and your steak will dry out. If the top of the steak is less cooked than the bottom, flip it over and close the grill again.
Method 4: gas-grilled steak
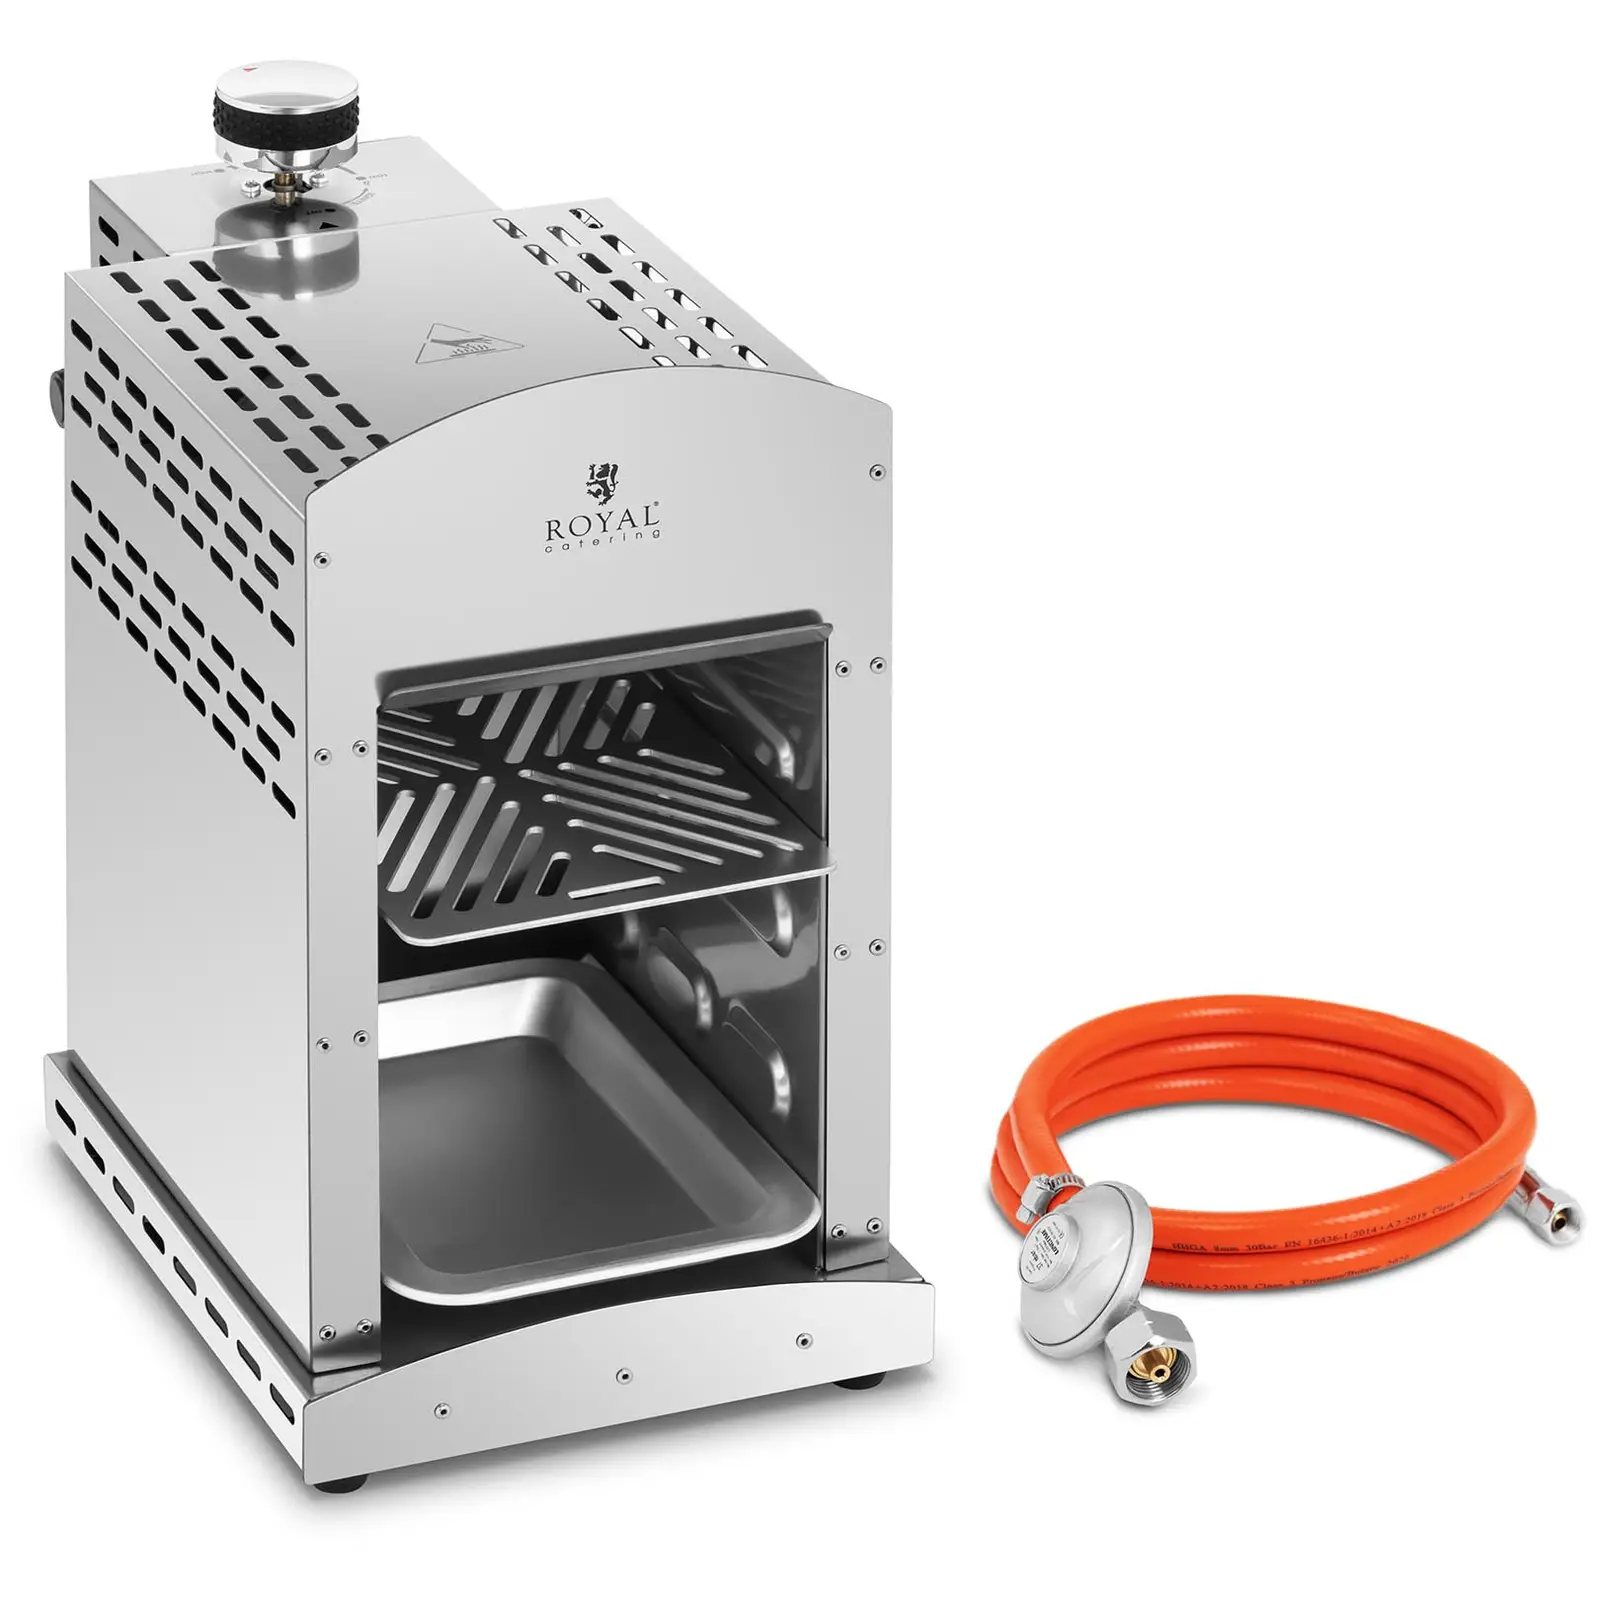
Specialised gas grills for steaks are increasingly popular with chefs. This allows you to roast beef not only quickly, but also to great effect. This is thanks to the burner in the upper chamber. It is so strong that the meat placed directly underneath is cooked immediately. Meanwhile, the lower grill cooks the steak to your preferred level of doneness.
Place the seasoned beef on a special grill tray and then slide it into the highest level of the chamber, directly under the heating element. Cook it in this way for a maximum of 1 minute, then turn the steak over and grill the other side for the same amount of time. Keep an eye on the process at all times to ensure the meat doesn’t burn. Once both sides are crispy, place the meat on a lower shelf until it reaches an internal temperature of 54 °C.
Method 5: deep-fried steak
This time we’re going off-road. Forget the classic ways of cooking beef, let’s see if the deep fryer can cook a steak to perfection. There’s no denying it, this is a rather unusual method. You won’t find deep-fried steaks on the menu at many Michelin-starred restaurants. But that doesn’t mean we can’t try it out for ourselves!
There’s little point in seasoning the meat before frying, as the salt and pepper won’t adhere to the steak and will instead end up in the fryer’s oil. You also have no way of checking whether the meat is fully cooked through. Once immersed, it is better to leave it there for the entire cooking time.
-
Electric Deep Fat Fryer – 2 x 16 litres – 400 V 359.00 €
-
Electric Deep Fat Fryer – 1 x 10 litres 169.00 €
-
Electric Deep Fat Fryer – 17 litres – ideal for fish
209.00 €189.00 € -
Shelf for Deep Fat Fryer – 62 x 42 cm 169.00 €
Although you can use raw beef for the above method, it is better to use seasoned meat for frying. It is less moist, so the heated fat does not react as violently when dipped in. This reduces the risk of the deep fryer boiling over.
And the results? The biggest upside to this method is that the heated oil completely coats the steak, ensuring it cooks evenly on all sides. This also leads to shorter cooking times. And that’s it for the advantages. A steak cooked like this has a distinctive smell and taste. One which not necessarily associated with top-tier meat. It’s also impossible to season or add garlic and herb butter beforehand.
Method 6: microwaved steak
The most radical method you’ll encounter today! Let’s take a run at microwaved steak. We usually rely on microwaves to heat up leftovers or prepare a ready meal. In theory, microwave radiation works on the meat from all sides, so it should heat steaks more evenly and faster than with a pan or grill.
But theory is theory, and practice speaks for itself. The microwaved steak released all its juices, which formed a pool on the plate. There’s also no gorgeous, seared brown crust to speak of. You can safely disregard this approach.
Which steak method is the best?
Our expert and his guest tested all the methods discussed so far. They then picked out their favourites. In first place: the gas grill. Here, you can prepare a steak quickly and very thoroughly. The open flame also imparts a unique, gorgeous aroma.
Second place goes to the classic cast iron pan. Pan-searing gives you full control over the entire process. If necessary, coat the meat and simply place the pan in the oven to cook it through. The contact grill and the grill plate fought a tough battle for third place. But in the end, the former won. It owes its victory due to the relatively short frying time, a better texture, and the fact that you don’t have to flip the meat. And you, which method do you prefer? Try them out and decide for yourself!





Share