Ever since James Webb began beaming stunning images from space to Earth, astrophotography has captivated millions. And even if you can spot the Big Dipper or the North Star with the naked eye, it's cosmic photos that truly the reveal the breathtaking worlds glimpsable only with the right optical aids.
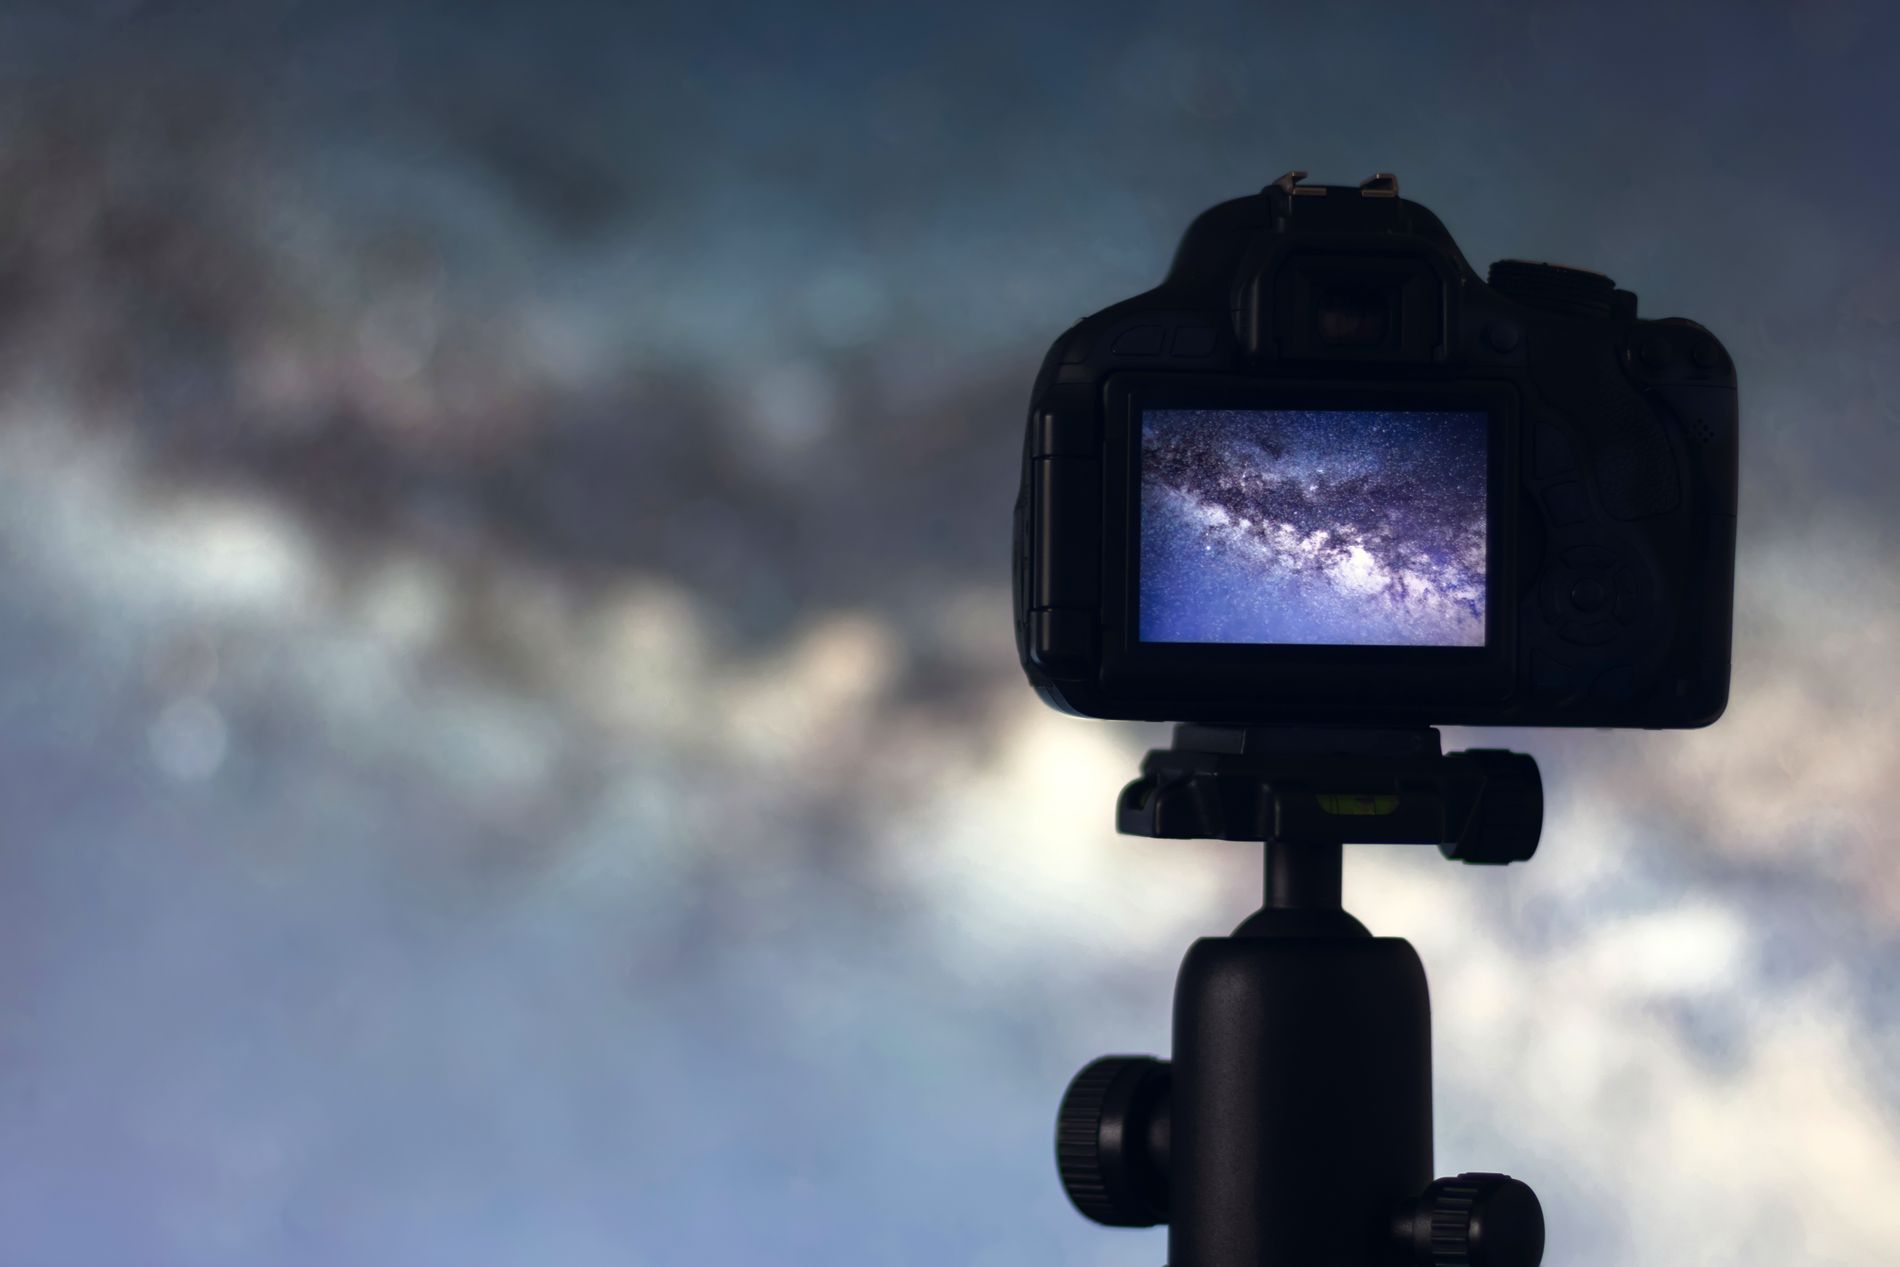
Ever since James Webb began beaming stunning images from space to Earth, astrophotography has captivated millions. And even if you can spot the Big Dipper or the North Star with the naked eye, it’s cosmic photos that truly the reveal the breathtaking worlds glimpsable only with the right optical aids.
Get equipped for your astro-photo adventure to snap stars and planets at their best
The skies are vast, and so are the photo opportunities. The moon is ideal for beginners in astrophotography. For other heavenly bodies, especially those far-off or low in light, you’ll need more sophisticated equipment. Moreover, your location, a clear sky, and the alignment of stars and planets are crucial considerations when capturing sky events.
Your kit decides how far you can explore the cosmos. Forget spending over 10 billion USD on the James Webb Telescope to discover new galaxies. On a budget, you can capture star clusters, planets, the Milky Way, or the Aurora Borealis. Initially, a good smartphone and a basic telescope suffice. But for deep-sky shots, better gear is a must.
Get the right gear for snapping stars, planets, and the vastness of space
If you own an iPhone 12 Pro or Google Pixel 4a, you’re on your way to astrophotography success! These high-end phones feature night modes for impressive night sky shots. Use apps to lengthen exposure times and prevent blur by using a tripod. For an even closer look, attach your phone to a telescope with an adapter to photograph stars and moon craters sharply.
You’ll achieve significantly better results with professional photography equipment, allowing you to artfully capture even distant celestial bodies. With this basic setup, you’re ready for the world of astrophotography:
- Camera – A DSLR or mirrorless camera is ideal for astrophotography due to their high resolution and large image sensor. If you already have a camera, ensure it has manual settings and can handle long exposure times.
- Lens – A wide-angle lens with a high aperture is perfect for capturing the sky. A lens with a focal length of 14 – 35 mm and an aperture of f/2.8 or better is recommended.
- Tripod – A stable tripod is crucial to keep your camera steady during long exposures. Look for one that weighs at least 4 kg or has a hook to add weight for extra stability.
- Remote Shutter Release – To prevent camera shake during long exposures, use a remote shutter release.
- Star Tracker – A star tracker is an essential tool to compensate for the Earth’s rotation during long exposures, allowing for longer exposure times without star trails.
- Filters – Use filters to reduce light pollution and enhance contrast. UHC or L-filters are popular choices for photographing stars, planets, or the Milky Way.
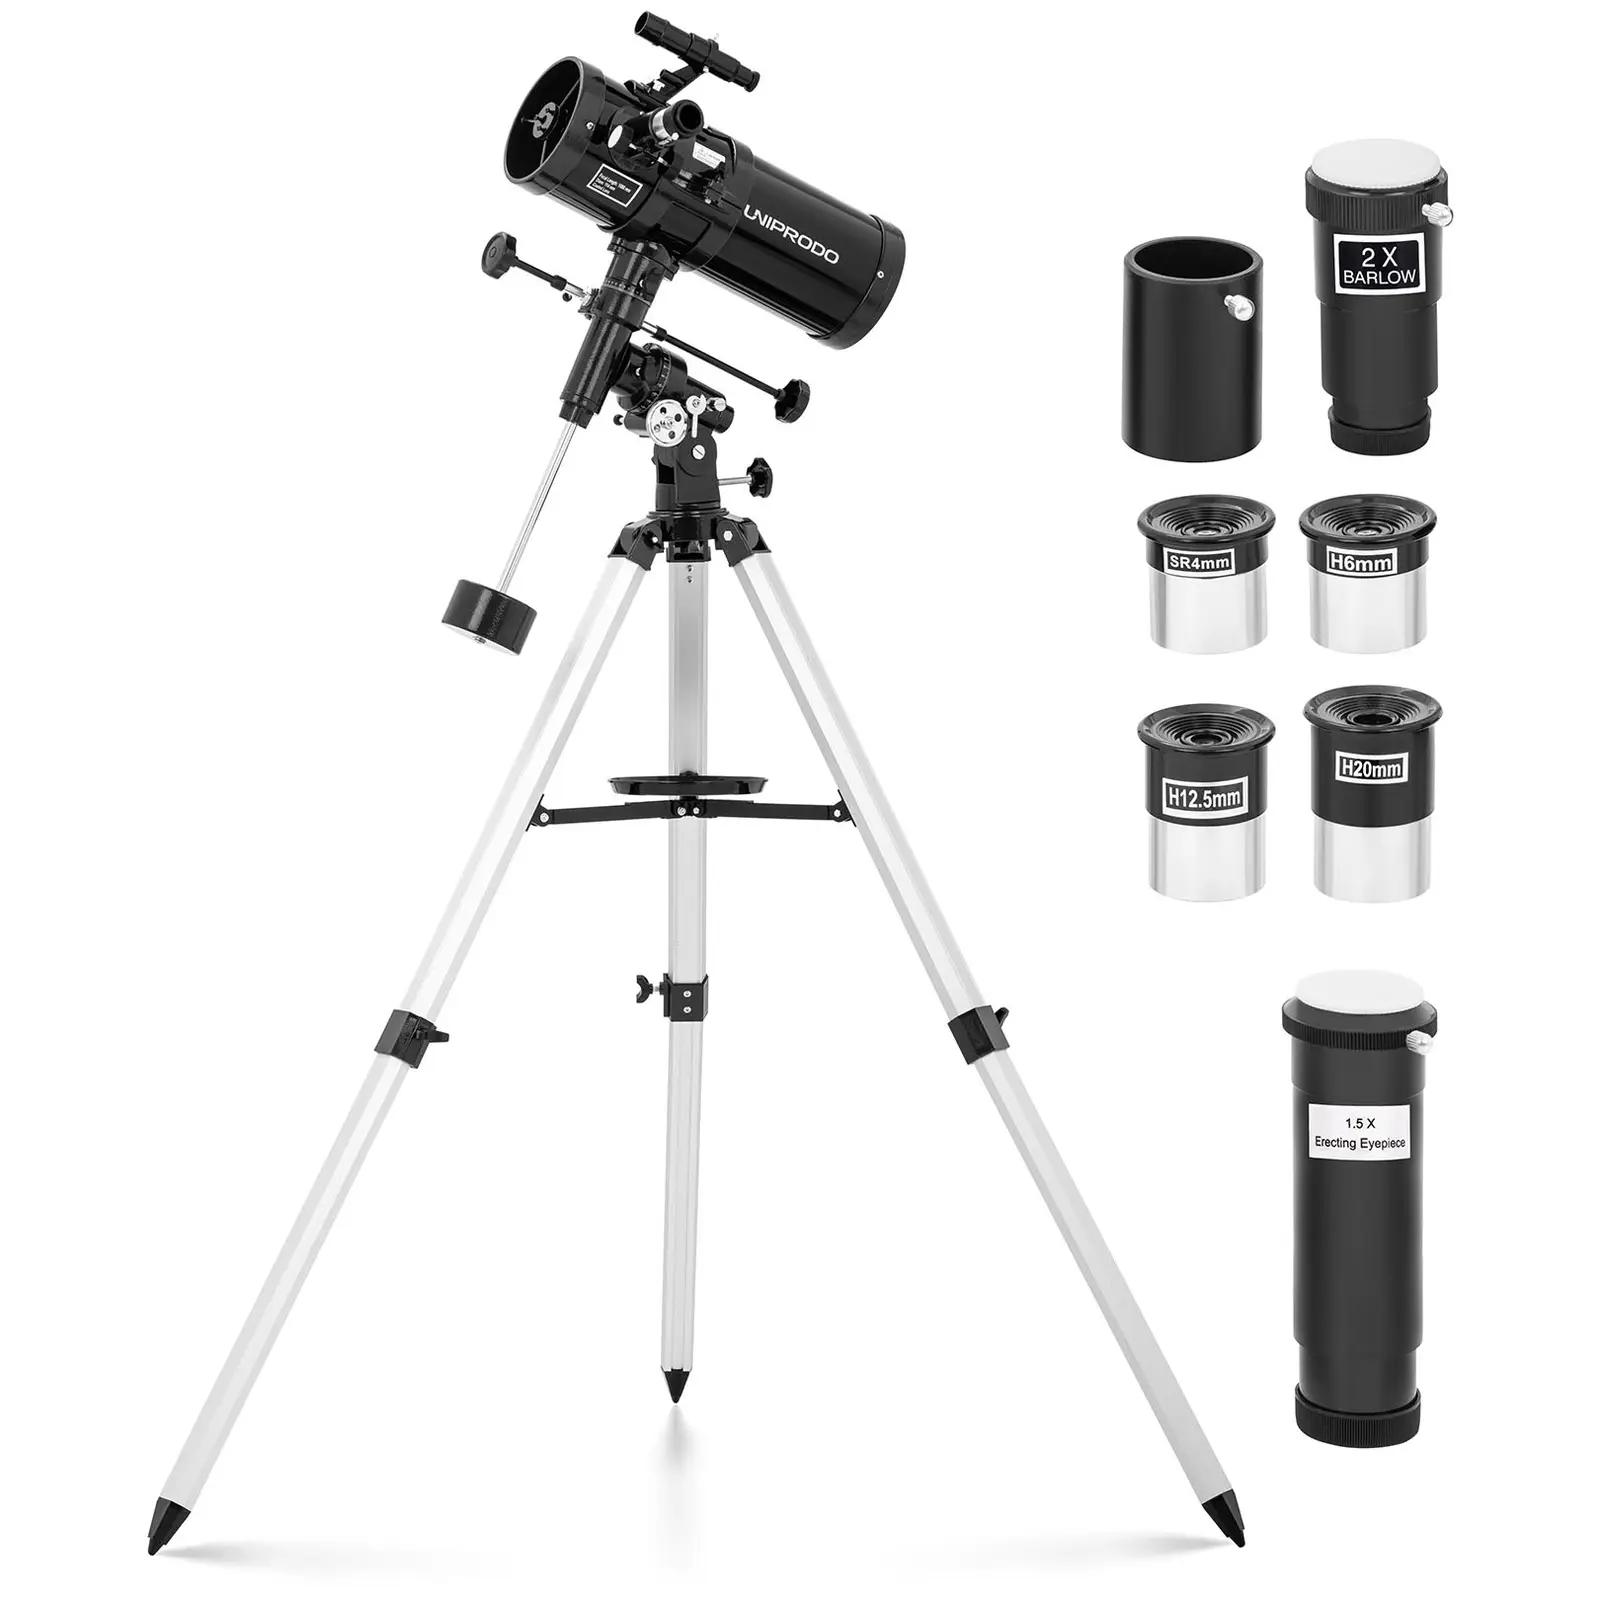
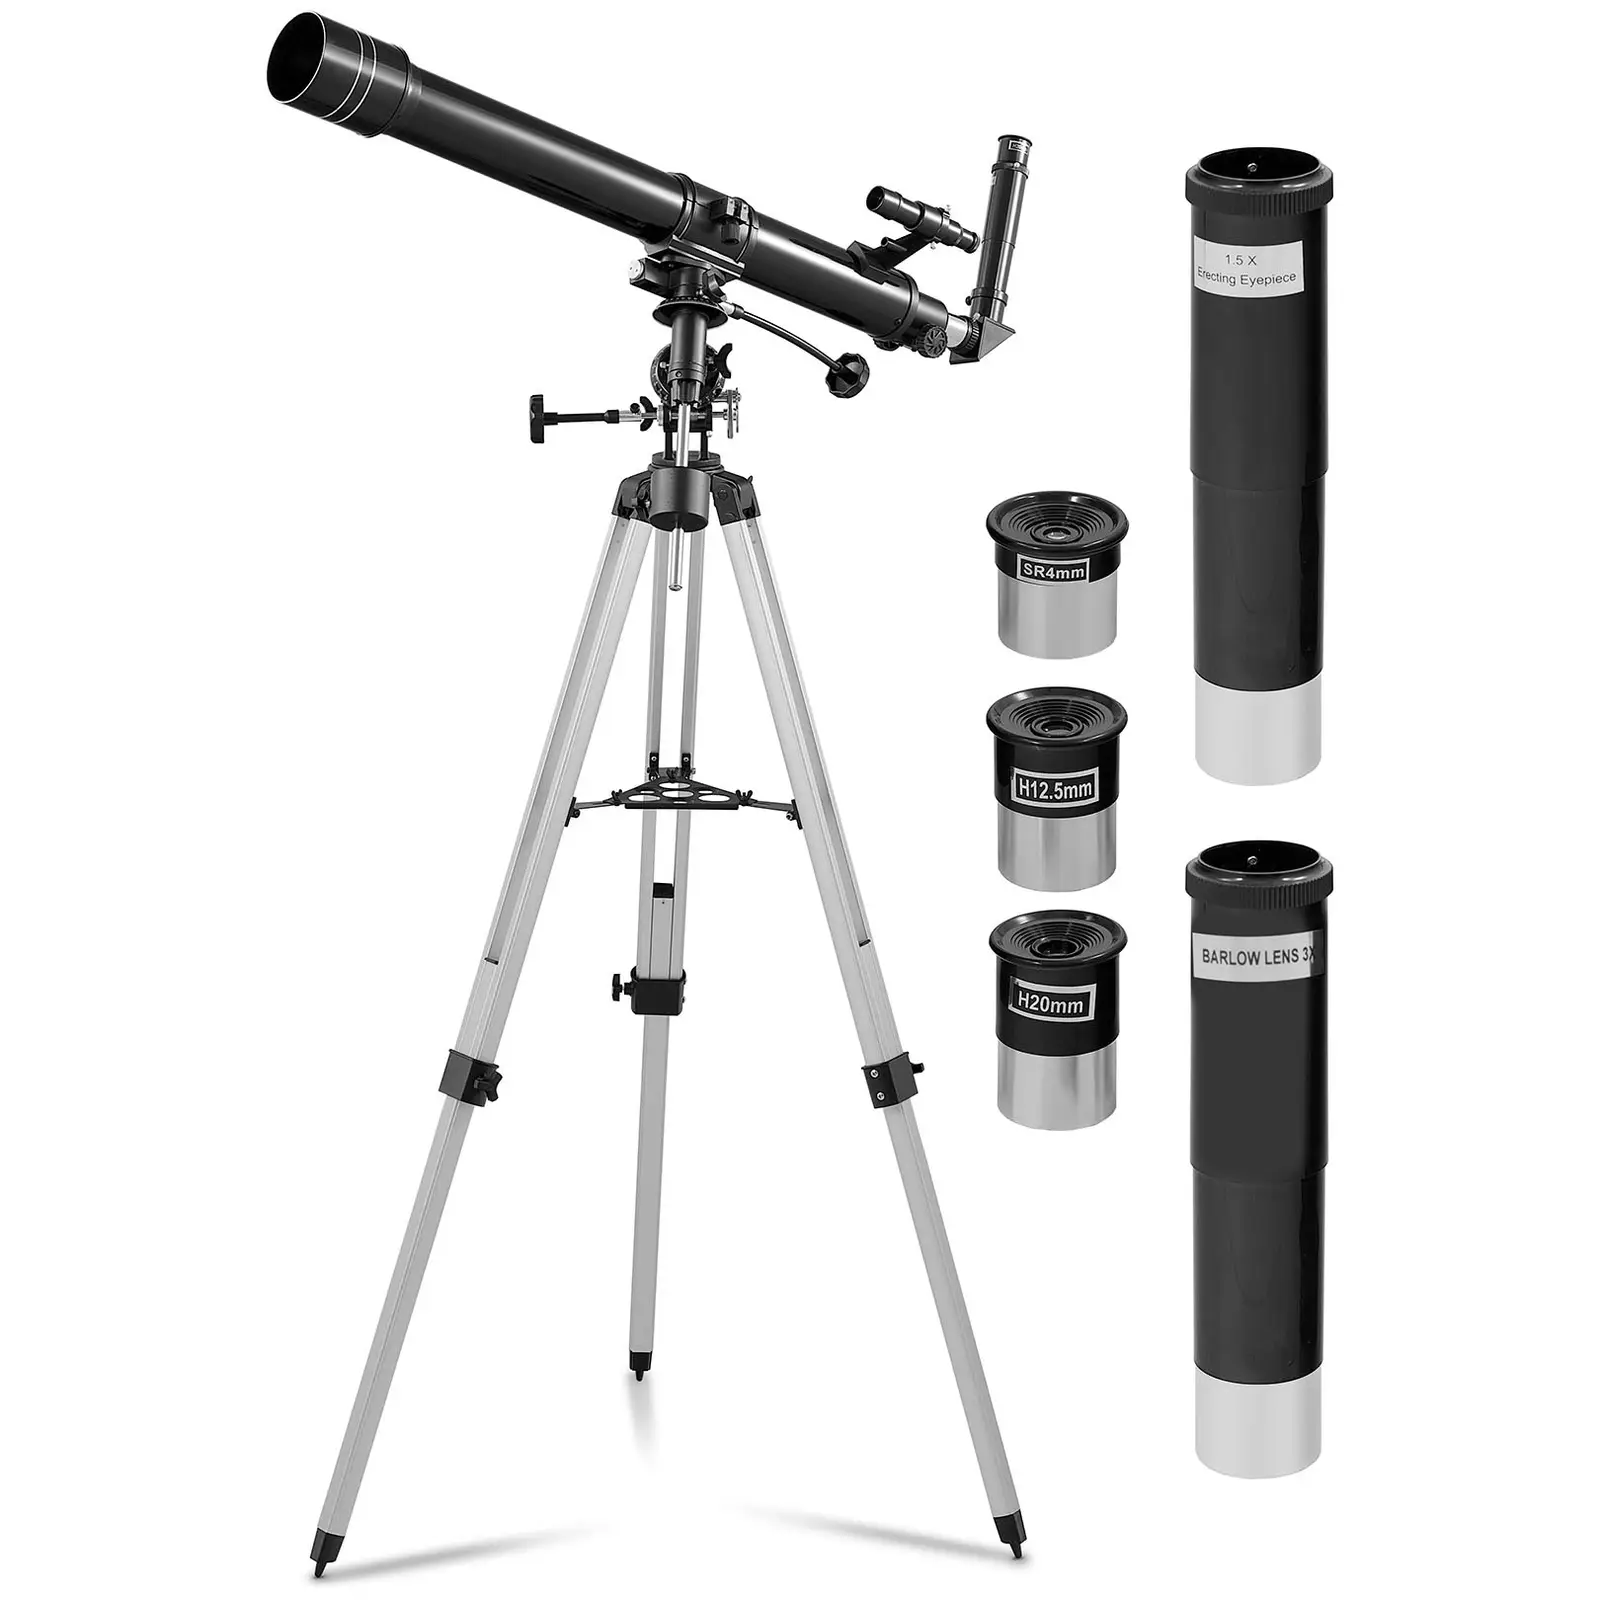
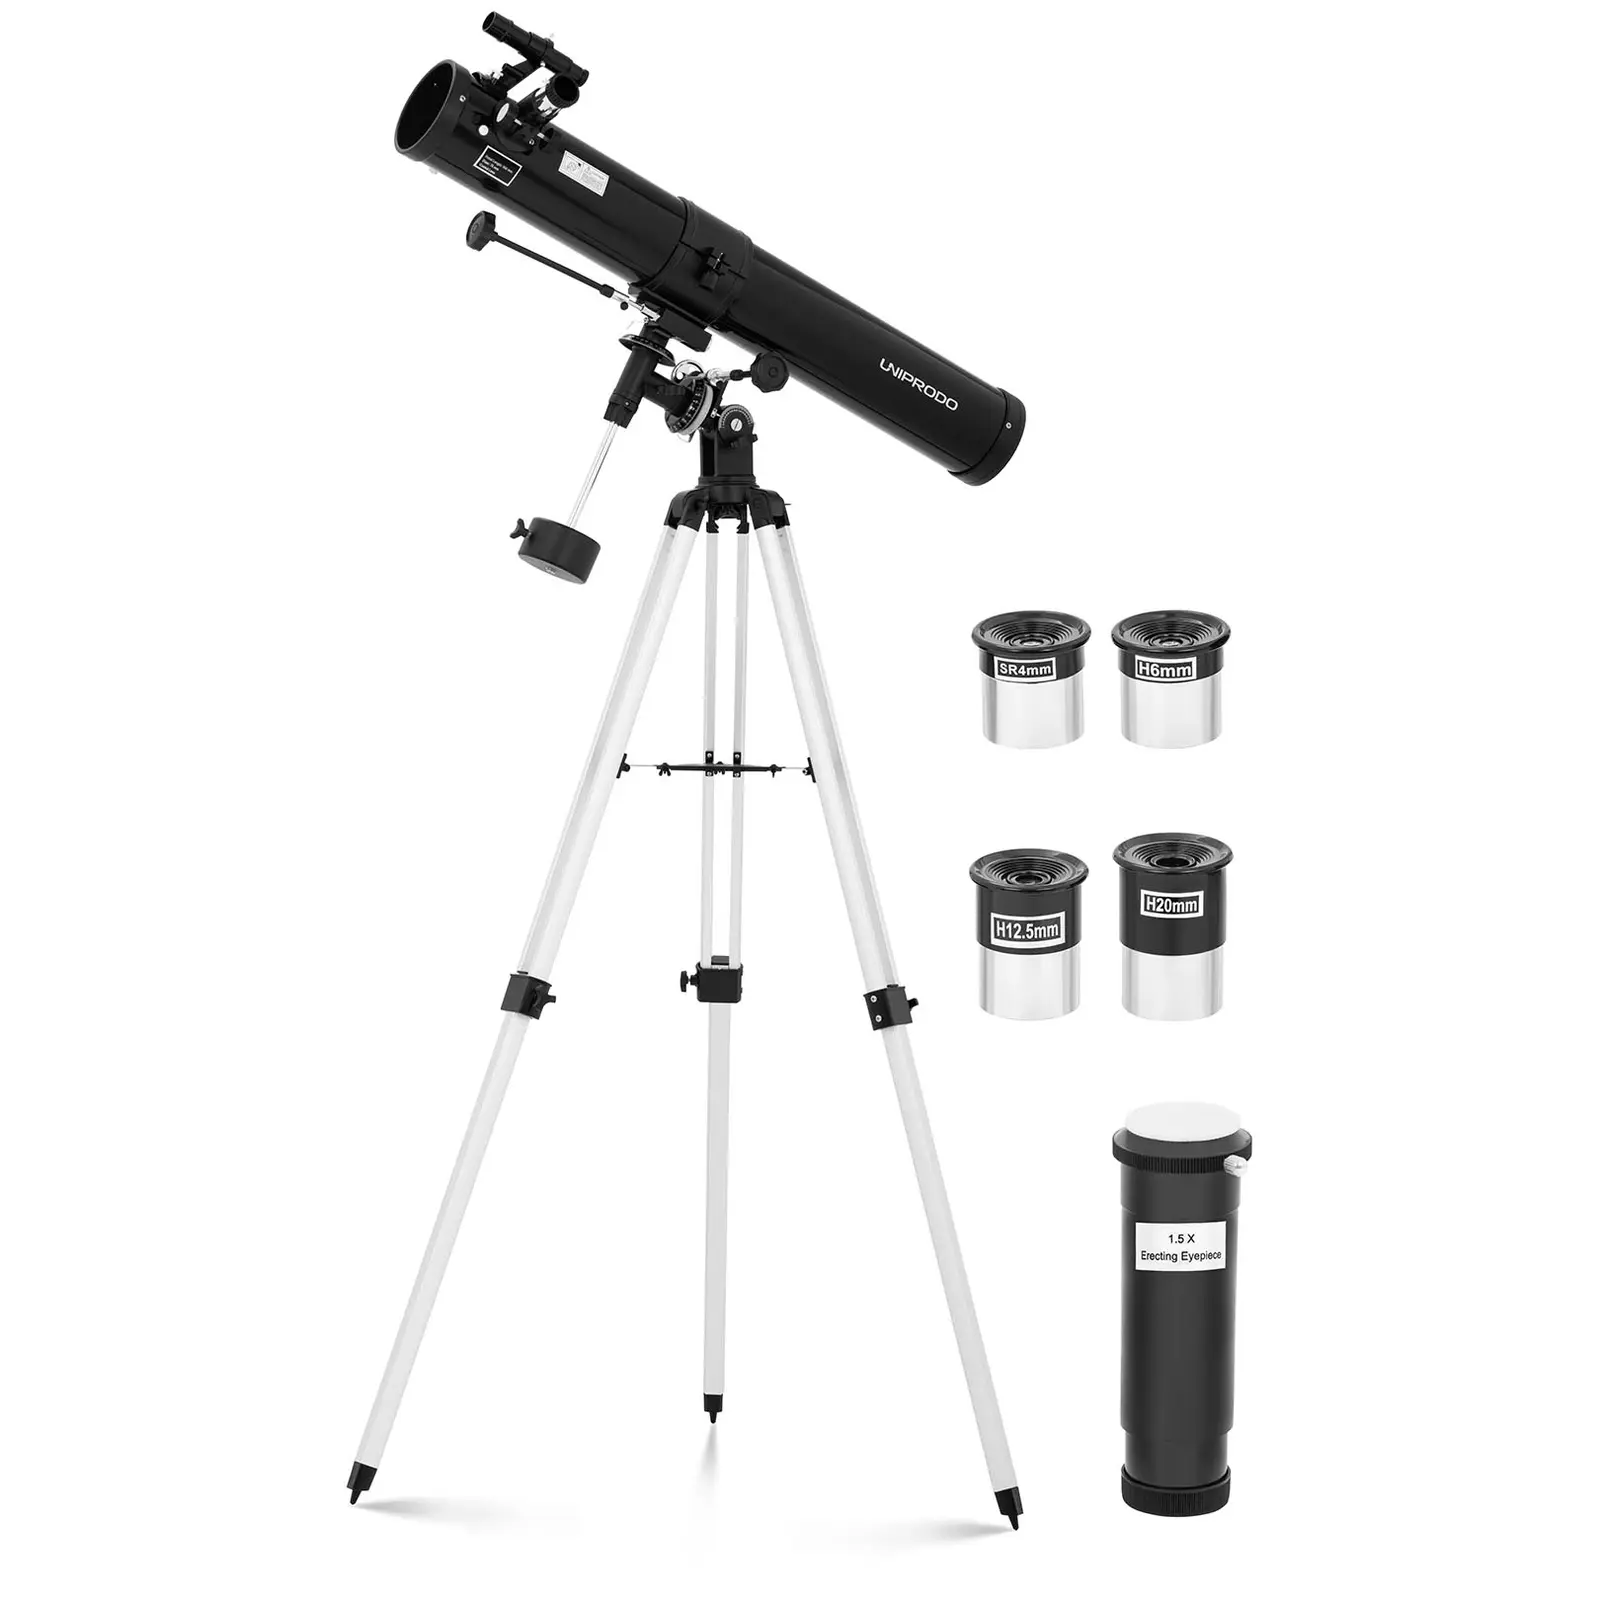
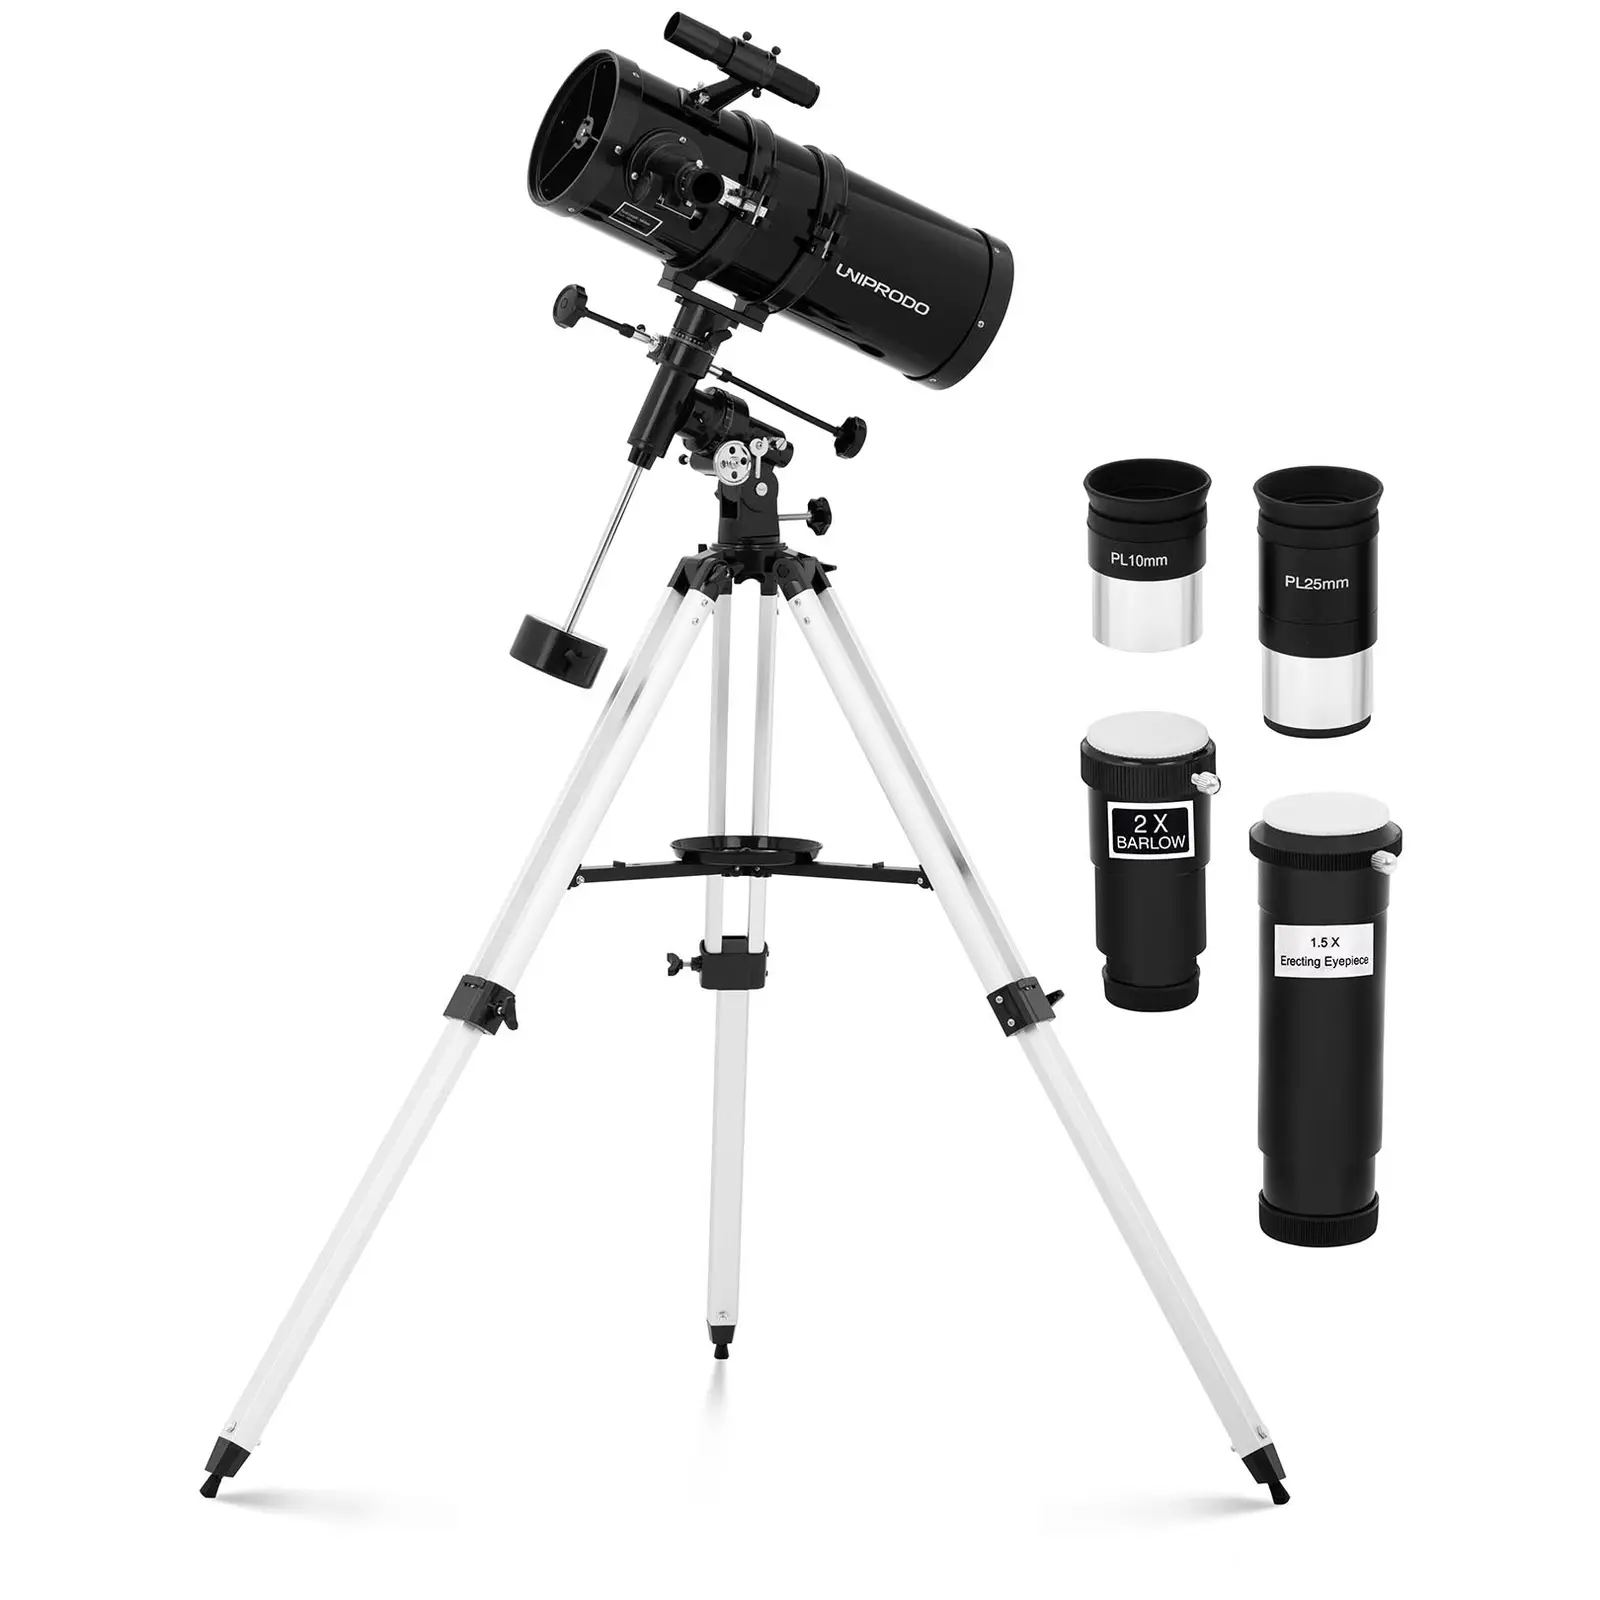
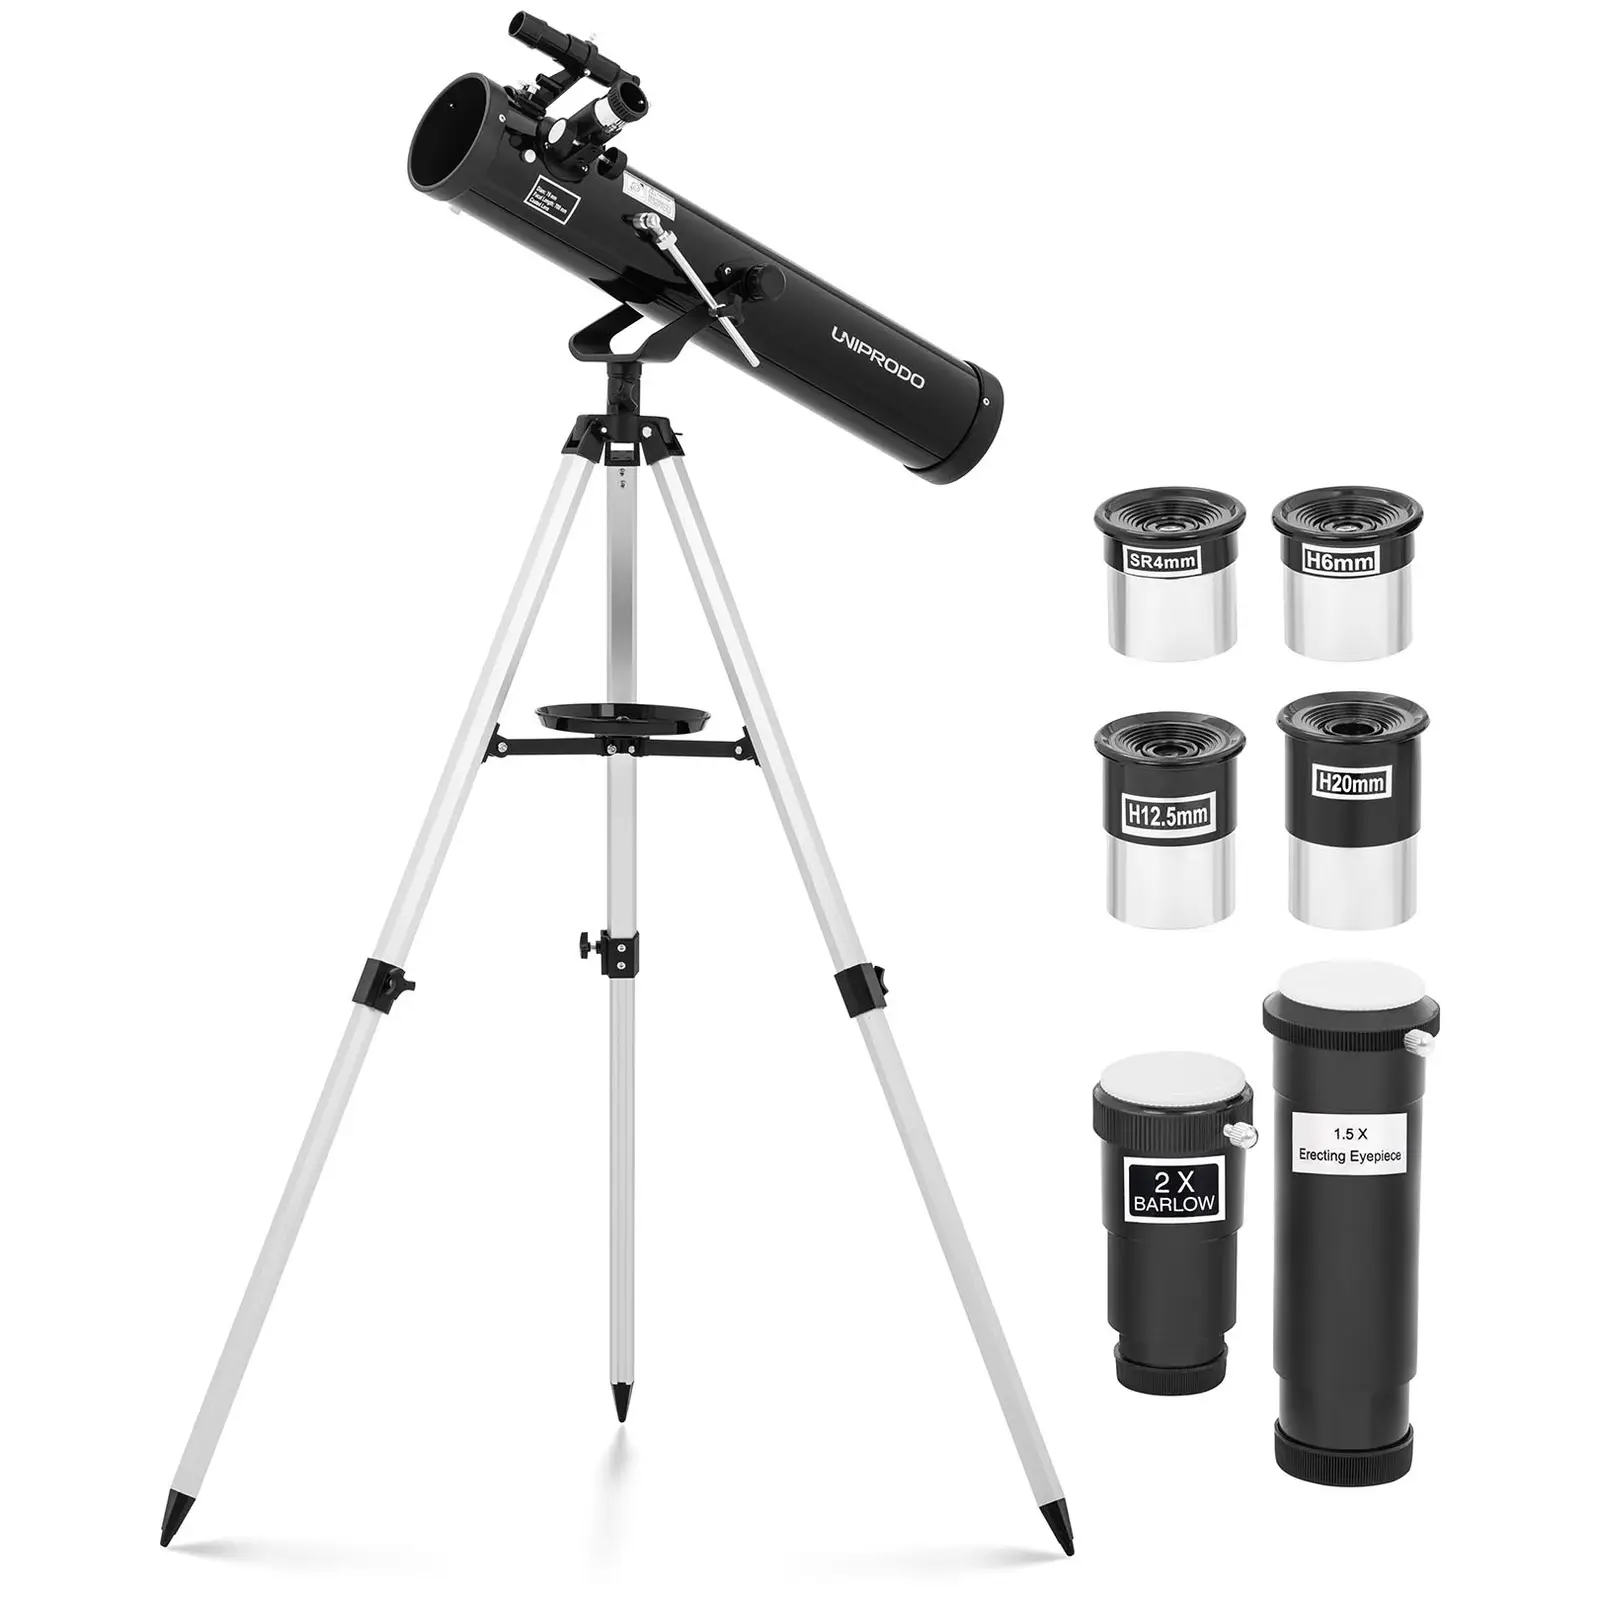
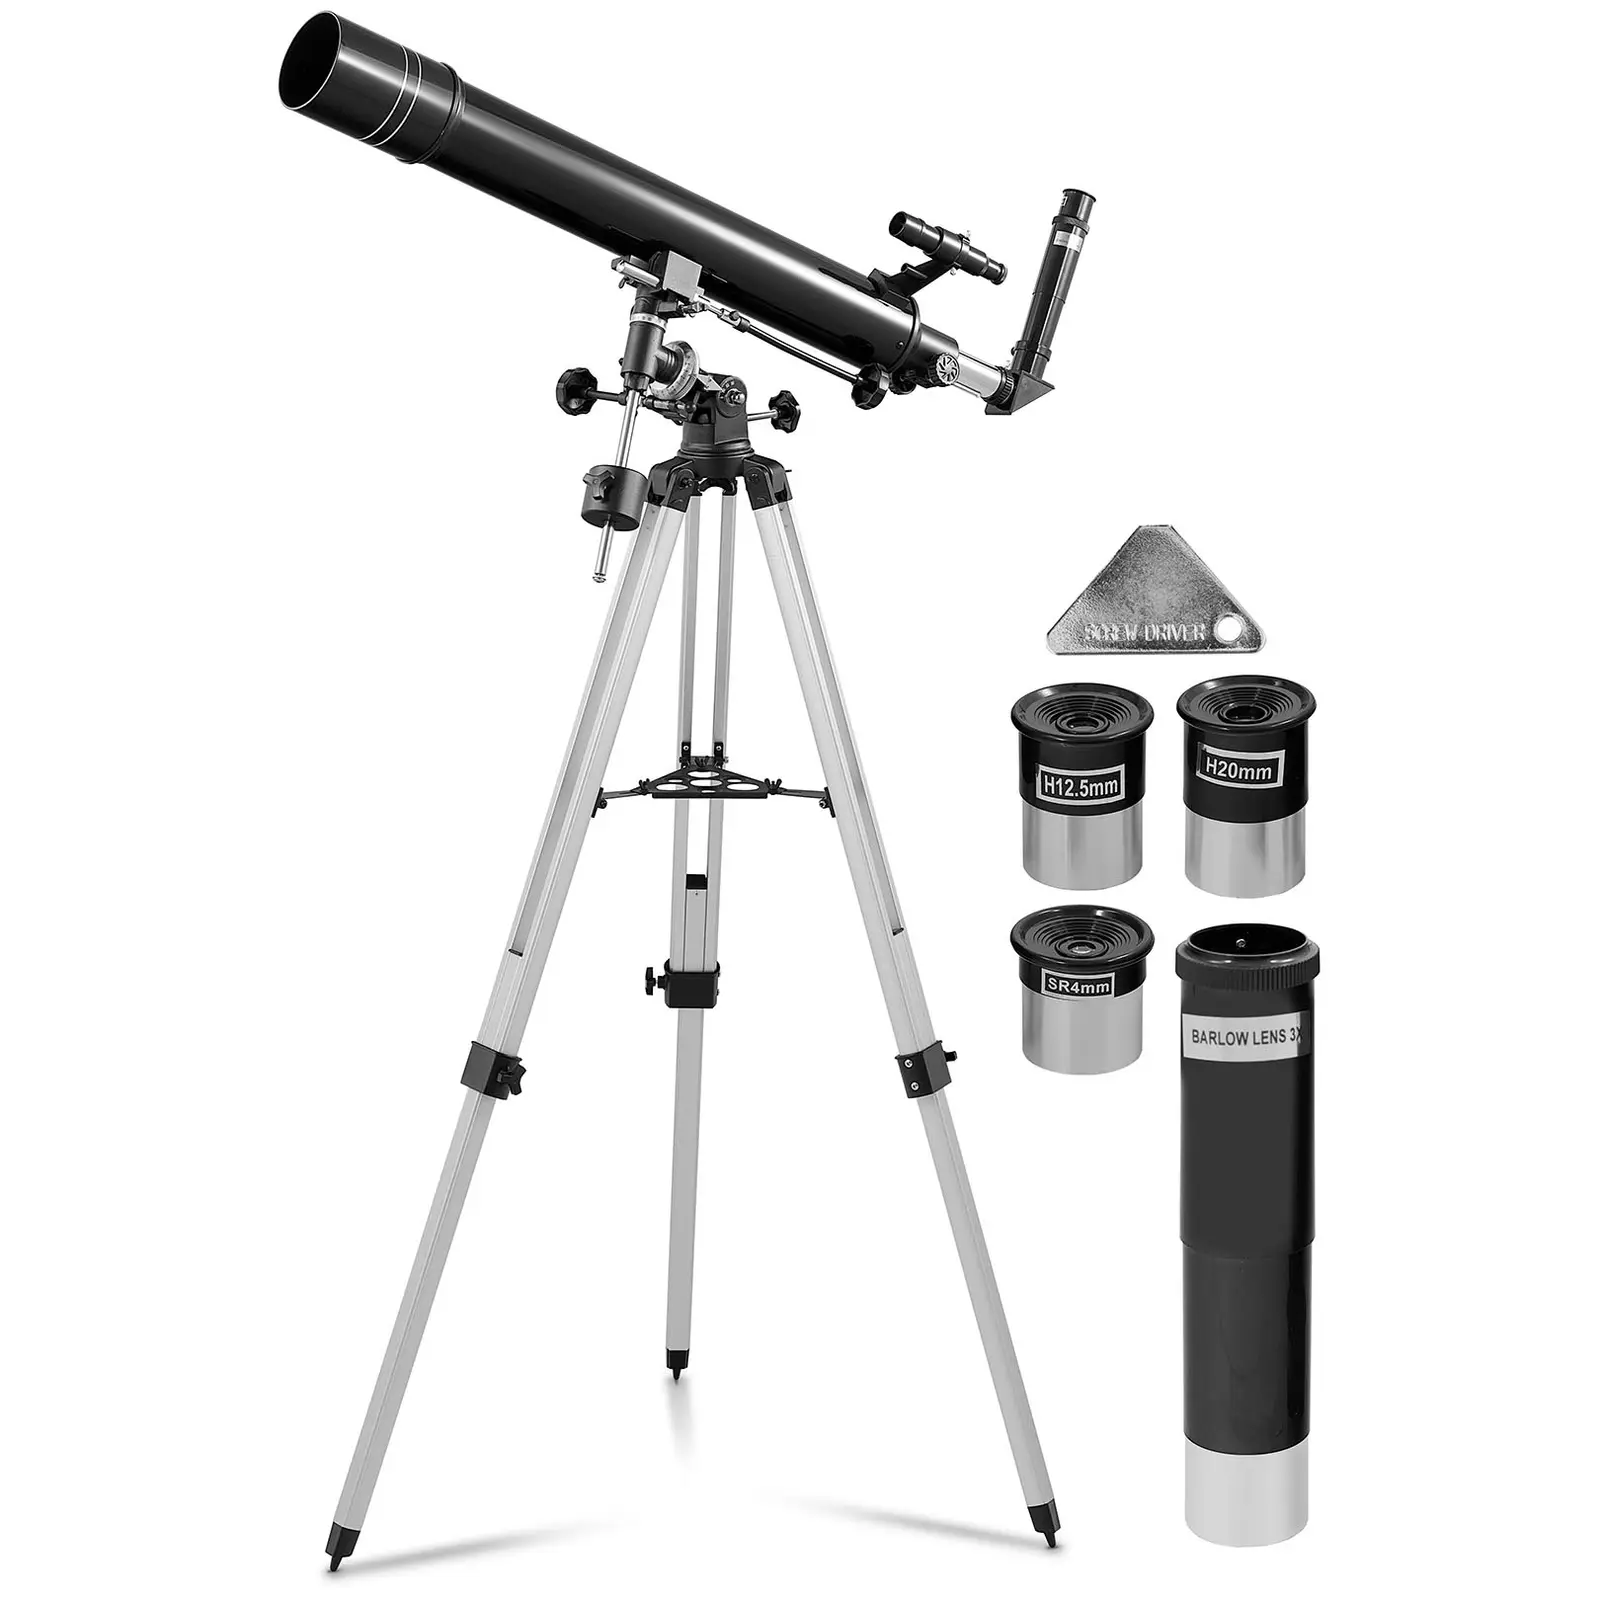
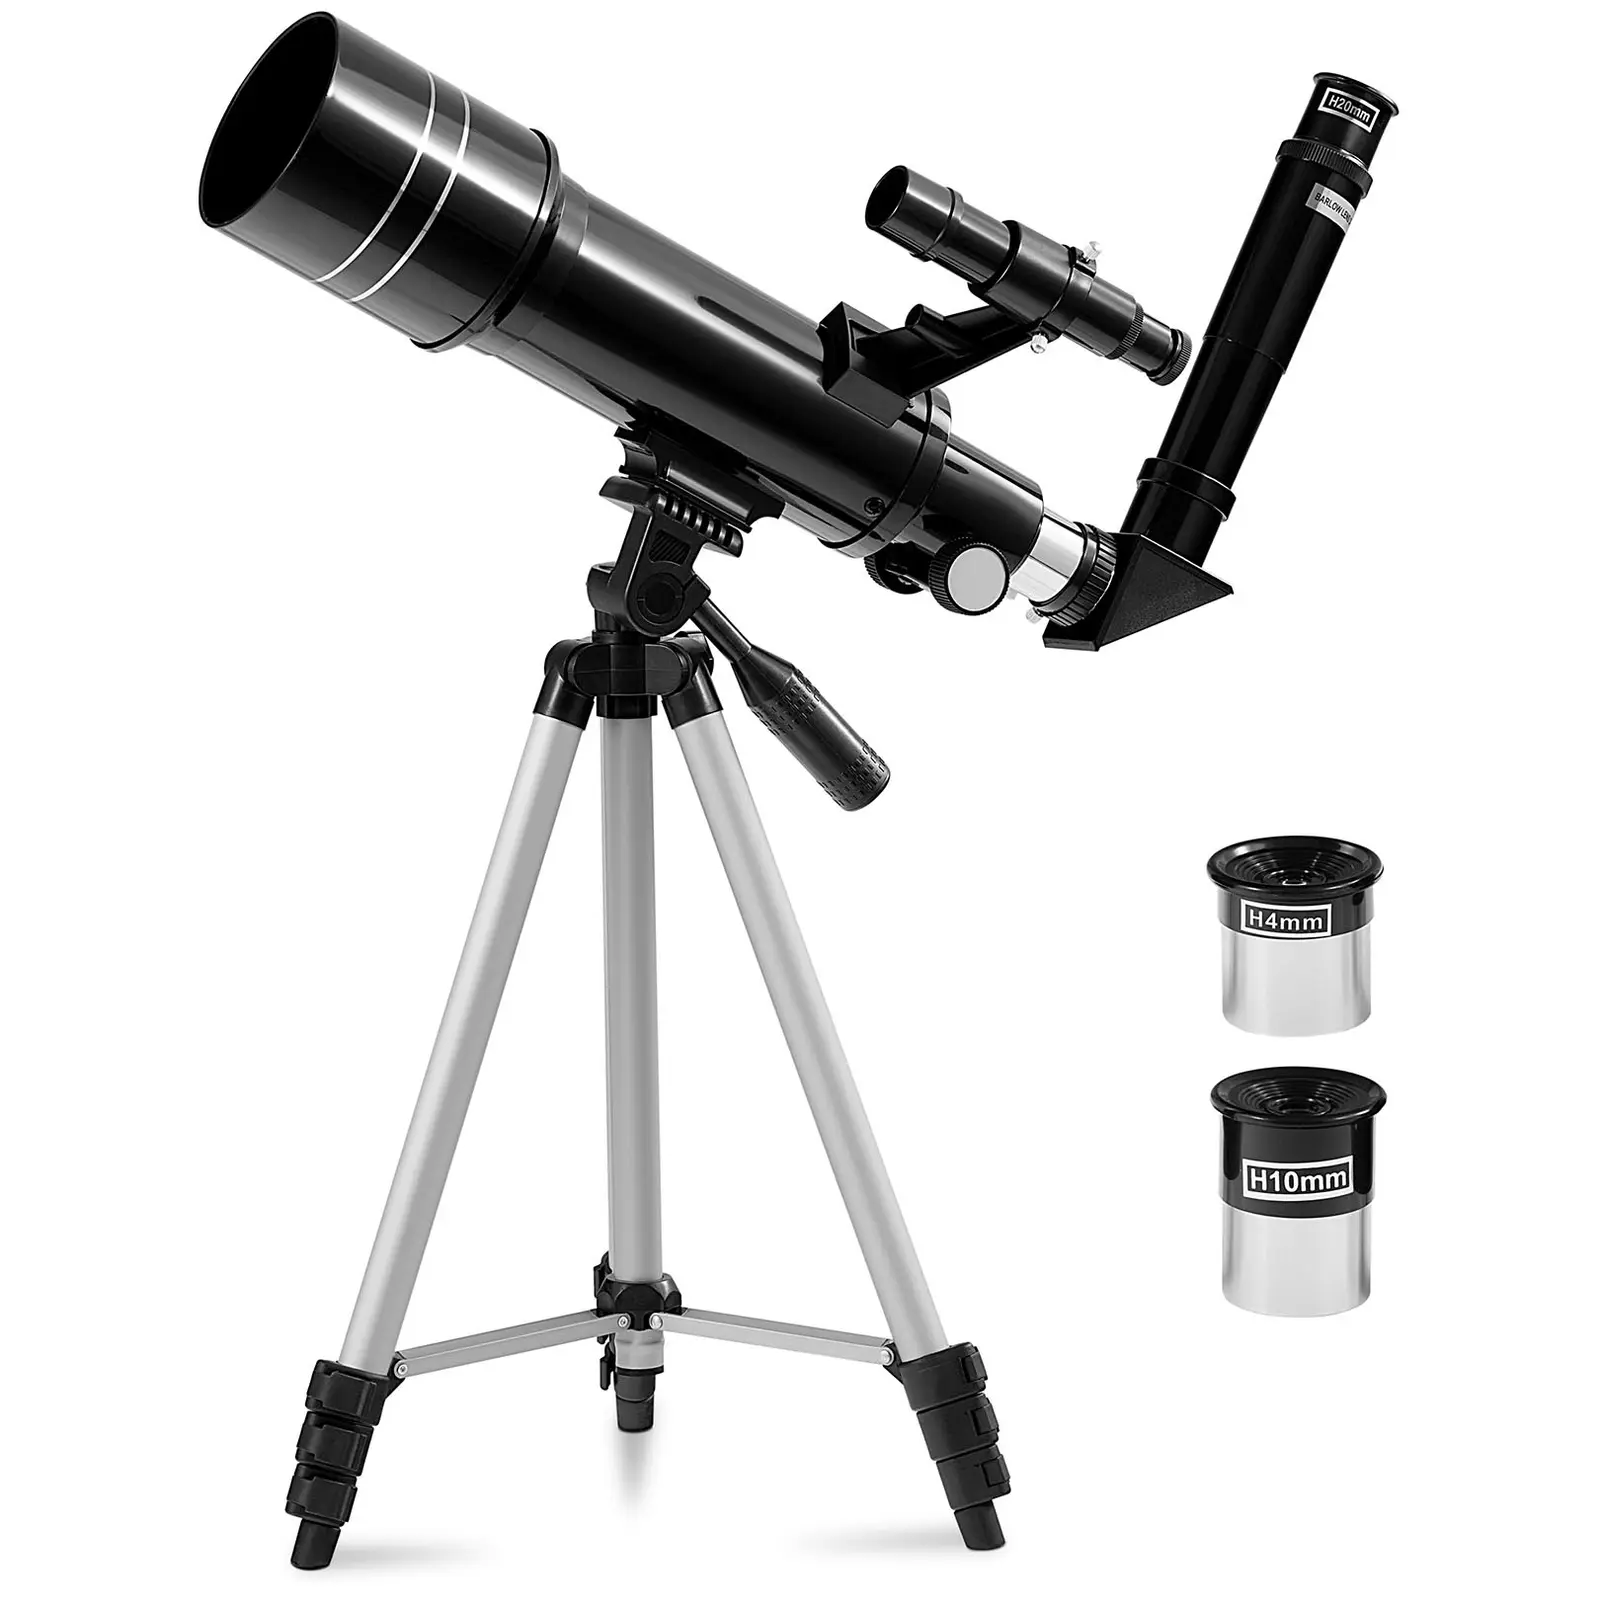
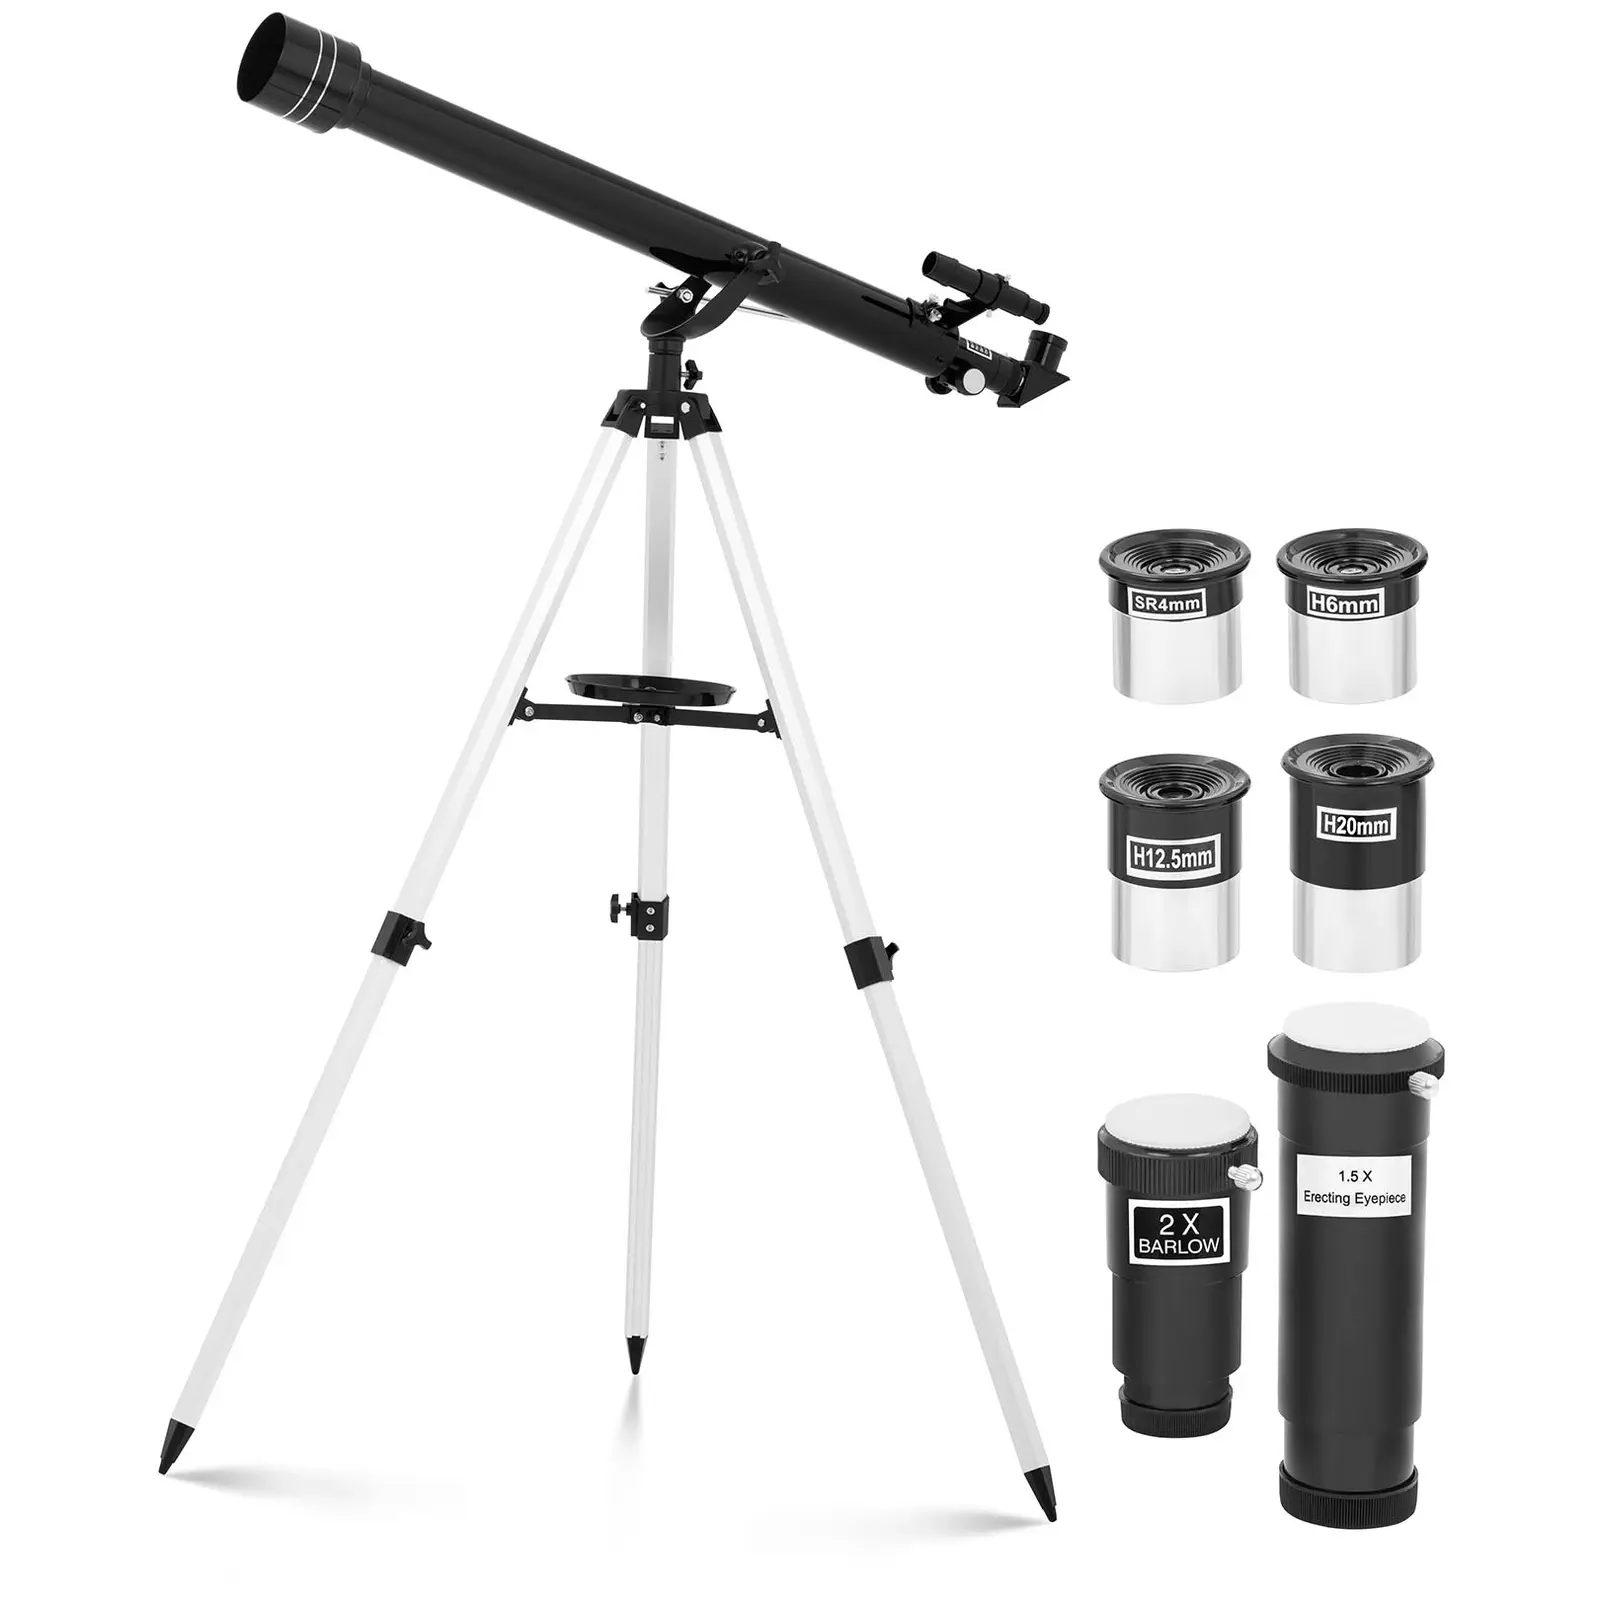
- Telescope – For capturing detailed images of the moon or stars, a simple telescope often suffices. However, for astronomical phenomena like gas or dust clouds, you’ll need a digitally controlled telescope to compensate for celestial movements.
Location is key when it comes to capturing clear images of stars
Even though stars and other celestial bodies appear bright at first glance, stray light can ruin your photos. It’s best to leave the city or town and find a spot free from ambient light. To capture the sky optimally, choose a location that’s elevated or in an open area.
Besides artificial light, the moon is another interference unless you’re photographing it. For clear deep space photos, avoid its light by setting up your camera during a new moon.
The sky above us isn’t static. It changes slowly, but the stars and planets are in different positions every night. To find a specific planet or constellation, check the current sky map for your area.
It’s all about the settings: How to photograph stars and celestial bodies
Get started with night photography after selecting your equipment and location. Test out various settings while remembering these key tips:
- Sensor sensitivity – choose a high ISO number on your device for dim objects like stars or the Milky Way. But don’t overdo it – images start to get grainy from ISO 1600 onwards
- Focal length of the lens – the shorter the focal length, the longer the exposure times you can choose. The effect: More light hits the sensor, and you capture even small light points without them blurring due to the sky’s movement. Generally, exposure times up to 20 seconds are possible without using a star tracker
- Setting focus – always turn off autofocus and set it manually to infinity. Pro tip: You’ll get the sharpest images if you set the lens just before the infinity mark. Find the exact position through trial and error
- Aperture – always choose the smallest f-number, as this allows more light to reach your sensor
- File format – if possible, shoot in RAW format or select the least amount of file compression
- Colours – set the white balance to daylight to achieve balanced colours in the dark
- Telescope – using a telescope gets you closer to the subject. Connect DSLR cameras with an adapter directly to the telescope (without a lens). If using a lens with a telescope, it must be centred, which takes some practice
Photography relies on the light you have. For astrophotography, that means the light from galaxies and stars. With the settings above, plus a bit of patience and practice, you’ll get the most out of even the most distant light sources and make the night sky sparkle!





Share