Pasteurisation is a great way to extend the shelf life of a wide range of dishes and products. However, instead of boiling jars in hot water, you can also pasteurise them in the oven! Find out how to do so and why it's worth the effort.

Pasteurisation is a great way to extend the shelf life of a wide range of dishes and products. However, instead of boiling jars in hot water, you can also pasteurise them in the oven! Find out how to do so and why it’s worth the effort.
What is pasteurisation?
Pasteurisation, also known as food preservation, is a way of preserving food so that it stays fresh for a longer time. The process lets you avoid the use of preservatives, but still have access to fruit, jams and a variety of vegetables throughout the year, using completely natural methods that are safe for your health.
What is pasteurisation? Pasteurisation is the process of heating food at a temperature in the range of 65-90°C, during which organisms and enzymes that contribute to spoilage or risk of disease are destroyed. At the same time, the jars become tightly closed, properly preserving the contents. Fruit, vegetables and even meat can last up to several years following pasteurisation – as long as you choose a dry, cool and dark place for storage.
Oven pasteurisation – how is it done?
How to pasteurise jars There are several methods, the most popular of which is pasteurisation in hot water, and the least is doing it in a dishwasher. Oven pasteurisation comes somewhere in the middle, as it is certainly easier and less engaging than traditional wet pasteurisation (oven pasteurisation is also sometimes called dry pasteurisation).
How can you pasteurise jars in the oven? It’s actually very simple – read on and find out how to pasteurise food in 5 steps:
- Place the jars with the contents on a baking tray with their lids facing upwards, and make sure they are not touching each other.
- If the jars have been cooled, put them in a cold oven, and if their contents are warm, put them in the oven after it has heated up.
- Heat the electric or gas oven to a temperature of approx. 130°C (120°C with hot air circulation). Oven pasteurisation takes place at a higher temperature than wet preserving, because the jars are heated more slowly with hot air than with hot water.
- How can you pasteurise jars in the oven? The entire process should take approx. 30 minutes (or 20 minutes with hot air circulation), but count this time from the moment the required temperature is reached.
- Turn off the oven after half-an-hour, but leave the jars inside. After another 30 minutes you can take out the jars and place them upside down to check that they are properly closed. And that’s basically it!
What can you preserve with this method?
As you can see, pasteurisation of jars in an electric oven is extremely simple and easy. Thanks to this method you will never waste food again. What can you preserve in this way?
- Fruit – jams, preserves or just simply berries, strawberries and other fruit closed in jars for the winter. This is a great way to ensure constant access to these gifts of nature, even when they are not growing outside, and are difficult and expensive to buy, if at all. Thanks to oven pasteurisation you can have these products on hand at any time!
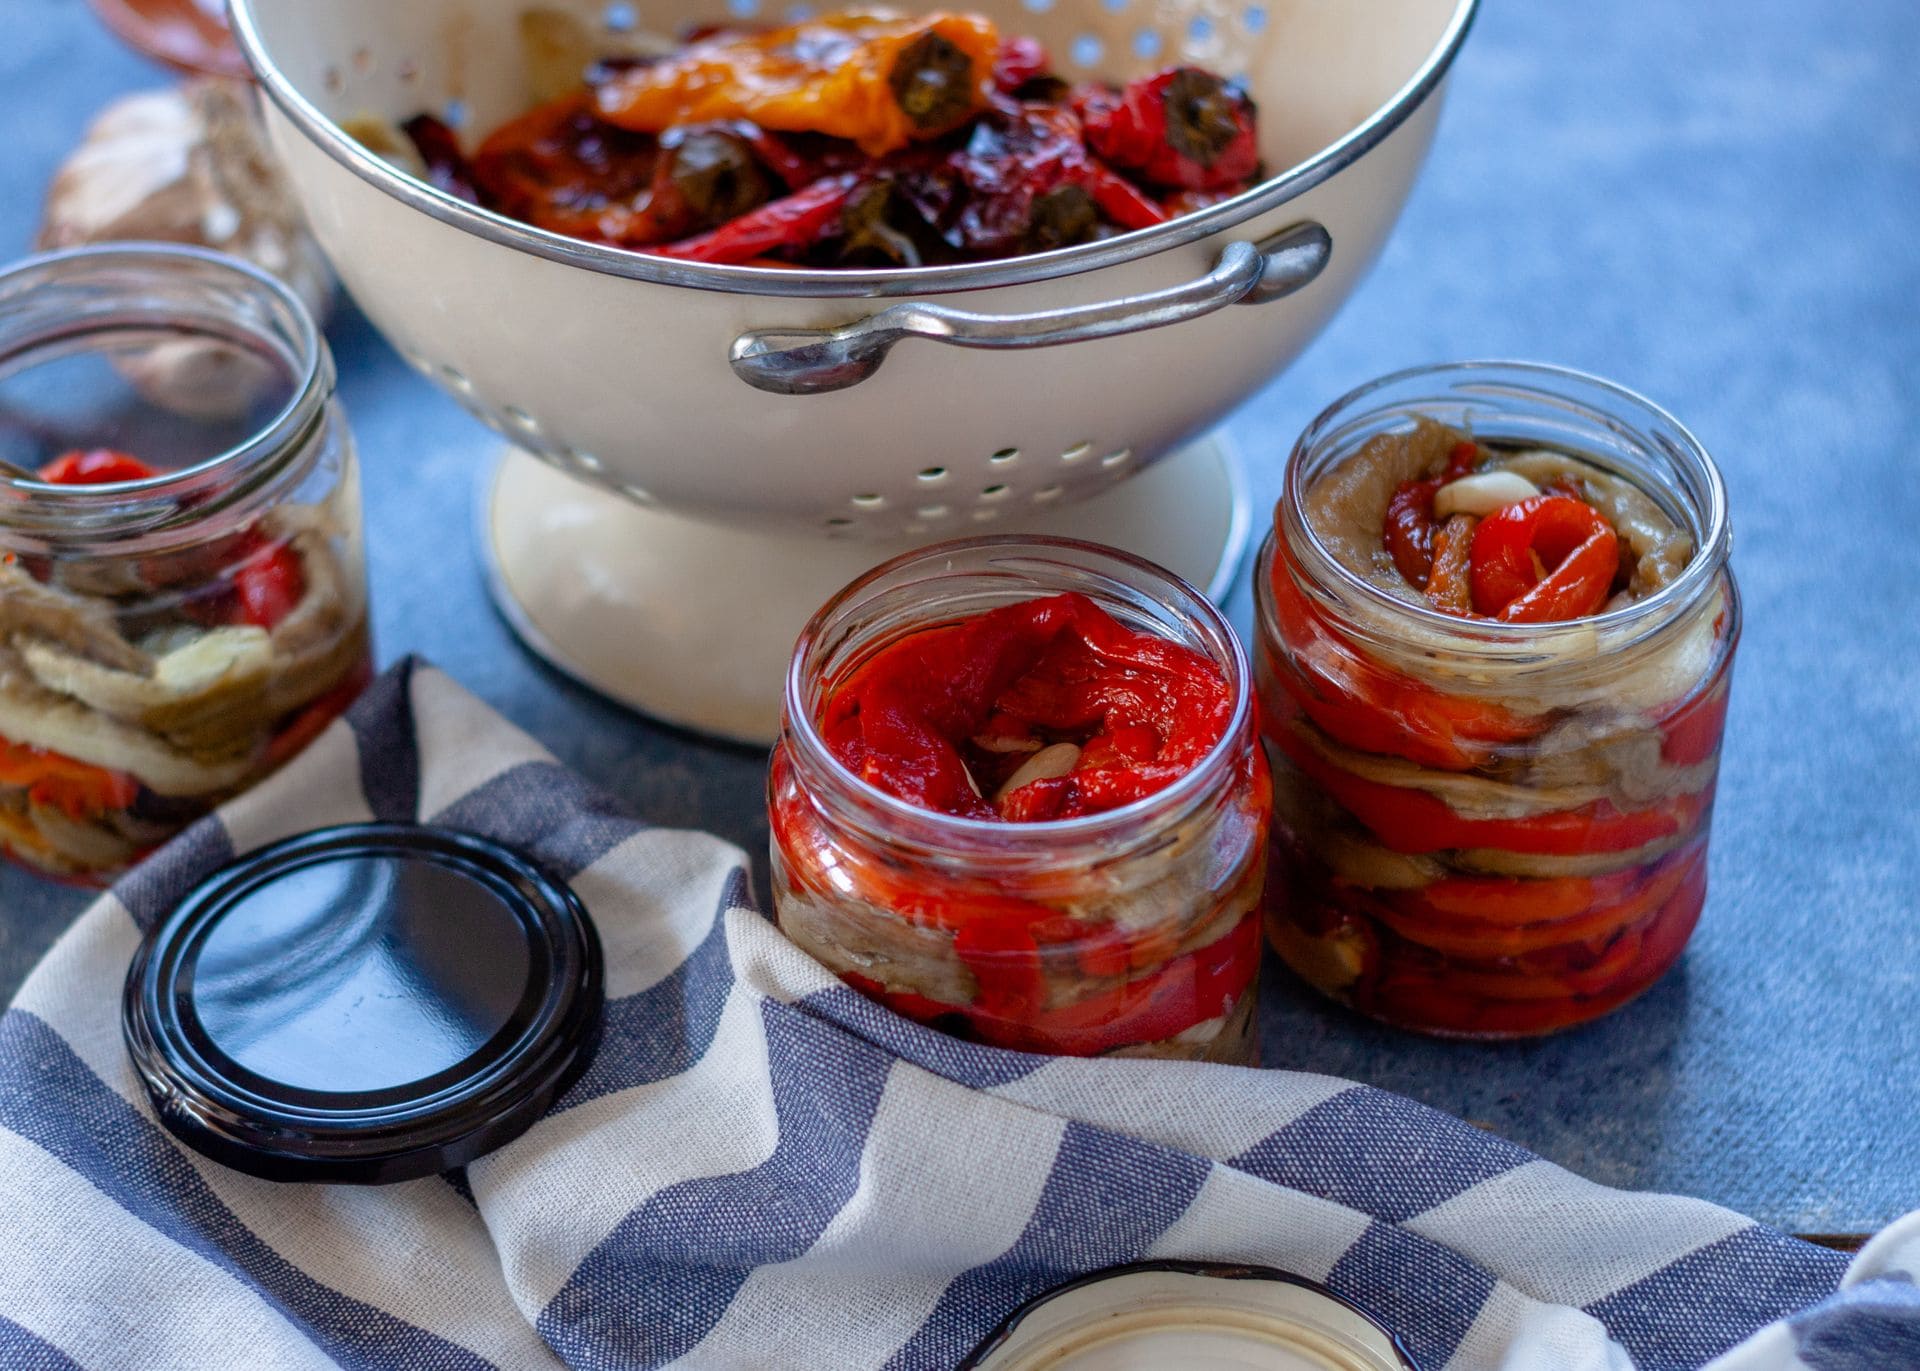
- Vegetables – this preservation method will also work with your favourite vegetables! Start off by preparing some basic pickles, and then aim for more demanding recipes! Beetroot or paprika, or maybe even pumpkin, will be ideal for eating when it is not the season for them to grow. Your options are unlimited!
- Ready meals – what type of meals can you pasteurise in the oven? Or maybe you want to pasteurize your favourite summer stew? Preserving ready meals in the oven is a great solution both if you don’t want to waste part of the dinner you have prepared and when you simply want to stock up with delicious food – even if you rarely have time to cook!
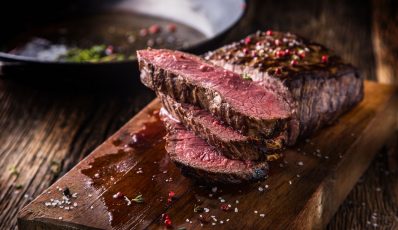
- Meat – jars of meat pasteurised in the oven is another smart idea to avoid food waste (e.g. when you have a lot left over after a barbecue or a large family dinner), as well as a way to better organise your kitchen and everyday cooking. Such meat will be ideal for sandwiches or simply eating together with some vegetables for lunch.
-
Countertop Convection Oven – Timer – Incl. 4 Plates
-
Mini Oven – 1,600 W – 30 L – 5 programmes
-
Countertop Convection Oven – 1,700 W – 12 programmes – incl. oven rack, baking sheet, rotisserie and drip tray
-
Countertop Convection Oven – 1,600 W – 13 programmes – incl. oven rack, baking sheet, rotisserie and drip tray 129.00 €
Necessary equipment for pasteurisation
Pasteurisation in an oven is very simple and requires only basic equipment and accessories. So what do you need to prepare?
- A baking tray, preferably lined with baking paper or other material.
- Jars – with twist-off lids! Sealed jars will not work for oven pasteurisation, as the rubber could be damaged at such high temperatures!
- Labelling – after pasteurisation in the oven each jar should be carefully labelled. Thanks to this, you will know what they contain and when they were pasteurised.
Oven pasteurisation – summary
Preserving food in the oven is very easy! It’s much easier than wet pasteurisation and you won’t burn yourself with boiling water. So preparing your own preserves can be great fun, even if you are not usually a fan of cooking. Thanks to oven pasteurisation you can fill your pantry with delicious fruit and vegetables that are the perfect addition to any dessert or dinner, and even ready-made dishes or meat. The possibilities are endless.


Share