Sanding is the basic method of processing wood, and helps prepare the surface for varnishing or painting. But which sander should you choose to give your furniture or floor a great, new look?
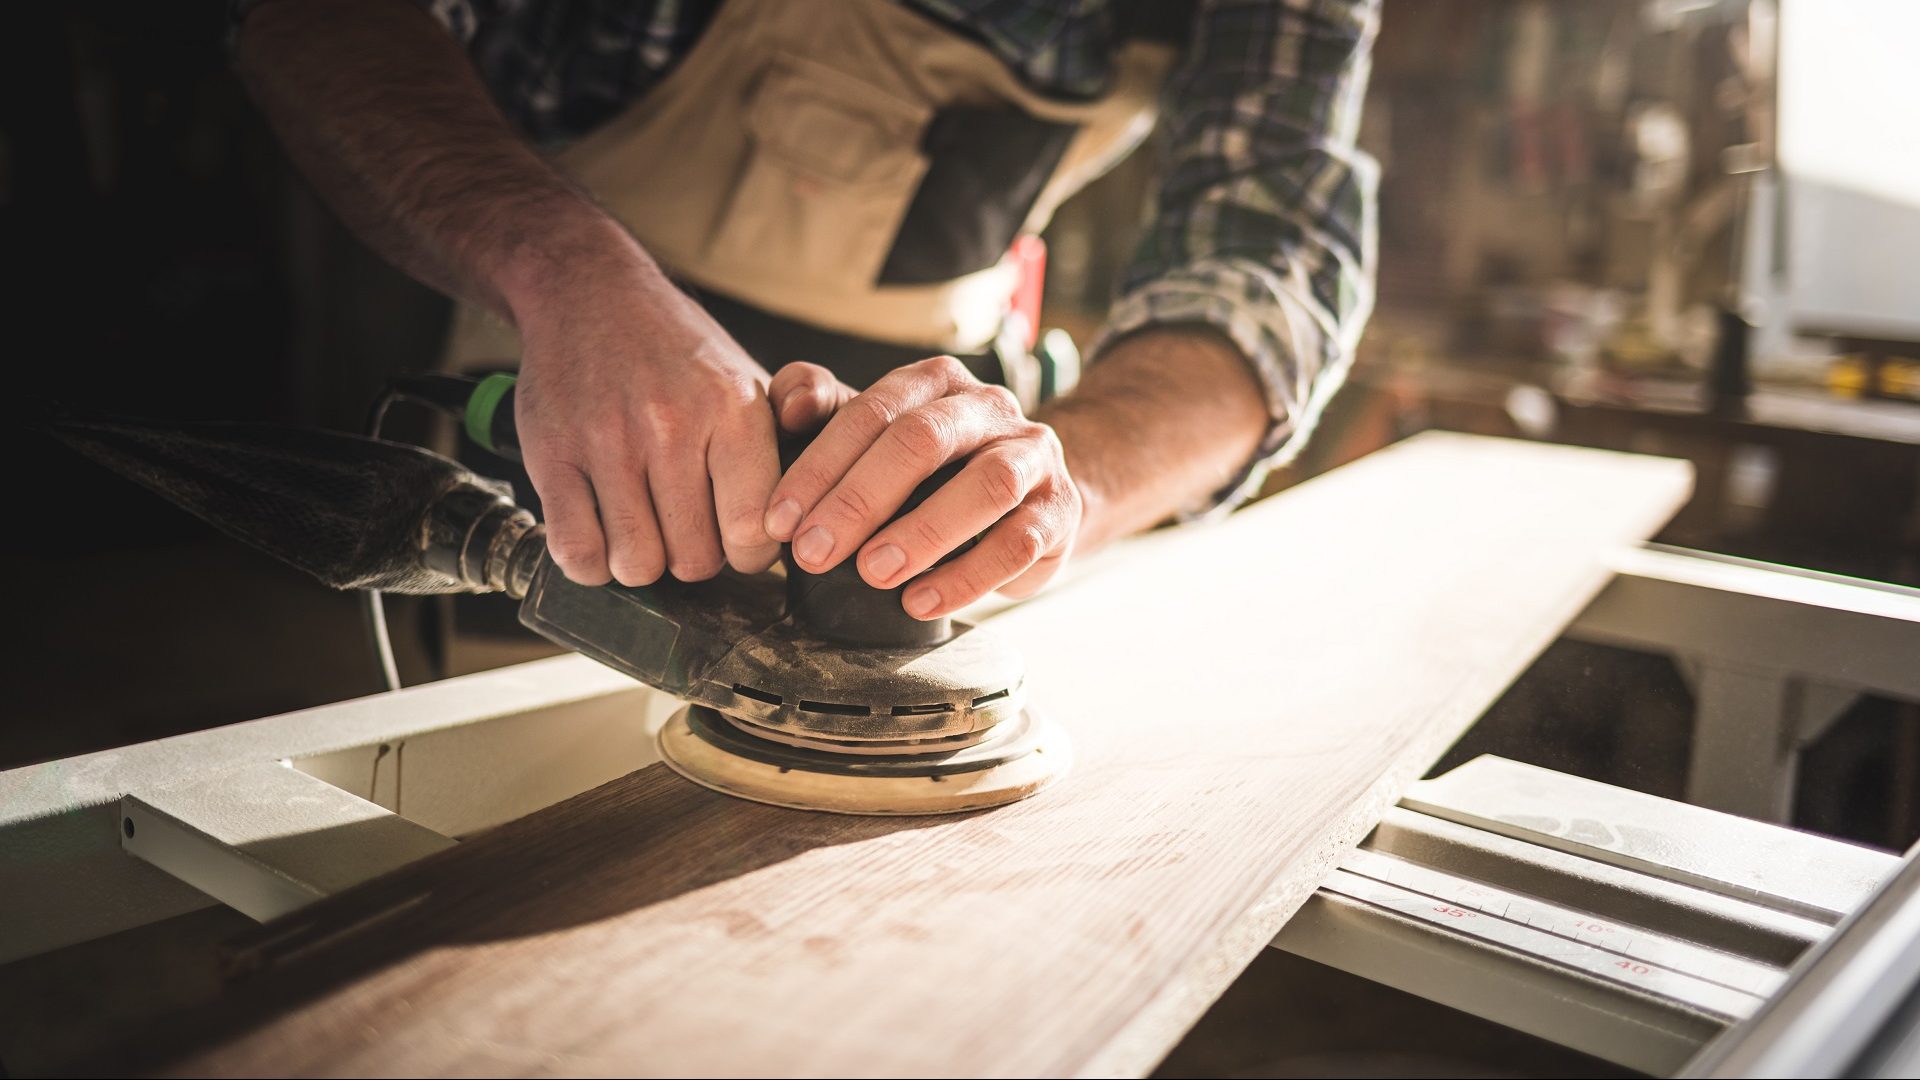
Sanding is the basic method of processing wood, and helps prepare the surface for varnishing or painting. But which sander should you choose to give your furniture or floor a great, new look?
Why do we sand wood in the first place?
Let’s start with the basics. What does wood sanding do? Wood is not as resistant to time or scratches as metal or stone. On the other hand, this is what makes it so special. Each piece of wood has a unique grain pattern, and wooden furniture or floors can be given different textures and colours over the years.
Sanding is the process of levelling and smoothing the surface, by making the top layer uniform. It is therefore vital before impregnating or painting, as wood protection and decoration products work much better on well-sanded wood.
Sanding will also let you can get rid of scratches on wooden surfaces, which is the first thing you should do when renovating a floor, table or a chest of drawers. Sandpaper or a sander will also let you remove old paint, varnish or glue from wood.
You can also sand wood before using veneer. If you plan to glue wooden elements together, it would also be good to sand down the contact areas.
Wood is quite a flexible material and is relatively easy to work with. So what are the most important aspects of wood sanding?
Wood sanding techniques
There are two basic wood sanding techniques: manual and machine, i.e. using a wood sander. What are the main differences?
Manual sanding involves the use of sandpaper. It’s a good idea if you don’t have much experience with power tools or with sanding in general. By doing the job by hand, you will have more control over the process and the risk of damaging the wood will be smaller.
Sanding by hand doesn’t mean you can’t use any tools. You can attach the sandpaper to a special holder, or block. This will make it much easier if you want to sand larger surfaces of wood.
There is one more important thing about manual sanding. This method is good if you want to sand very soft or soft wood, as the wood is then easier to work with. If the wood is medium-hard or hard, you may need to use machine sanding.
A wood sander will significantly speed up the process of smoothing and levelling surfaces. In addition, a sander will let you achieve a more even wood structure.
While manual sanding is definitely cheaper, because all you need are a few sheets of sandpaper with a different grain size, in the long run purchasing a wood sander may turn out to be a better deal, letting you save much more than just time. Sanders are generally rather universal tools, used for wood and metal processing, and can come in handy at home, in the garden or in the garage.
Sanding wooden furniture
The choice of wood sanding technique should be made not only based on your experience and the potential cost, but also the job you need done. This is particularly relevant in the case of furniture.
So how should you choose which technique to use? If you intend to sand a wooden table, worktop, chest of drawers or the sides of a wardrobe, a wood sander will be a more efficient and practical option. Sanders are ideal for flat and large surfaces.
Sanding larger pieces of wooden furniture by hand can be both tough and time consuming. Sandpaper is better for angles and curves, as well as all kinds of decorative elements.
So the basic rule is: for larger surfaces and general sanding needs, a wood sander will be better, but for small details, do the job manually with sandpaper.
Which sandpaper should you choose for sanding wood?
Whether sanding by hand or with a wood sander, you will need the appropriate sandpaper (in the case of a sander it will most likely be a Velcro sanding disc with sandpaper). The full process will require several types of paper with a different grain size.
What does grain size mean, and what are the differences? The grain size literally means how big the grains on the sandpaper are. The smaller the number, the bigger the grains.
The most common classification of sandpaper grain size is as follows:
- coarse grain: 40-60,
- average grain: 80-120,
- fine grain: 150-180,
- very fine grain: 220-240,
- super fine grain: 280 and above.
When sanding wood, you should progressively go through the different sizes, from coarser (a low number) to finer (a higher number) sandpaper. In other words, start by sanding harder and more aggressively, then move on to more delicate smoothing and refining of the wood surface.
When should you choose each kind of sandpaper? If you are sanding untreated wood, it is a good idea to start with a grain size of 80 to 100. This grain size will let you remove the largest cavities and bumps. If the surface requires some serious processing, then you can use even thicker sandpaper, for example with a grain of 40 or 60. Large grains will also be useful if you want to remove old paint, varnish or glue from a piece of furniture or any other wooden item.
Paper with a grain size of 100 and above will help you remove subsequent layers of rough texture. The final sanding work should be done with sandpaper with a grain size of 180 to 220. Use finer sandpaper for polishing, i.e. working on wood that has already been treated.
Using too fine sandpaper isn’t necessarily a good idea. Even after sanding, wood should have some texture and should not be perfectly smooth. Otherwise, it may be too hard to treat or paint. Varnish or paint may not stick to the surface well enough, and could start to peel off after some time. In such cases you will need to repeat the whole process once again.
The grain size of sandpaper for wood is also important depending on the designer tone of wood. If you want the surface to be darker after being treated, use thicker paper. The smaller the grain (i.e. the larger the number), the brighter the wood will be later on.
Sanding per type of wood
You can also choose the suitable grain size of the sandpaper depending on how hard the wood is. The more resistant a given material is to normal wear, the more coarse-grained paper you can use.
For example, when sanding hard wood such as oak, you can start with a grain size of 120, then go to 150 and finish off with 180. But in the case of softer wood, such as linden, spruce or walnut, you can use sandpaper with a grain size of 150, 180, 220, respectively.
When sanding wood you should normally switch from one grain size to the next, but in certain cases you can omit some of them and, for example, go straight to grain size 150 after sanding raw wood with 100. However, be aware of the fact that the final result may be slightly worse than if you stuck to the usual method of moving up one grain size at a time.
What is the best universal set of grain sizes? Your best bet would be a set of grain sizes starting with 100, and then 120, 150, 180 up to 220 (for final delicate sanding).
What wood sander types should you choose?
Sanders can be used in many ways. You can also use them on other material such as metal or stone. What are the types of sanders?
Angle grinders
An angle grinder is a tool for both cutting and cleaning various kinds of material. It can also be used for sanding.
A advantage of an angle grinder is its relatively low price and versatility. To use it for sanding wood, you will need a flap disc or sanding disc onto which to attach a sanding pad.
Due to its relatively coarse grains, the flap disc can be used for preliminary work on harder or rough wood that requires stronger processing. Before using it you should get some practice, because improper handling of an angle grinder with a flap disc may result in damaging or even burning the wood.
A sanding disc, with which you can use various grain sizes, is a better option. The grain size classification is the same as with sandpaper. Sanding discs are therefore easier to use and more practical than a flap disc.
Disc sanders
Disc sanders are usually stationary devices, with a vertically mounted disc and an adjustable base for the item you are sanding.
An advantage of such sanders is their stability. You can use them for jobs requiring a high level of precision. They are often recommended for quick work with smaller wooden elements.
Orbital sanders
Orbital sanders usually have a rectangular or triangular disc for wood. Due to their simplicity and user-friendliness, they are recommended for people with little sanding experience.
Orbital sander are great for both larger flat surfaces and places that are more difficult to reach. They are especially recommended for sanding soft wood.
Compared to angle grinders or disc sanders, they make it easier to keep your workplace tidy. The MSW-SAN105 orbital sander, for example, has a special adapter, which can be connected to a vacuum cleaner. This will let you automatically vacuum up the dust while sanding.
Random orbital sanders
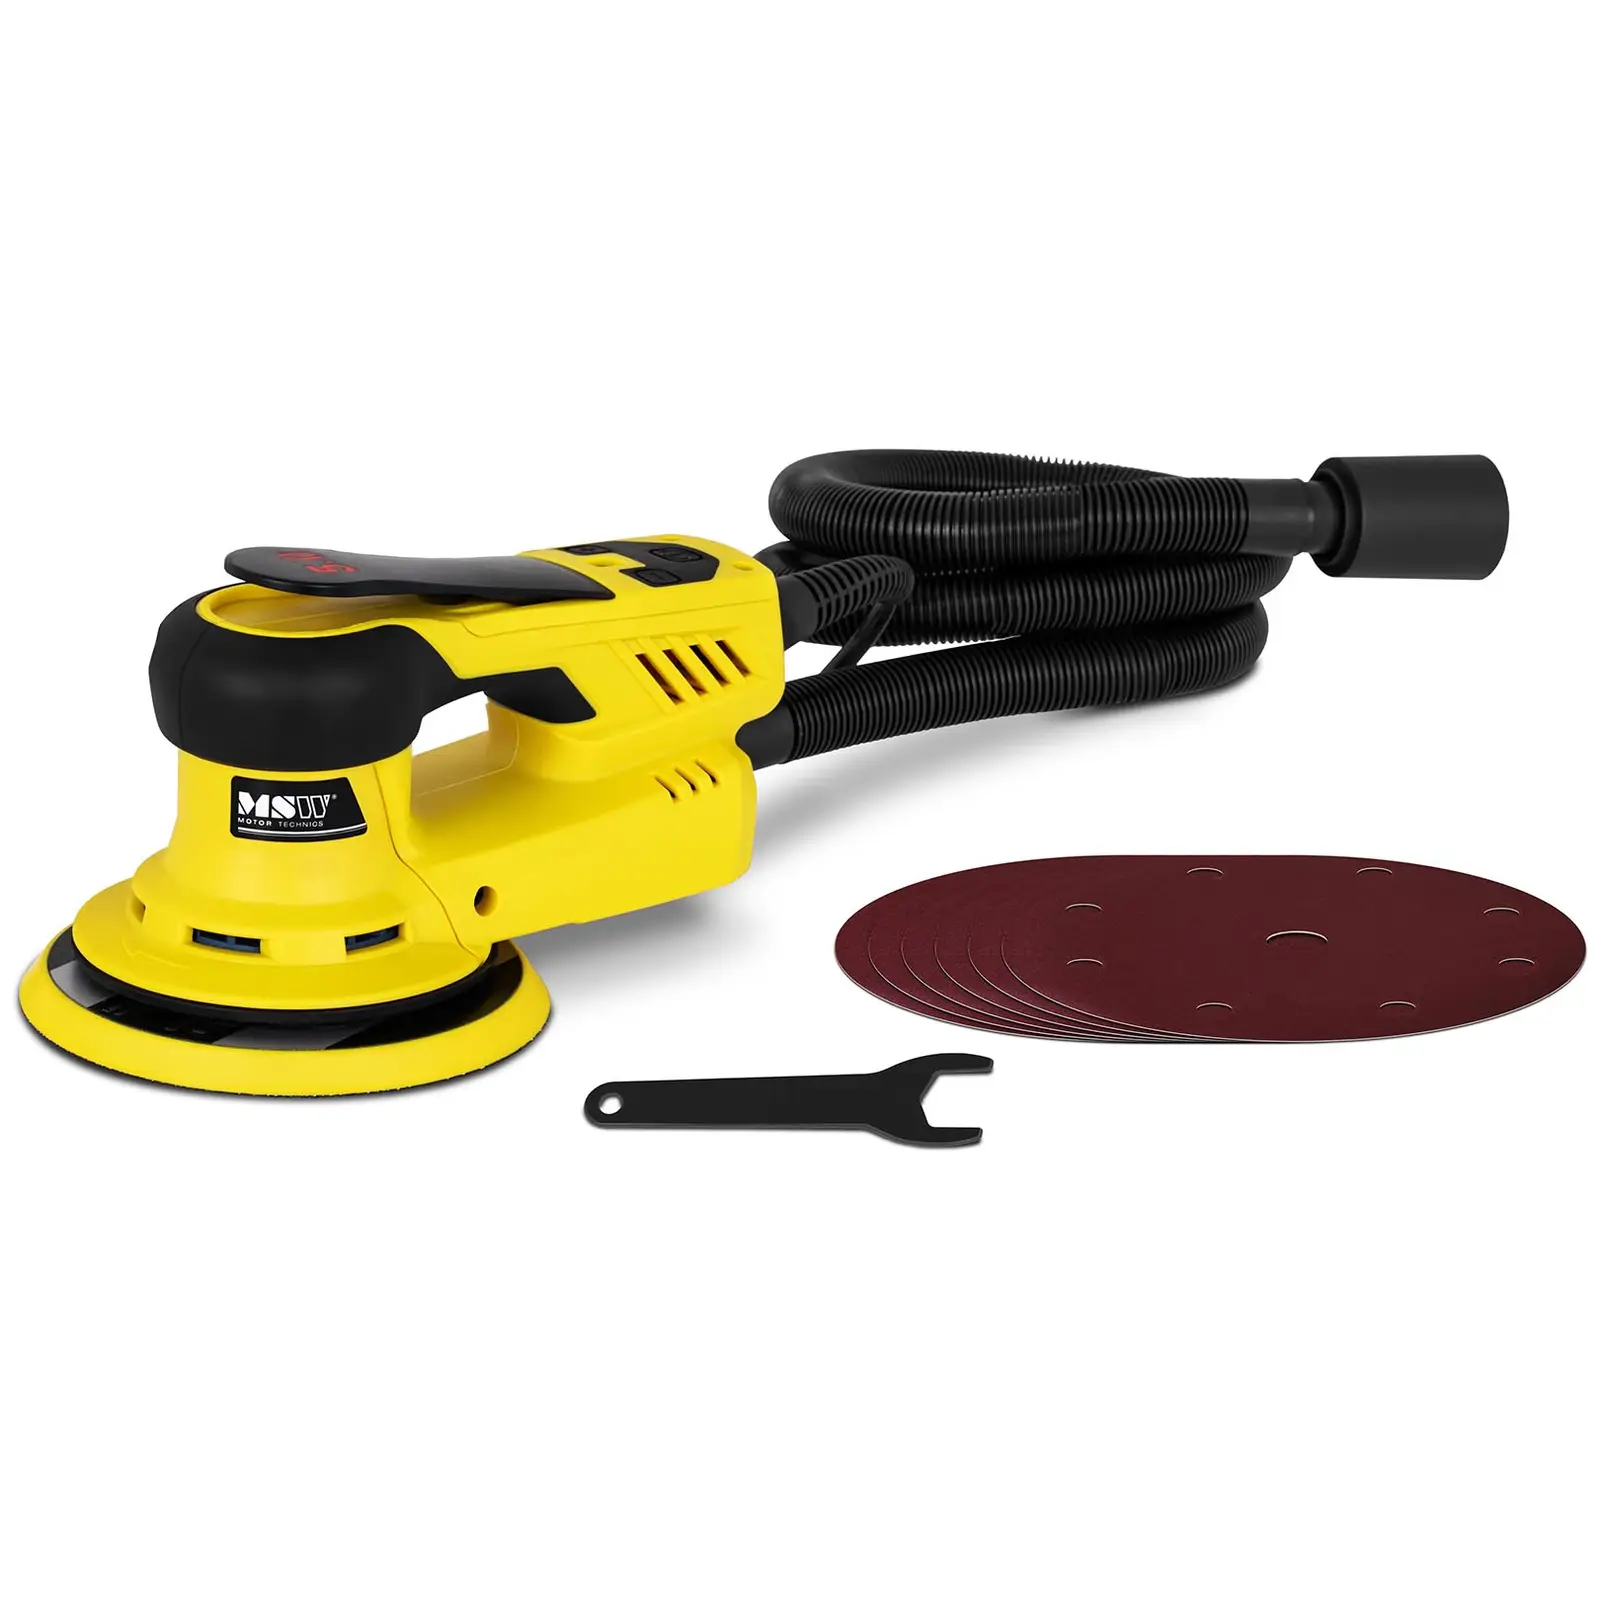
Random orbital sanders are a more sophisticated version of orbital sanders. During use, the angle of rotation of a random orbital sander is variable.
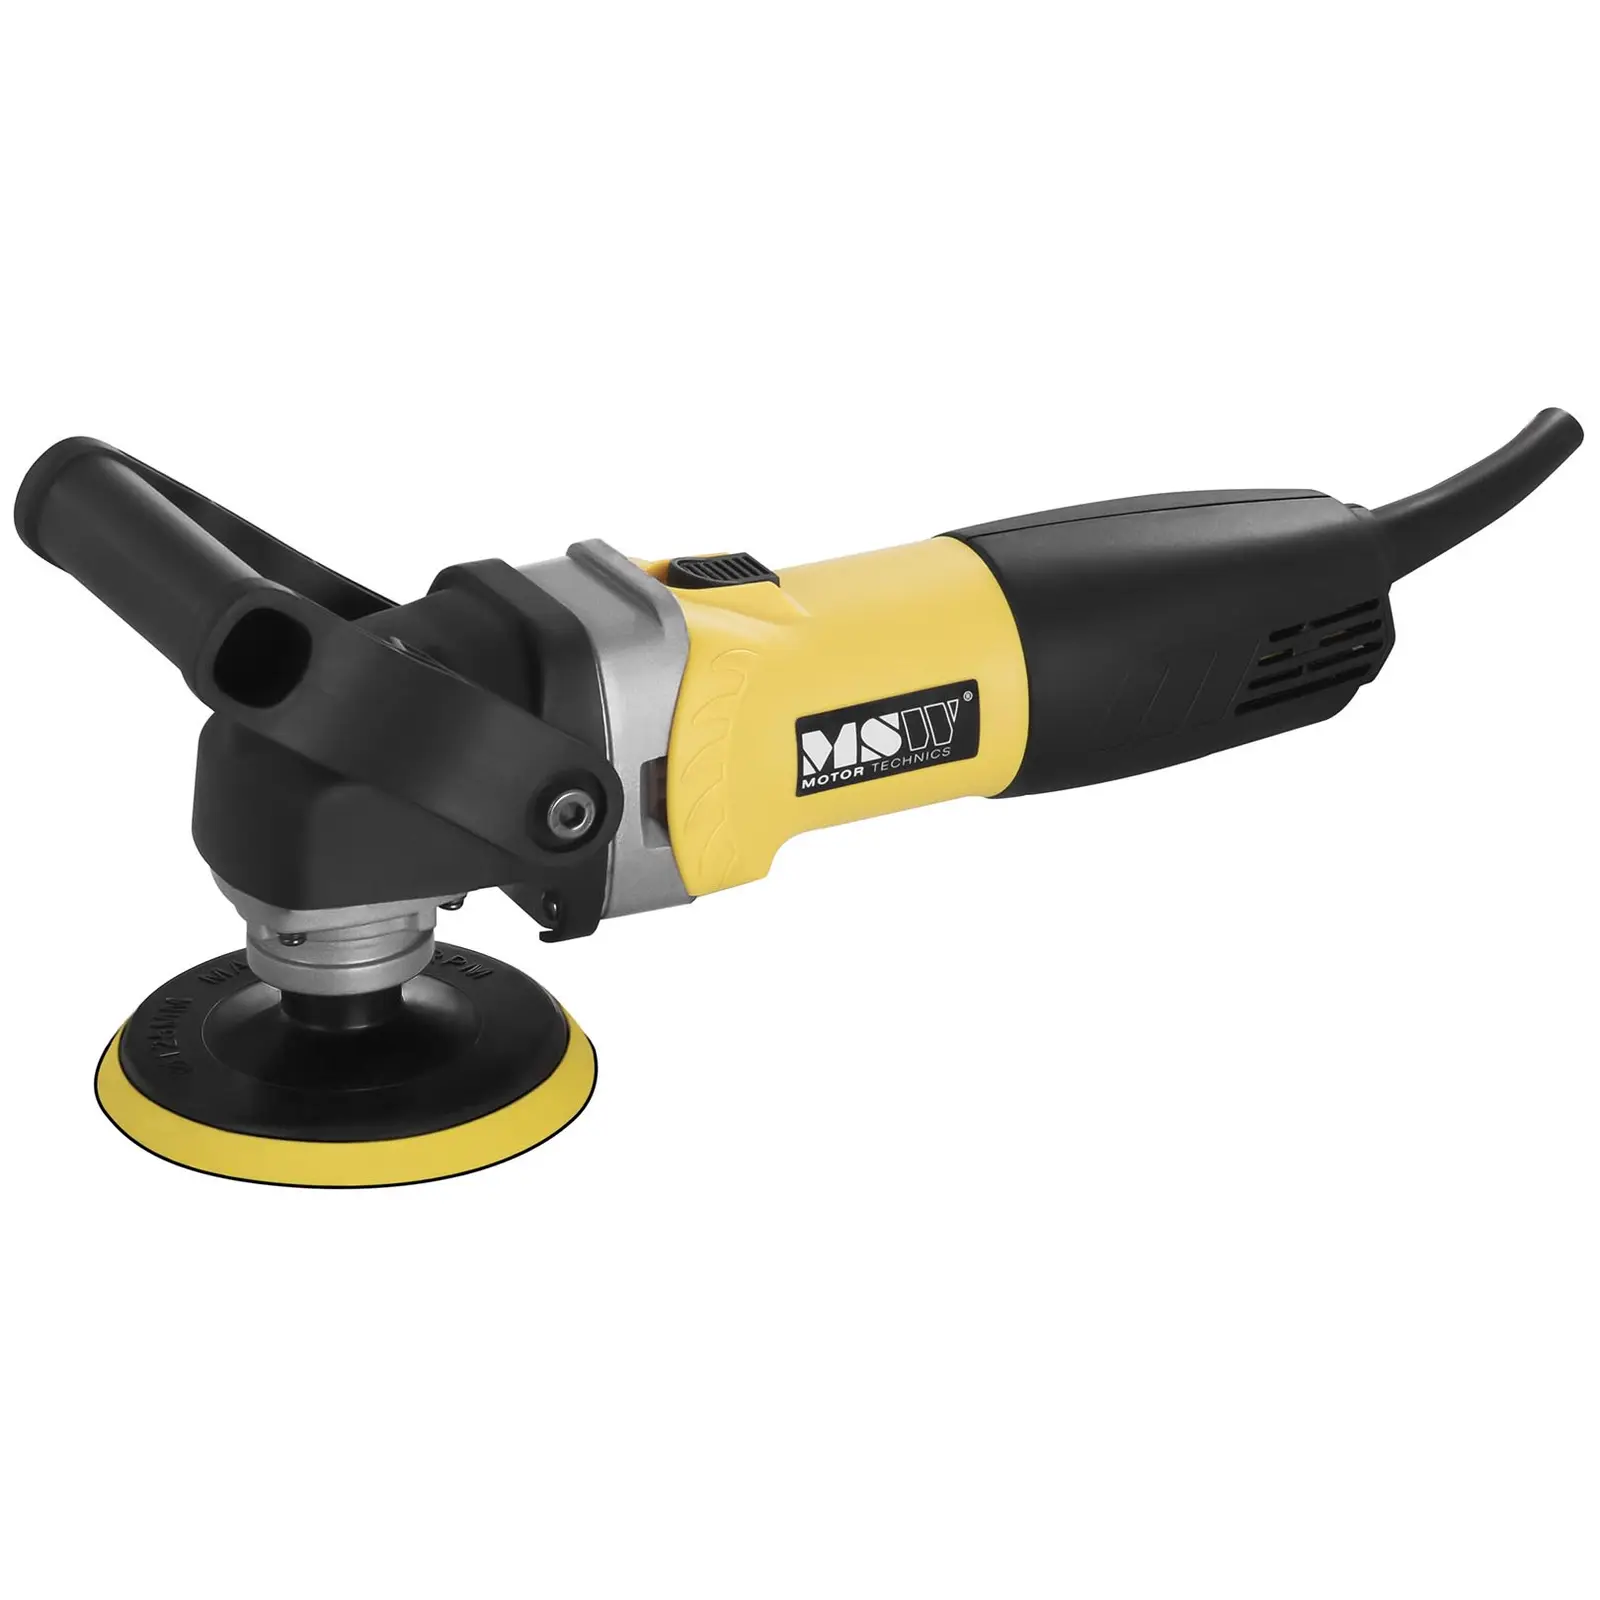
They are also often more powerful than orbital sanders, making them more suitable for processing harder wood or removing old paint. They are also well suited for larger surfaces, although the circular shape of the disc makes them less effective for corners than orbital sanders.
Belt sanders
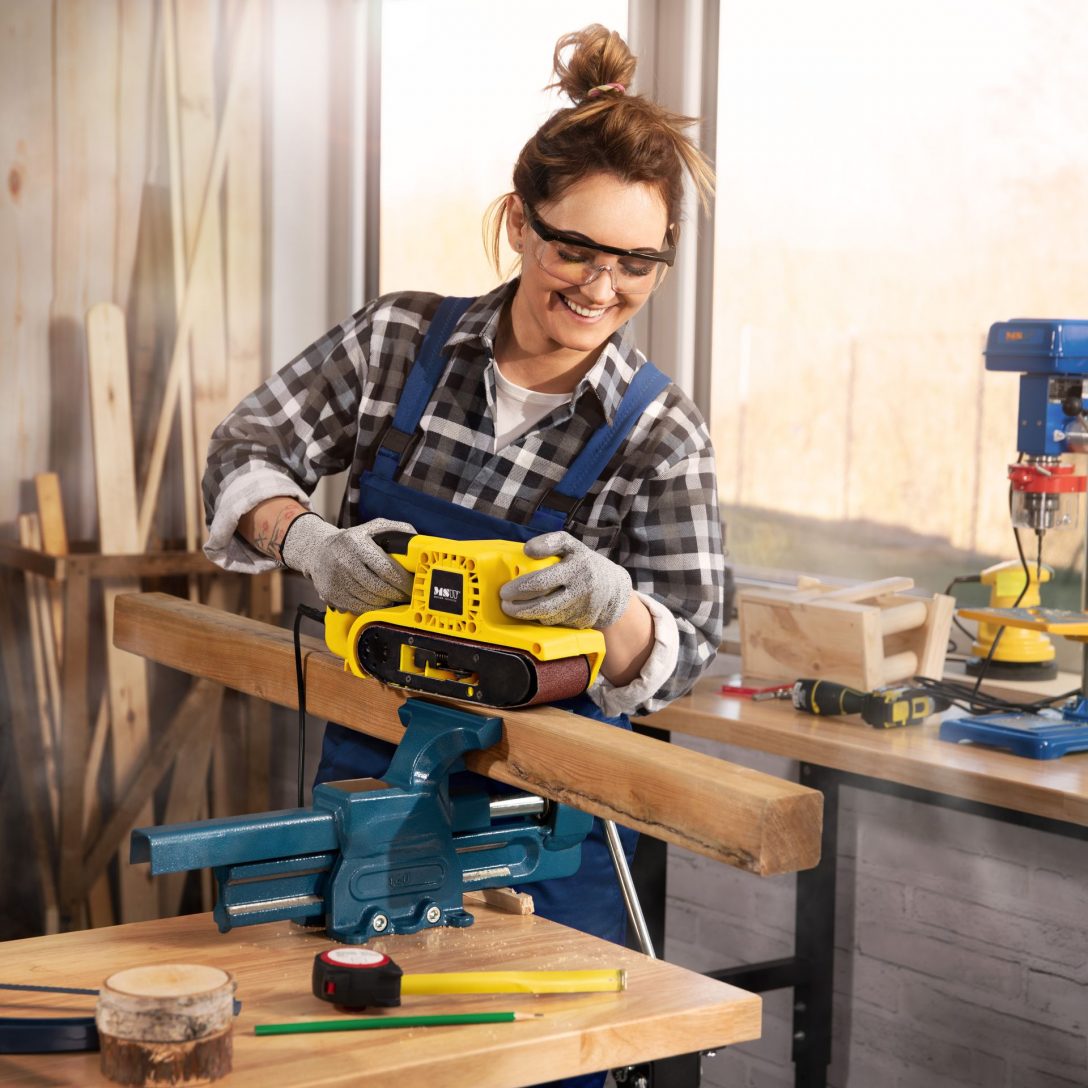
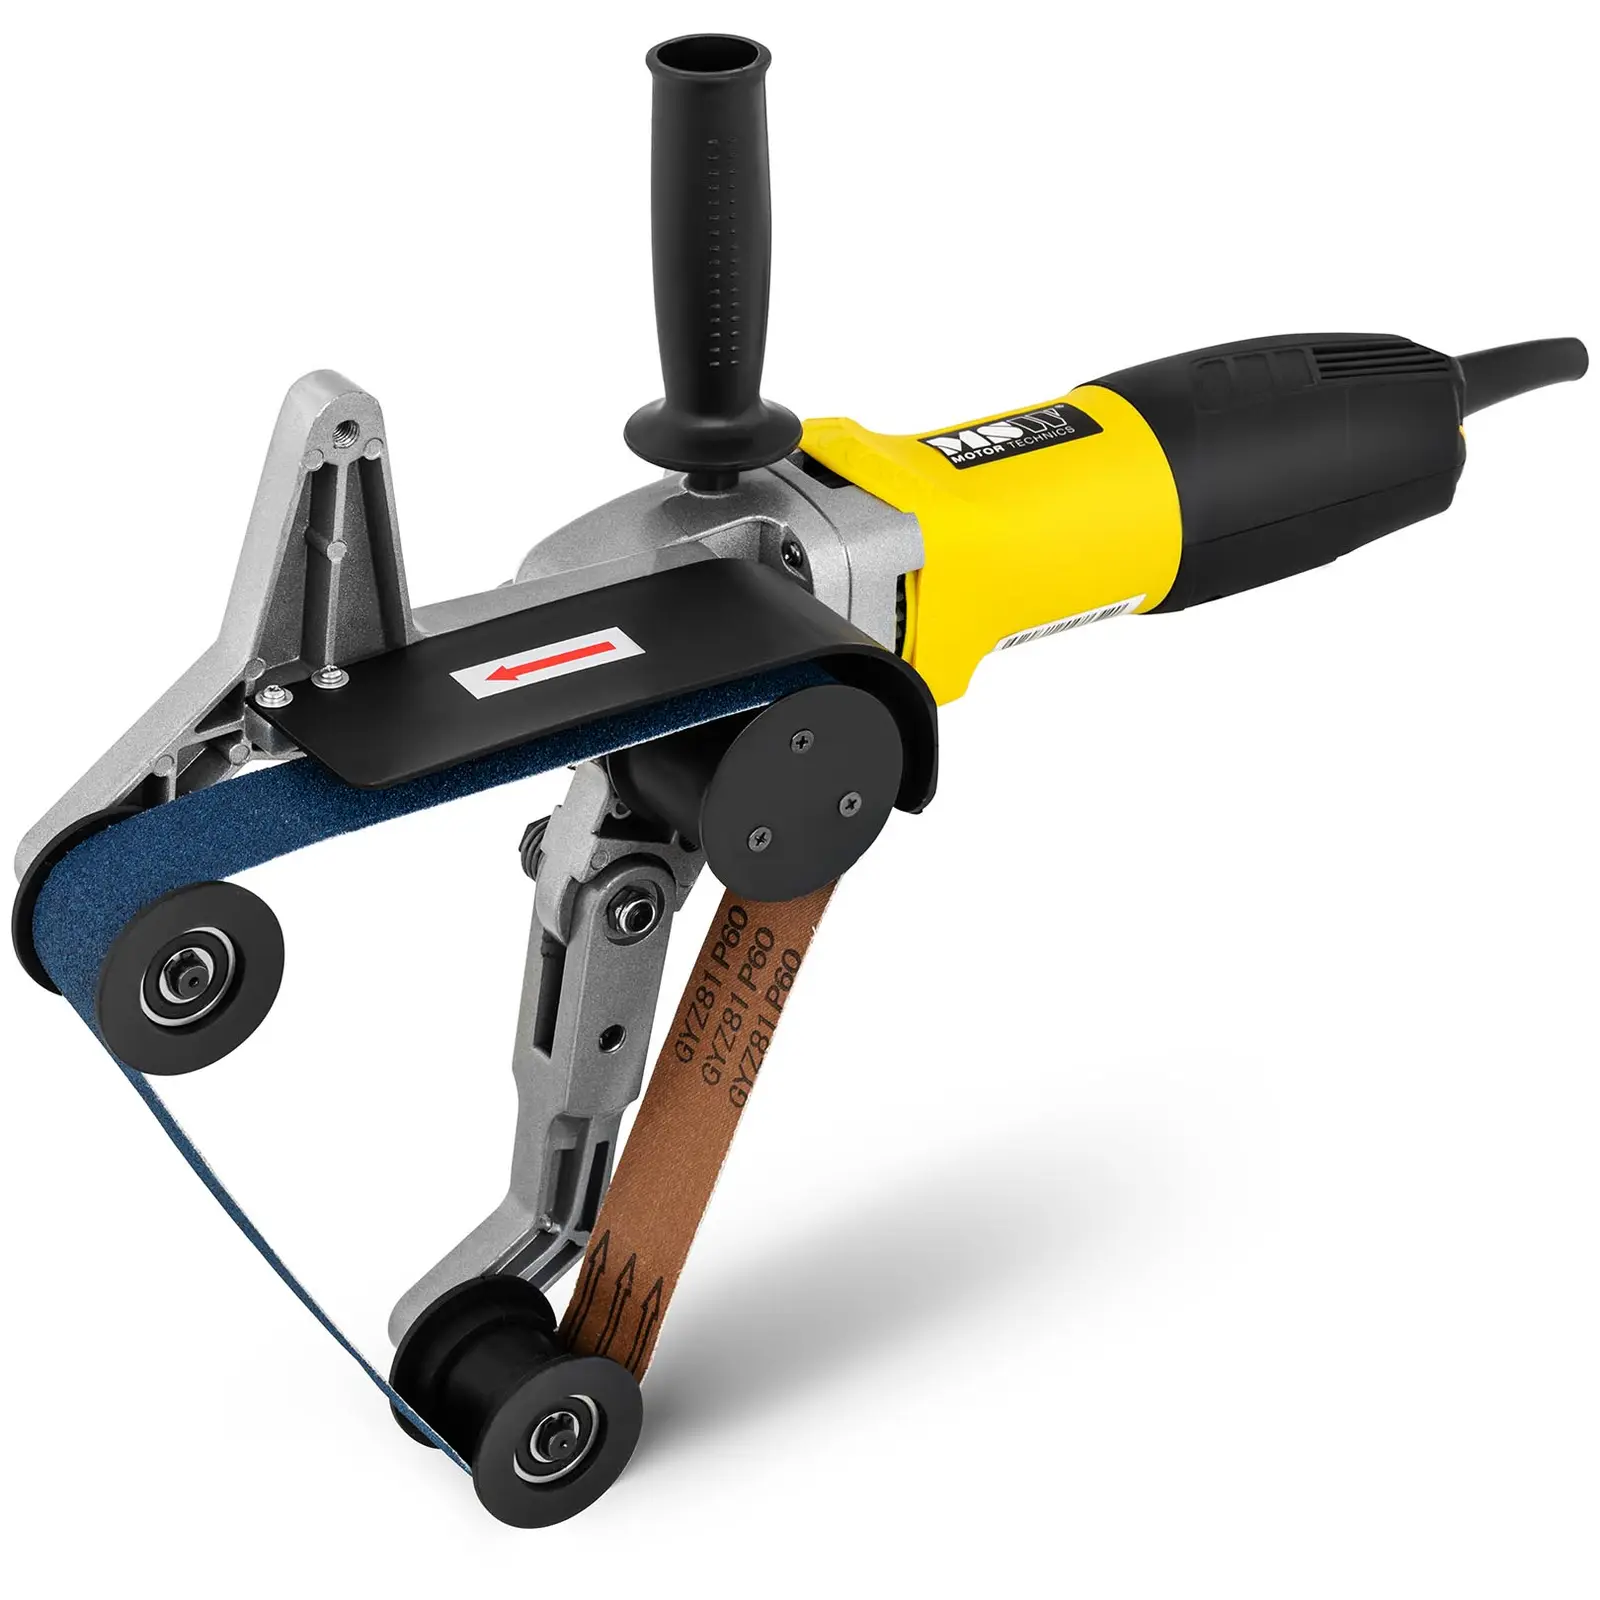
Belt sanders are especially handy for sanding very large wooden surfaces, such as floors or panelling. Using one properly may require more practice than other sanders, but they let you work much faster on harder material.
A belt sander for wood may have a handle for stationary work. There are also cordless models, for example the MSW-POL400AKKL cordless sander, which lets you sand places that are harder to reach, and even sand wood at an angle of 270 degrees.
Preparing to sand wood
What should you remember before sanding wood? Prepare sheets of sandpaper with different grain sizes and additional sanding tools, such as a wallpaper knife for cutting the paper to the right size. A sandpaper block or holder might also come in handy. If you plan to use a sander, prepare a set of wood discs.
Clean the surface to be sanded, but make sure that the wood does not become too moist. Make sure you have a vacuum cleaner or a brush nearby to get rid of the dust from the sanded area as necessary.
How to sand wood
Use sandpaper or sanding discs with the right grain size, as discussed earlier. Use a coarser grain first, then a medium one, and finish with a fine grain.
Do not press the sandpaper or sander too hard against the wood. Also, don’t focus too much on one part of the wood you are sanding. Otherwise, you might damage it or create a cavity that will then need to be smoothened out.
Clean the sanded wood as you go along, before every grain change or even more frequently. If you leave the dust on the wood, particles could stick to it and risk scratching the surface. Ideally you should wipe the wood with a soft, dry cloth after brushing off or vacuuming the dust.
The fibres are basically torn apart during sanding. Therefore, it is very important to sand along the grain! If you sand the wood against the grain, you will begin to damage the fibres. The surface will be rough and scratched, and it will also be uneven. Later on, oil or paint will probably not fully solve the problem.
You can finish off fine details with a sponge wrapped in sandpaper or a special sanding sponge, making it easier for you to distribute the pressure evenly and sand areas more difficult to reach.
Wet sanding
Wet sanding of wood is a specific processing technique. When is it used?
This method will allow you to precisely finish off sanding the wooden surface, or even polish it. It is commonly used in the automotive industry in paint shops and by detailing specialists, but it will also work well with wood.
What should you remember above all? Wet sanding of wood and sanding wet wood is not the same.
Regardless of which technique you use, the wood should be as dry as possible. If you start sanding when the wood is still wet, you could damage both the sandpaper and the surface, and you will not do a very good job. The wood might end up with a spongy texture making it impossible to evenly sand the surface.
With wet sanding, the wood itself is not wet. Water-resistant sandpaper is used, which is dipped in water, reducing friction.
Wet sanding is intended for final touches on a smooth surface. This technique should be used after the first layer of impregnation on the furniture or the floor has been applied.
When wet sanding wood, use sandpaper with a different grain size than compared to dry sanding. It should be very of super fine sandpaper, with a grain size greater than 200 or even 300.
Finishing wood
What should you do when you having finished sanding the wood? You can finish off the wood in many ways, not only protecting the surface, but also giving the wood a specific colour.
The basic method is impregnation. This will protect the wood against UV-radiation or moisture. It can be enriched with pigments that will give the wood a deeper colour, while leaving the rings clearly visible.
You can also use varnish after impregnation, which additionally create a protective layer against scratches and mechanical damage. The varnish coating can be translucent or transparent, letting the wood retain its natural colour.
You can also use more traditional methods, such as waxing or oiling. If you want your wooden elements or furniture to have a specific colour, you can then apply appropriate wood paint. This will cover the natural structure, and at the same time create a protective layer against UV-radiation and moisture.
Summary
Sanding wood is not all that difficult. Above all, remember to use sandpaper or sanding discs with the appropriate grain size, changing it gradually. If you decide to use a wood sander, test it first on a piece of wood that you will not regret damaging. It will then be easier for you to apply the appropriate strength and angle when you sand the piece of wood that needs sanding, as you will feel more comfortable with the technique . Always remember about safety measures. Use gloves, a mask and safety goggles. Find out how to sand plaster next!














Share