Barbecues are a great idea for spending time in the garden during the warmer months. Cheaper, portable barbecues are still popular, but masonry garden grills are becoming more and more popular. They are not only great for preparing delicious outdoor meals, but can also serve as an attractive design element of your garden. Read our article, which is full of useful tips on how to build your own garden grill.
Barbecues are a great idea for spending time in the garden during the warmer months. Cheaper, portable barbecues are still popular, but masonry garden grills are becoming more and more popular. They are not only great for preparing delicious outdoor meals, but can also serve as an attractive design element of your garden. Read our article, which is full of useful tips on how to build your own garden grill.
Types of garden grills
Before starting to build a barbecue in your garden, it’s good to know what your options are. The main differences are the material they are made from and additional design elements.
Brick masonry barbecue
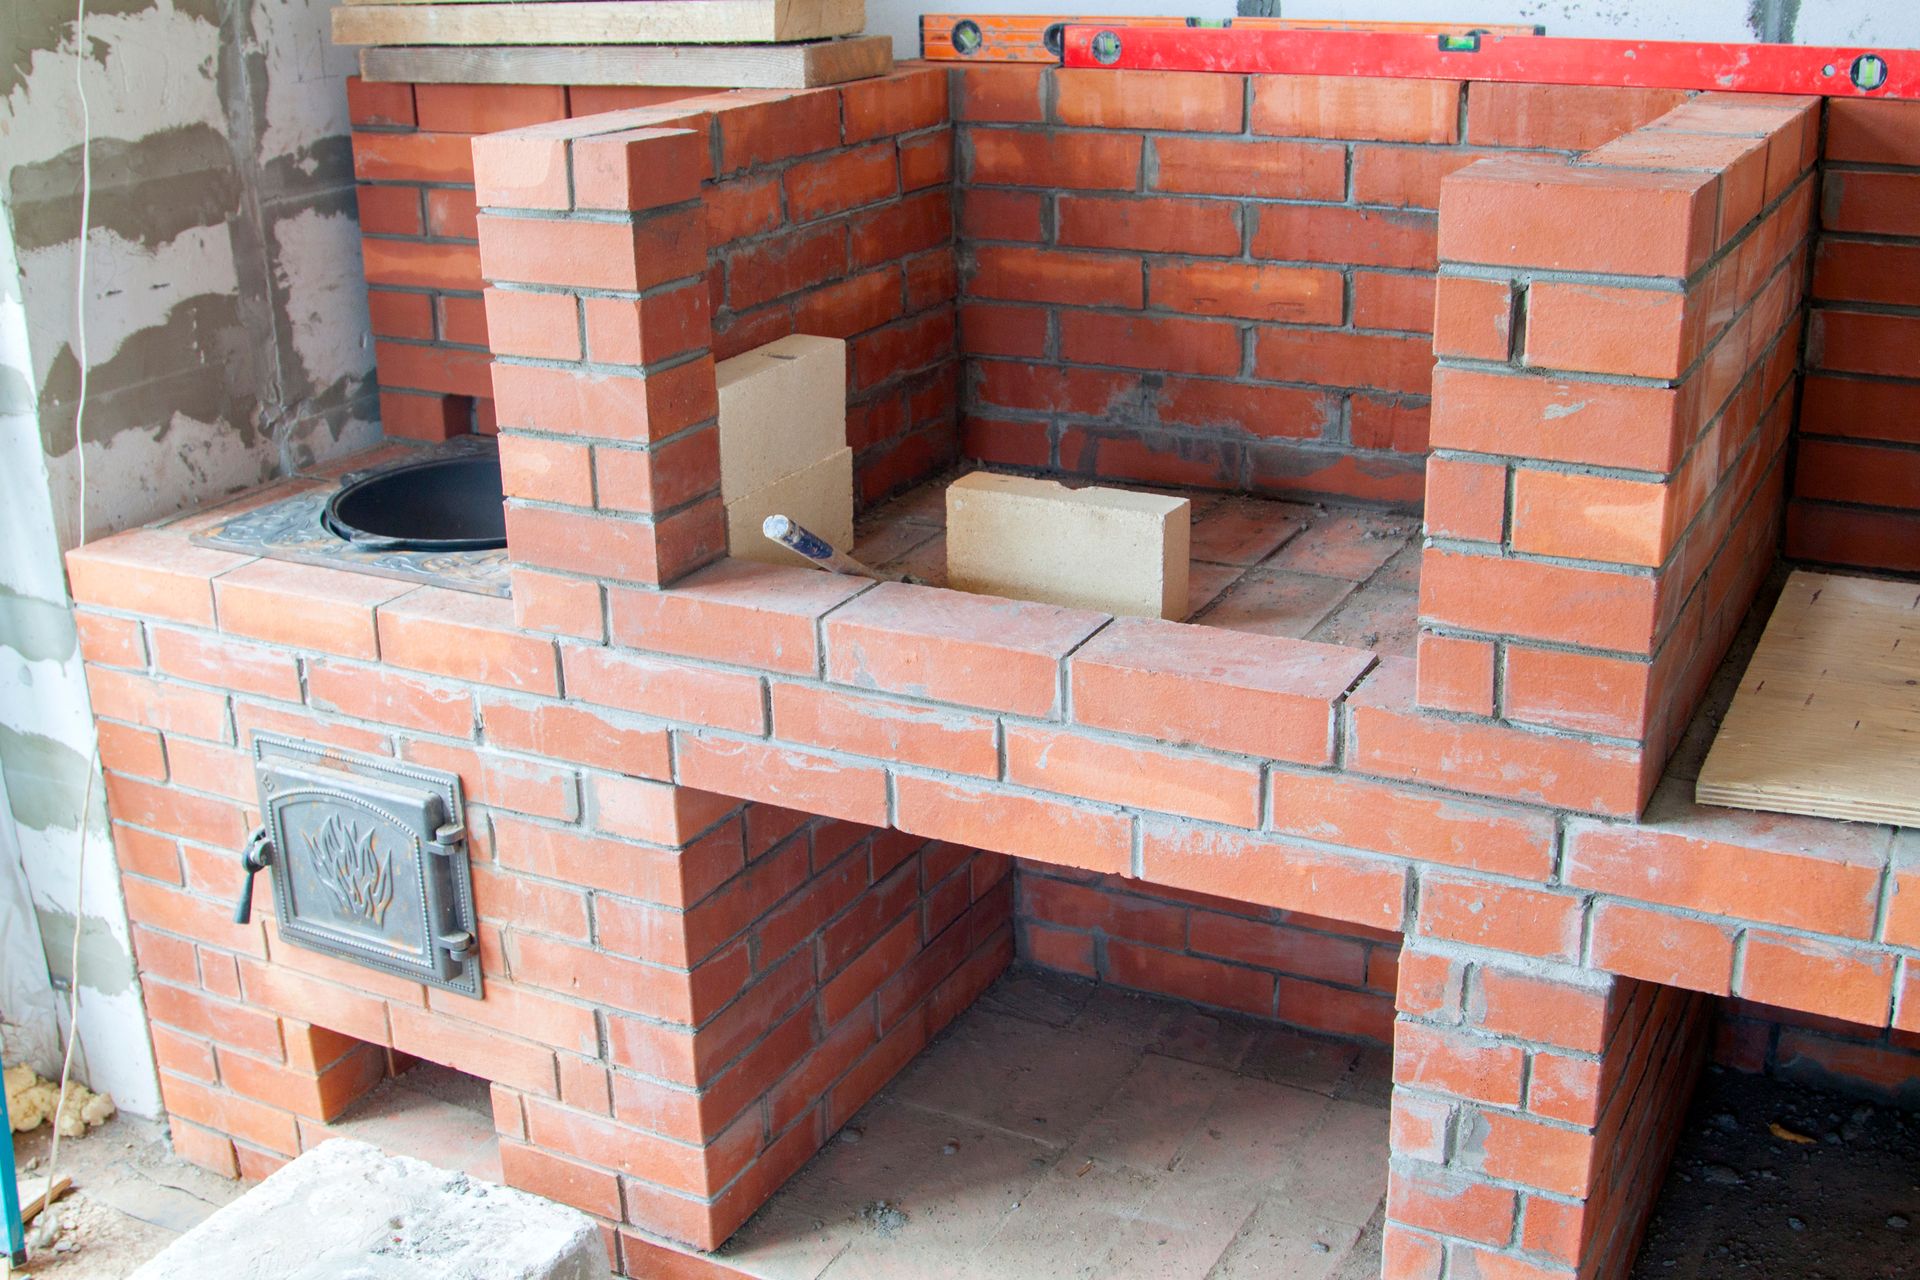
One of the most popular materials used in the construction of a garden grill are bricks. Their regular shape make bricks easier to work with than many other materials, including cutting them into smaller pieces when necessary. When choosing the right bricks, pay attention not only to their appearance, but also to their resistance to high temperatures. This is especially important around the firebox and grate. Fireclay bricks will work well in this case.
Clinker brick barbecues
Clinker bricks are another very durable building material. Clinker bricks are produced as a result of exposure to excessive heat during the firing process, sintering the surface of the brick and forming a shiny coating. This process makes them resistant not only to heat or cold, but also to water, meaning that a clinker brick barbecue will withstand even the most severe weather conditions in summer and winter. Another advantage is their attractive appearance. There are various colours available, making it possible to design a unique garden grill.
Stone barbecues
Natural stone is another very common choice of material for building a garden grill. Marble, basalt, granite, limestone, gneiss or even sandstone can be used. You will need to additionally look after sandstone, as it is not as resistant to dirt as the other types. You can also build a barbecue using field stones, which you can gather yourself, although finding enough can be rather time-consuming. The biggest advantages of a stone grill are both its durability and original design. The stones are often irregular, letting your creativity go wild when it comes to the visual design.
A barbecue with a smokehouse
When designing a barbecue, you can also include other practical elements. These are usually additional shelves for barbecue accessories or placing ready ingredients. And if you want to produce your own meats, a garden smokehouse can be another project worth looking into. You can read more about how to build a barbecue with a smokehouse later in this article.
A step-by-step guide to building a barbecue
Now that you know what options you have when it comes to the material, it’s time to get down to work. Start off by making sure you have all the necessary materials and tools. What will you need?
Necessary materials for building a barbecue
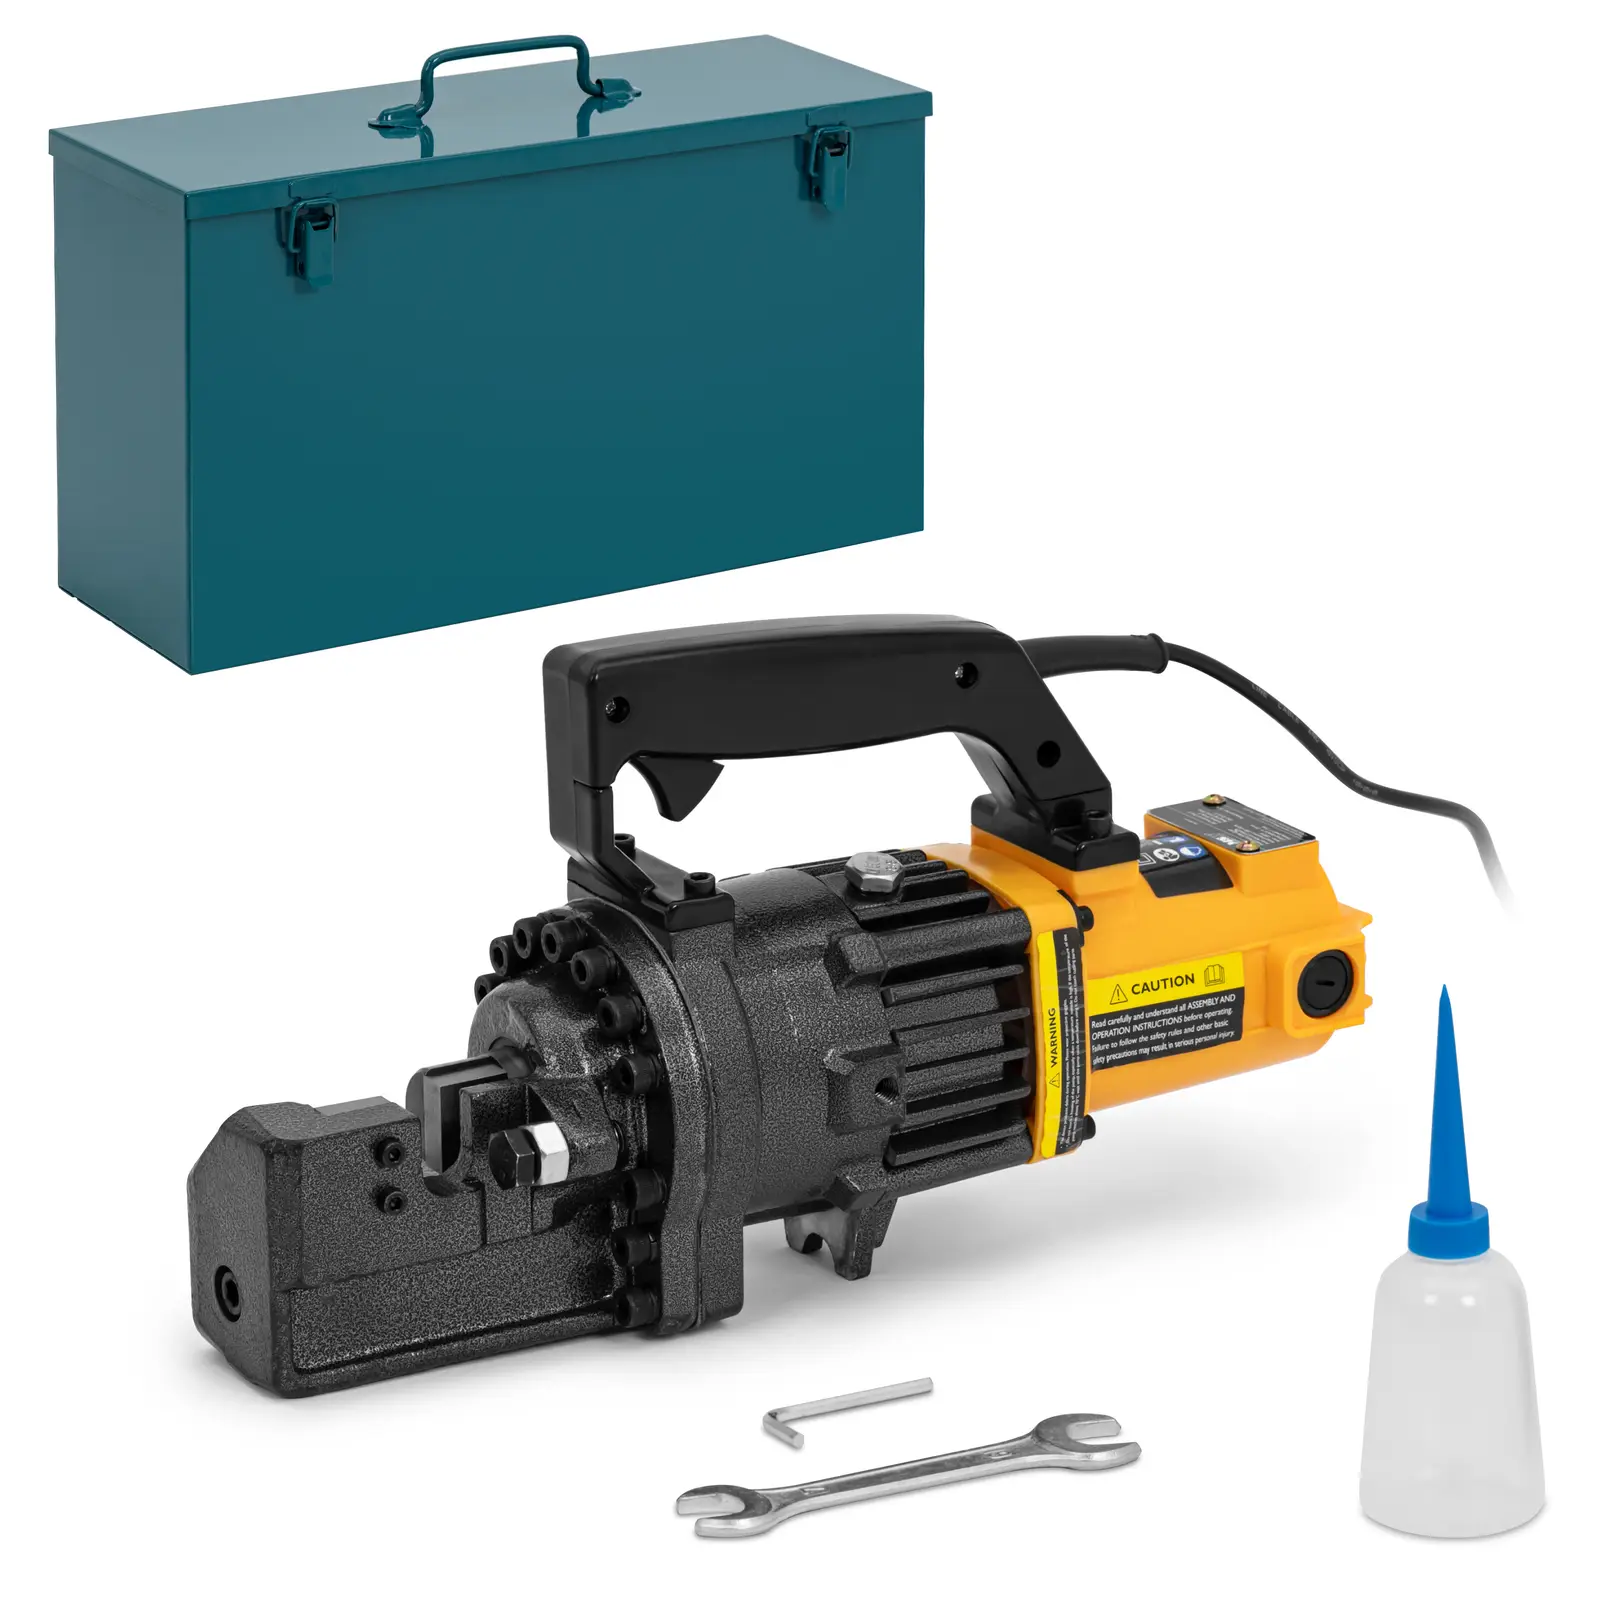
You will need a basic building material – bricks, clinker bricks or stone, as well as mortar. The best option would be a special fireproof mortar dedicated to stone and brick barbecues. You will also need flat metal bars or channels to be used as reinforcement, which will make the whole structure more durable.
If you plan to build the barbecue in your garden and not on patio, then you will to prepare sturdy foundations. The easiest solution is using gravel and concrete. We will cover this in more detail later on in the article.
Tools for building a garden grill
As you will be building a masonry structure in your garden, you will need some construction equipment. A useful list of equipment should include:
- a soil compactor for compacting the gravel used for the foundations,
- a shovel or small digger,
- a circular saw or angle grinder for cutting the bricks into smaller pieces,
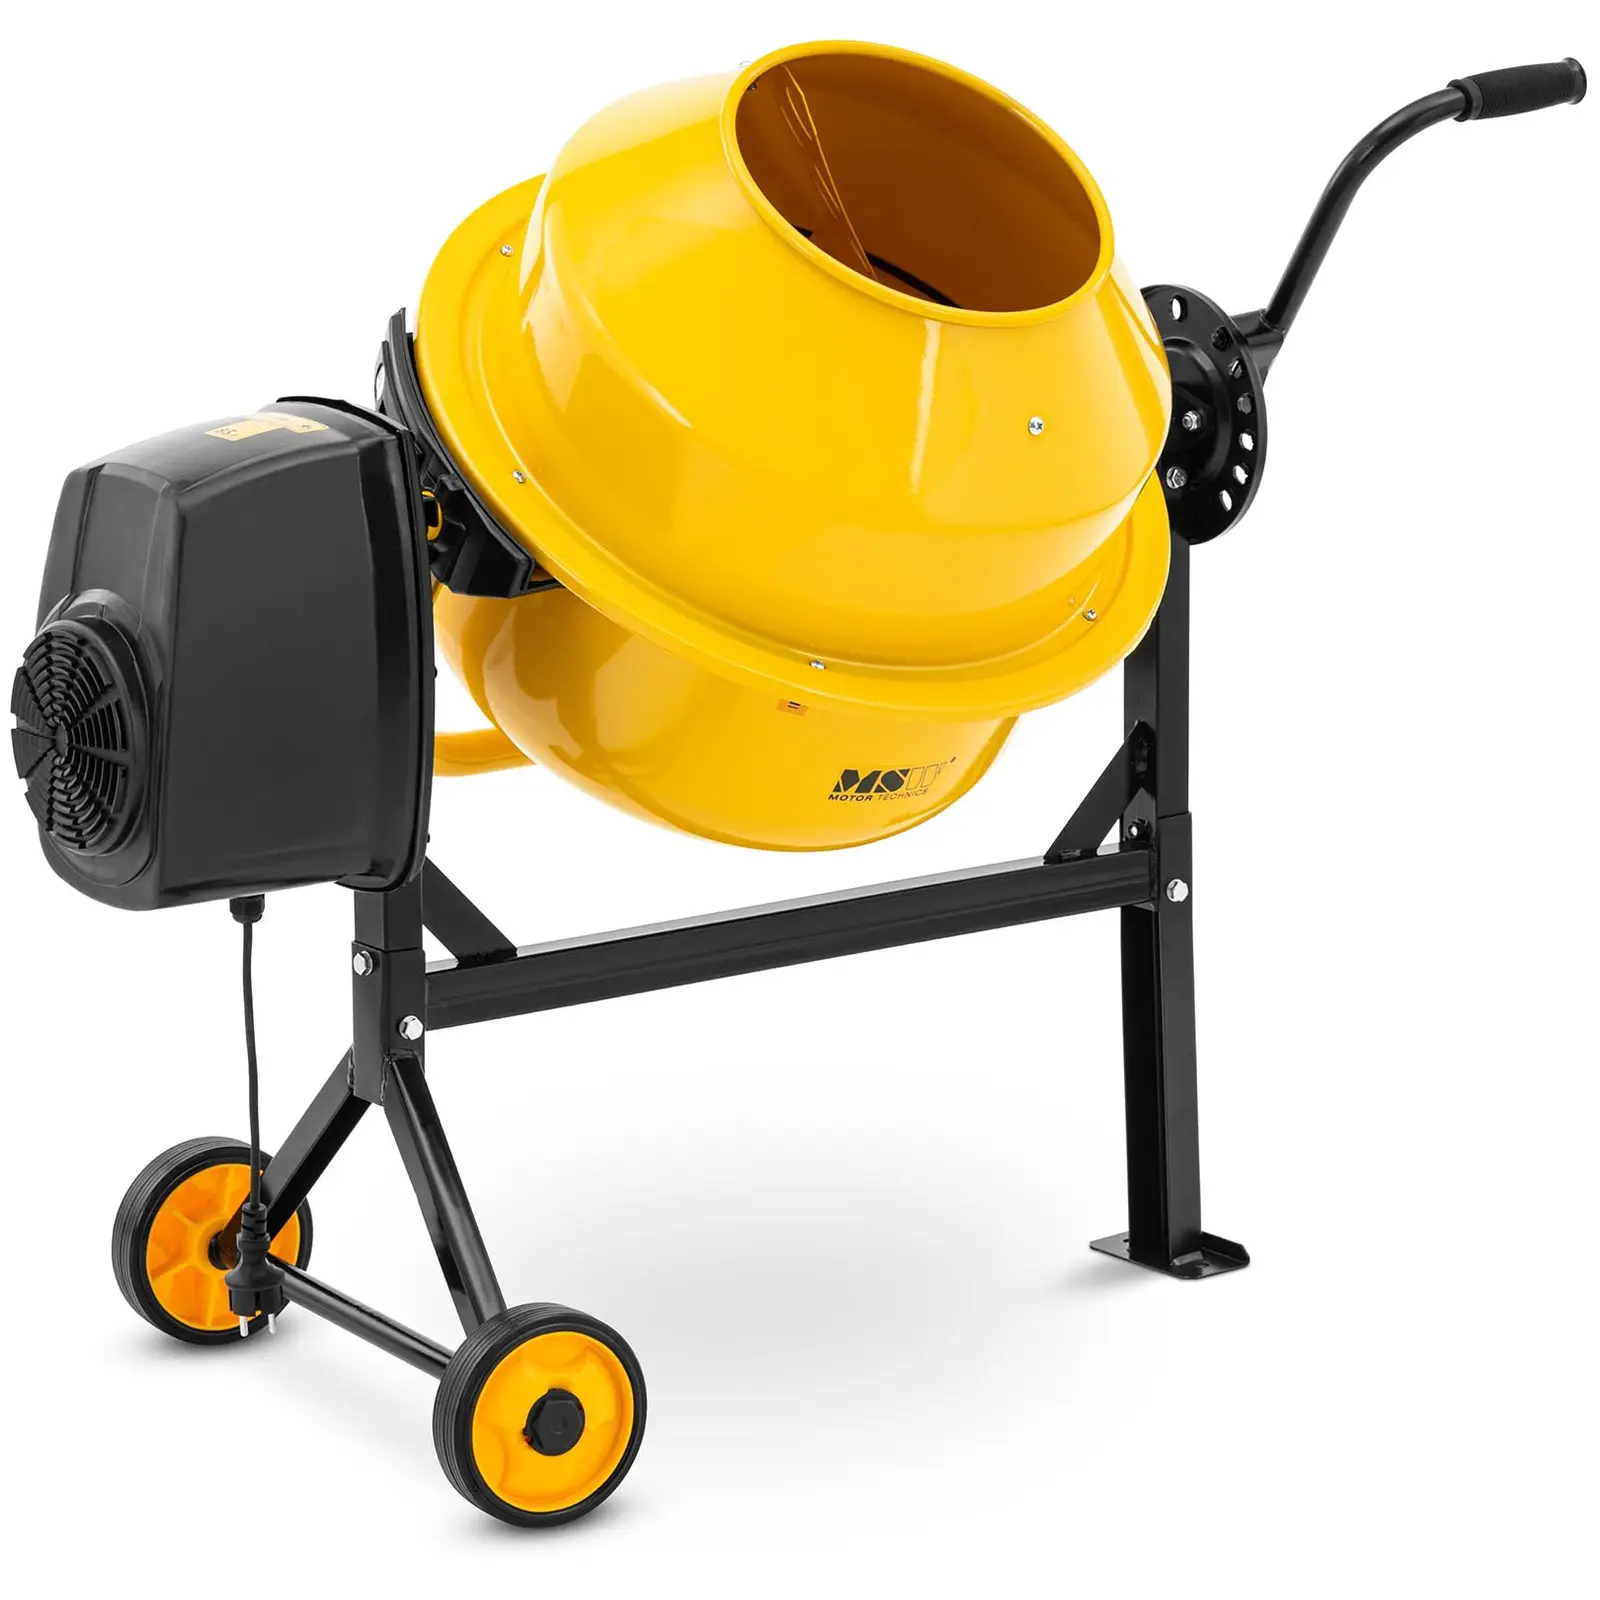
- a mortar mixer or a drill with a mixer,
- a masonry trowel for spreading the mortar,
- a masonry hammer,
- a spirit level.
Depending on your needs, the list could be a bit longer. For example, distance profiles making it easier to evenly lay the bricks and mortars, as well as strings and pegs, will also come in handy.
Building a barbecue. Step 1 – the design
First of all, you need a design project with all the most important information. Only then can you start building the barbecue. The design should include the size of the space that the whole construction will take up in the garden. And don’t forget about the location. Place it close enough to your garden gazebo or patio to avoid having to walk long distances to serve food, but far enough that smoke is not an issue. Also try to place it in a place that will not be a nuisance for your neighbours, who may not fully appreciate the smell of your barbecue. It’s better not to plan your barbecue right next to the fence to your neighbours’ garden, unless they will be regular barbecue guests .
At this stage, you should also take into account all the additional elements, such as shelves, a smokehouse or vent hood, to avoid any difficulties in this regard later on.
Building a barbecue. Step 2 – the foundations
Once you have decided where to place the barbecue, you should prepare the foundations to prevent the entire structure from settling in the ground with time. To do so, carefully measure and mark this area in the garden. Pegs and strings can be used for this. The desired depth depends on the hardness of the soil. If it is very soft, digging deeper foundation could be a good idea. Add the gravel and thoroughly compact it, making sure it is properly levelled, then pour in the concrete and even the surface with a trowel. Leave the foundations to bind for at least two weeks. In hot weather you should pour water over it from time to time, to avoid the fresh concrete from cracking. After drying and cleaning the surface, you can set the outlines of the brick or stone barbecue.
Building a barbecue. Step 3 – laying the bricks
Prepare the mortar according to the manufacturer’s instructions, using an electric stirrer to combine it thoroughly with water. Put some of the finished mass on the area prepared for the grill, and place the first layer of bricks or stones on it. If you are using distance profiles, place them between the bricks both vertically and horizontally. After placing each layer, use a spirit level to check that they are evenly lined, and don’t forget about the walls and corners. If necessary, use a masonry hammer to eliminate any small unevenness.
To make a firebox, use metal flat bars covered with anti-corrosion paint. Put the mortar and flat bars on the last layer of bricks, and then cover them with another layer of mortar. In order to keep everything properly levelled and prevent the metal from deforming, place a makeshift support under the fireplace, for example made of planks and a wooden board. The height of the fireplace depends on your preferences, but is usually about 60-70 cm above the ground. However, there is nothing to stop you from making it slightly higher or lower. You can use the main material used to build the barbecue or a sliding sheet made of acid-resistant metal. A common practice is a firebox with holes or gaps between the bricks and an ash drawer underneath it, which will make it easier to clean the grill.
You should now have a basic ready-to-use open-grill barbecue. However, if you want to go a step further you could add a roof with a vent hood, turning it into a covered barbecue grill. Why is it worth doing so? First of all, the roof protects the grill against rainfall, limiting the effect of weather conditions and letting you use it even in unfavourable weather conditions. Secondly, it will limit the spread of smoke with every gust of wind, which you guests will greatly appreciate. You can also use this to add wooden or tempered glass shelves.
Regardless of which option you choose, there are still a few steps ahead of you. One of them is filling the gaps between the bricks or stones with mortar. Once this is done, you can clean the walls, and then assemble the stainless steel grate. Finding a ready-made grill grate should not be a problem. However, you should check the available sizes before building the grill, unless you plan to buy a tailor-made grate, or make it yourself. If you are experienced with metal welding, you can use various types of welding machines for this purpose.
When everything is ready, we recommend that you do not to use the grill for at least two weeks, giving the mortar time to properly bind. Light a small fire the first time, in order to temper the whole construction.
Building a barbecue with a smokehouse
Building a barbecue with a smokehouse is not that different from building a barbecue without one. However, there are a few things you should keep in mind. First of all, you should build the smokehouse out of the same material as the grill, so as not to ruin the design of the whole construction. Garden smokehouses are usually square or rectangular, their shape resembling a large wardrobe.
An important element is the smoke channel connecting the furnace with the smoking chamber, as its length affects the effectiveness of the smoking process. A short one is better for the hot smoking, while a longer one for cold smoking. Ideally, it should be approx. 1.5 metres long. The chimney also plays an important role in removing excess smoke as well as ensuring a light draft in the smokehouse. It is worth installing a damper to regulate the amount of smoke in the chamber, and don’t forget about the possibility to hang sticks and smoking hooks inside. If you buy them before planning your smokehouse, you can adjust the dimensions of the smoking chamber to the length of the sticks.
-
Smoker Hooks 5-Piece Set – Claw Hooks 55.00 €
-
Charcoal grill – foldable – shelf – 53 x 26 cm – stainless steel / steel – Royal Catering 109.00 €
-
Charcoal grill – with 2 grates – 41 x 25 / 31 x 25 cm – stainless steel / galvanised steel – Royal Catering
-
Dutch Oven – with lid – 4 L – enamelled – Royal Catering 109.00 €
Building a barbecue doesn’t have to be difficult
Building a garden grill yourself is certainly very satisfying. The whole project can be rather time consuming, from selecting the appropriate materials and tools, through finding the right place, to building the actual construction. Despite this, a masonry barbecue is great idea for spending time outdoors in any garden.
If you have still not had enough, you can move on to another project, e.g. building a swimming pool.





Share