Bad weather, a leaky roof, broken pipes, or poor ventilation: There are many ways walls can become damp. Left unchecked, wet walls can lead to structural damage or even mould-related health problems. Read on to discover the causes of damp walls, how to prevent them, and how to best to dry them out!
Bad weather, a leaky roof, broken pipes, or poor ventilation: There are many ways walls can become damp. Left unchecked, wet walls can lead to structural damage or even mould-related health problems. Read on to discover the causes of damp walls, how to prevent them, and how to best to dry them out!
How can I tell if my walls are damp?
Excess moisture in your home can reveal itself in several ways. The most noticeable is often a musty smell. You might also see spots or a white, “fluffy” coating of crystallized salts on the surface of damp walls. Plaster may bubble, and paint can start to peel. Water rising from the ground tends to cause warped floors and brown stains on the base of the walls.
To effectively deal with damp walls, start by identifying the cause. Only when the source of the moisture is found and resolved will drying the walls be a lasting solution. In the sections below, you’ll learn more about the potential causes and how to dry the walls properly.

Drying walls after a burst pipe or flood
Burst pipes and floods are a fact of life. Luckily, there are several ways to restore a building to its original condition after drying the walls. The success of these methods depends on the extent of the damage and how long the walls were exposed to water. Here are the main techniques:
- Natural drying: For minor water damage in spring, natural drying is often the cheapest option. However, this requires consistently warm temperatures and low humidity in summer. Autumn and winter are too wet and cold for natural drying. Even in summer, it can take about four weeks to dry external walls under favourable conditions. Brick walls may need around six months, and cinder blocks can take up to three years. To speed up the process, remove plaster and flooring in heavily flooded buildings and keep the rooms well ventilated.
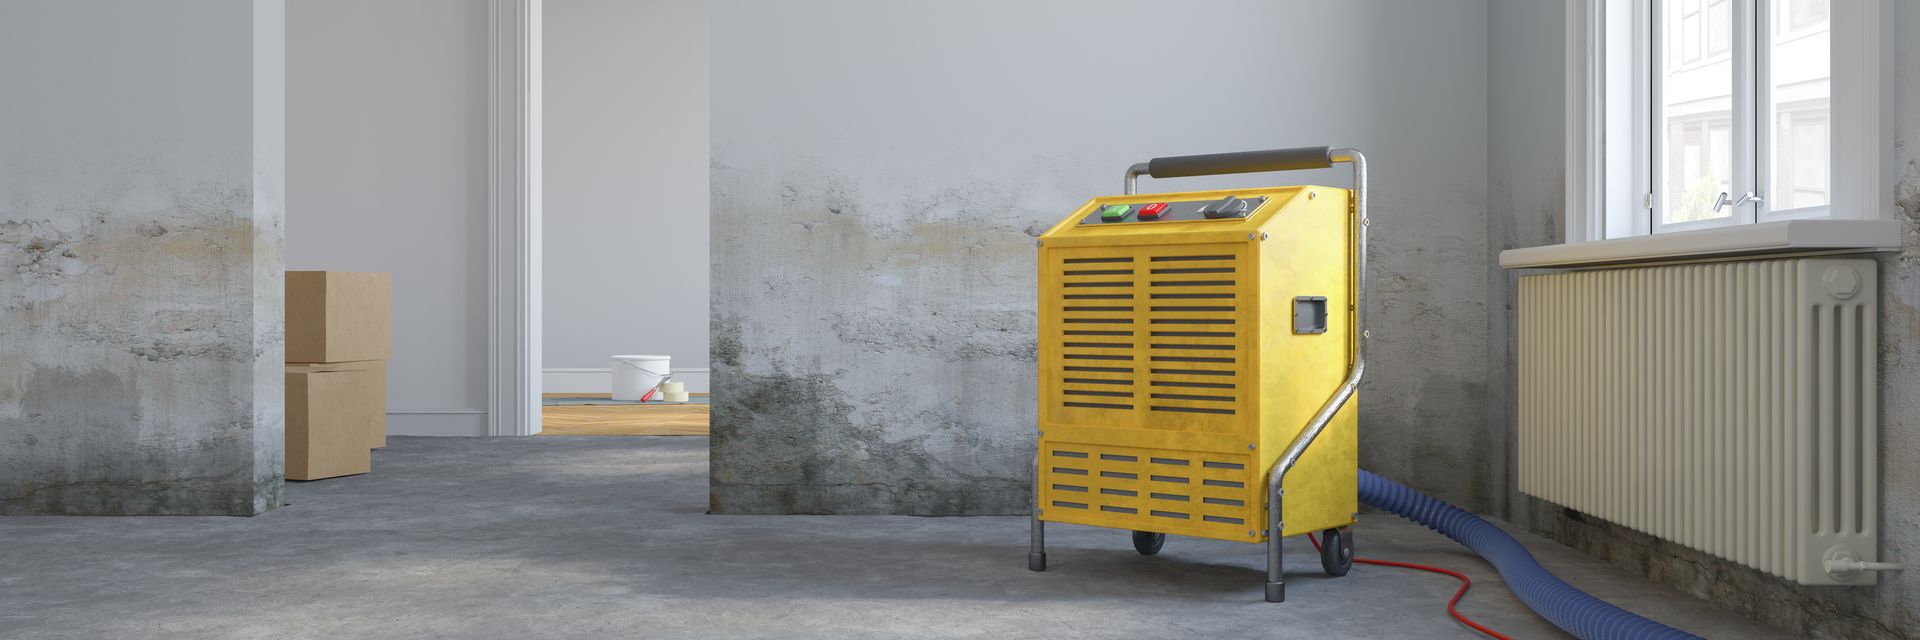
- Thermal and mechanical drying: These techniques dry the walls by applying heat or reducing humidity to accelerate water evaporation. Due to their ease of use and high effectiveness over a short period, these methods are commonly used for most water damage situations. Various heating devices, such as specialised building dryers, infrared heaters, or even microwave drying units, can be employed. The next section provides more details on the available options.
One very efficient and quick method to remove moisture from walls is the use of microwave dryers. They cause water molecules to move and heat up to around 70°C. The frictional heat generated in this way effectively dries the walls from the inside out. The drying process takes about two weeks, with an average moisture loss of 6% per day.
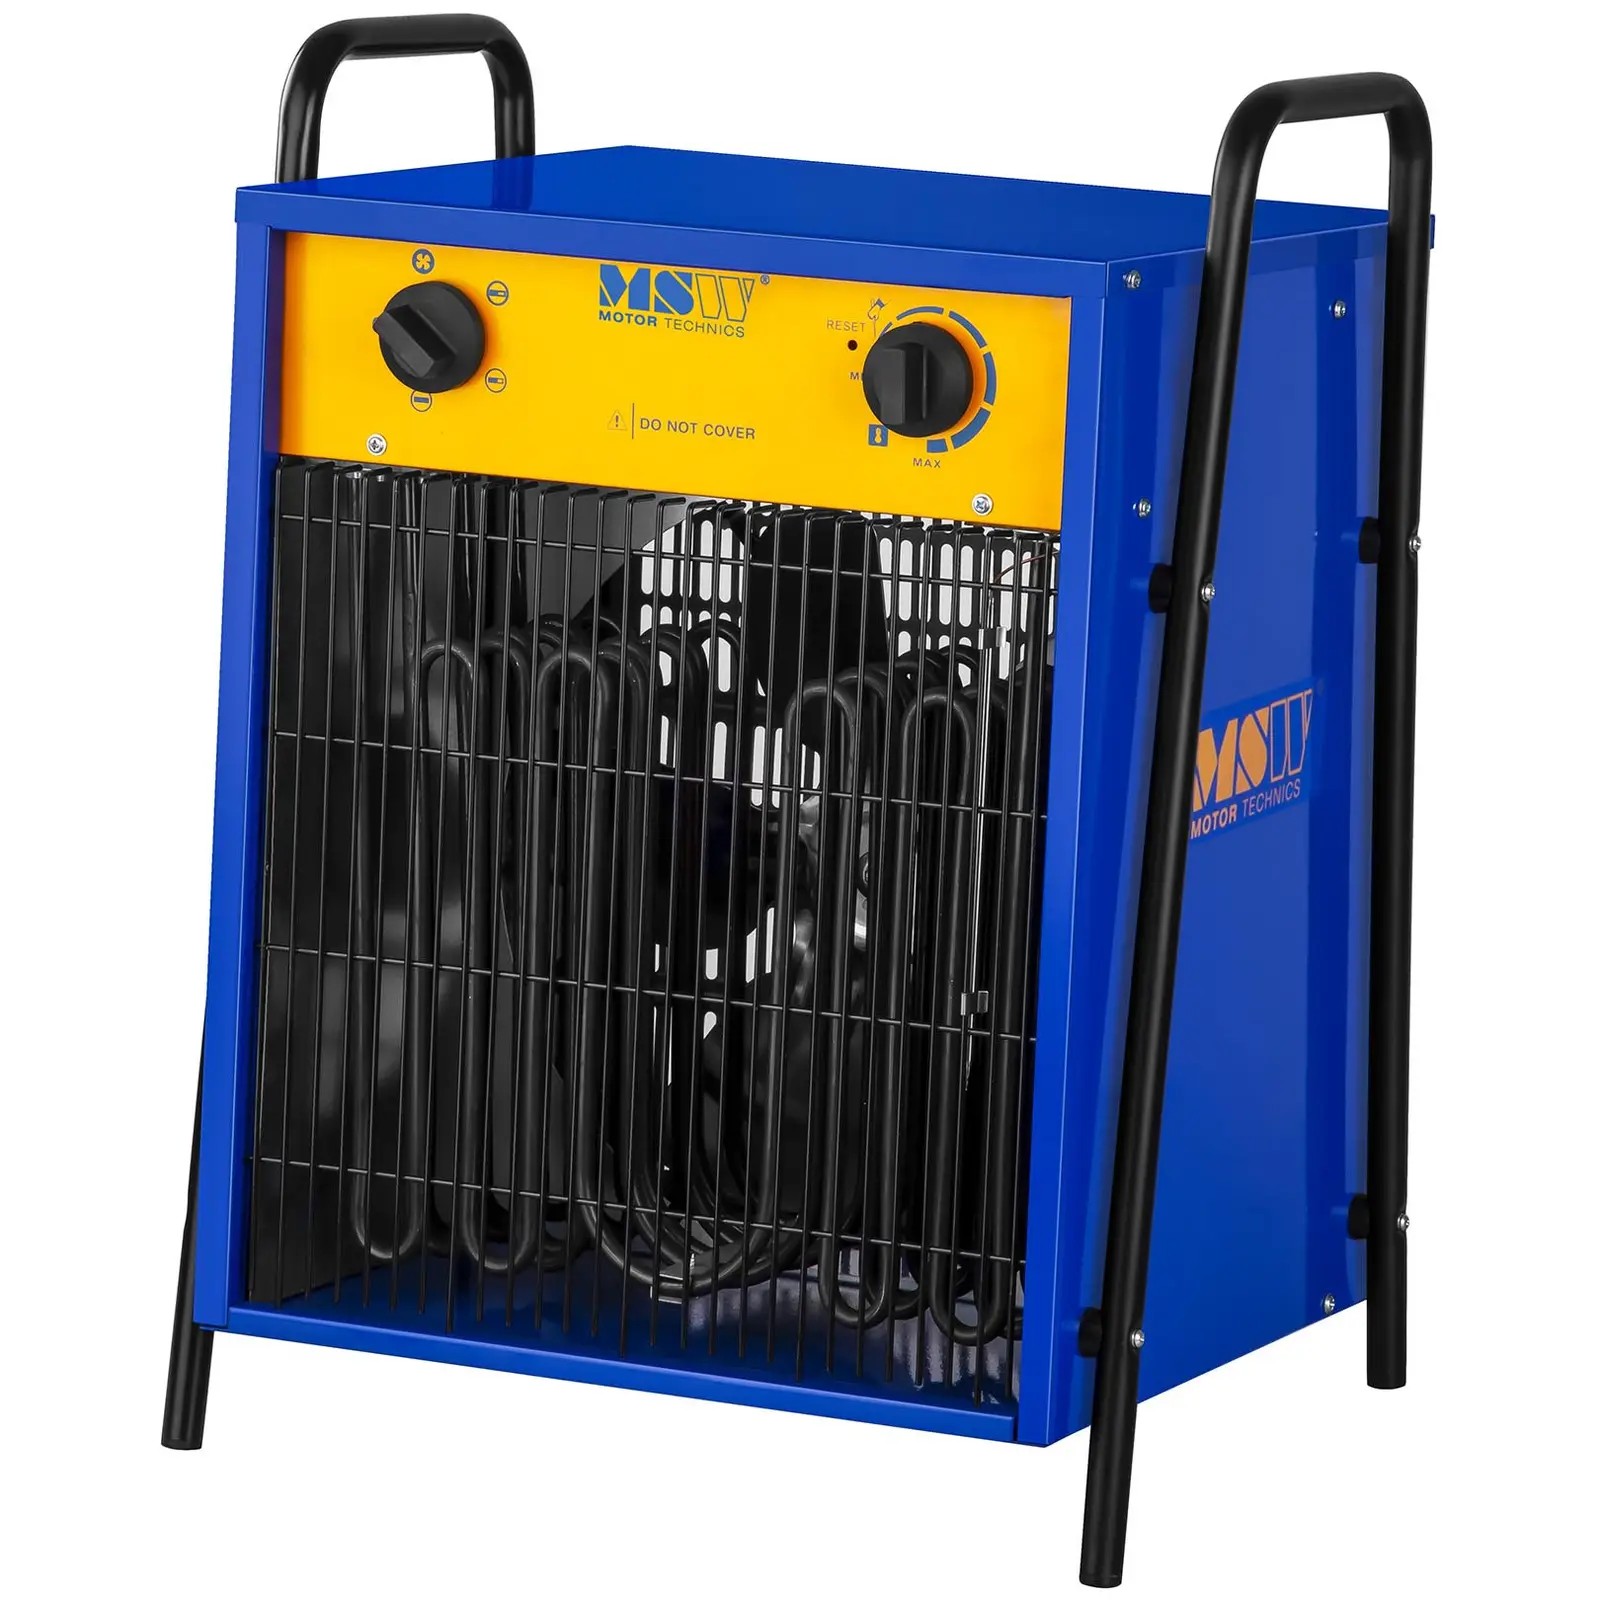
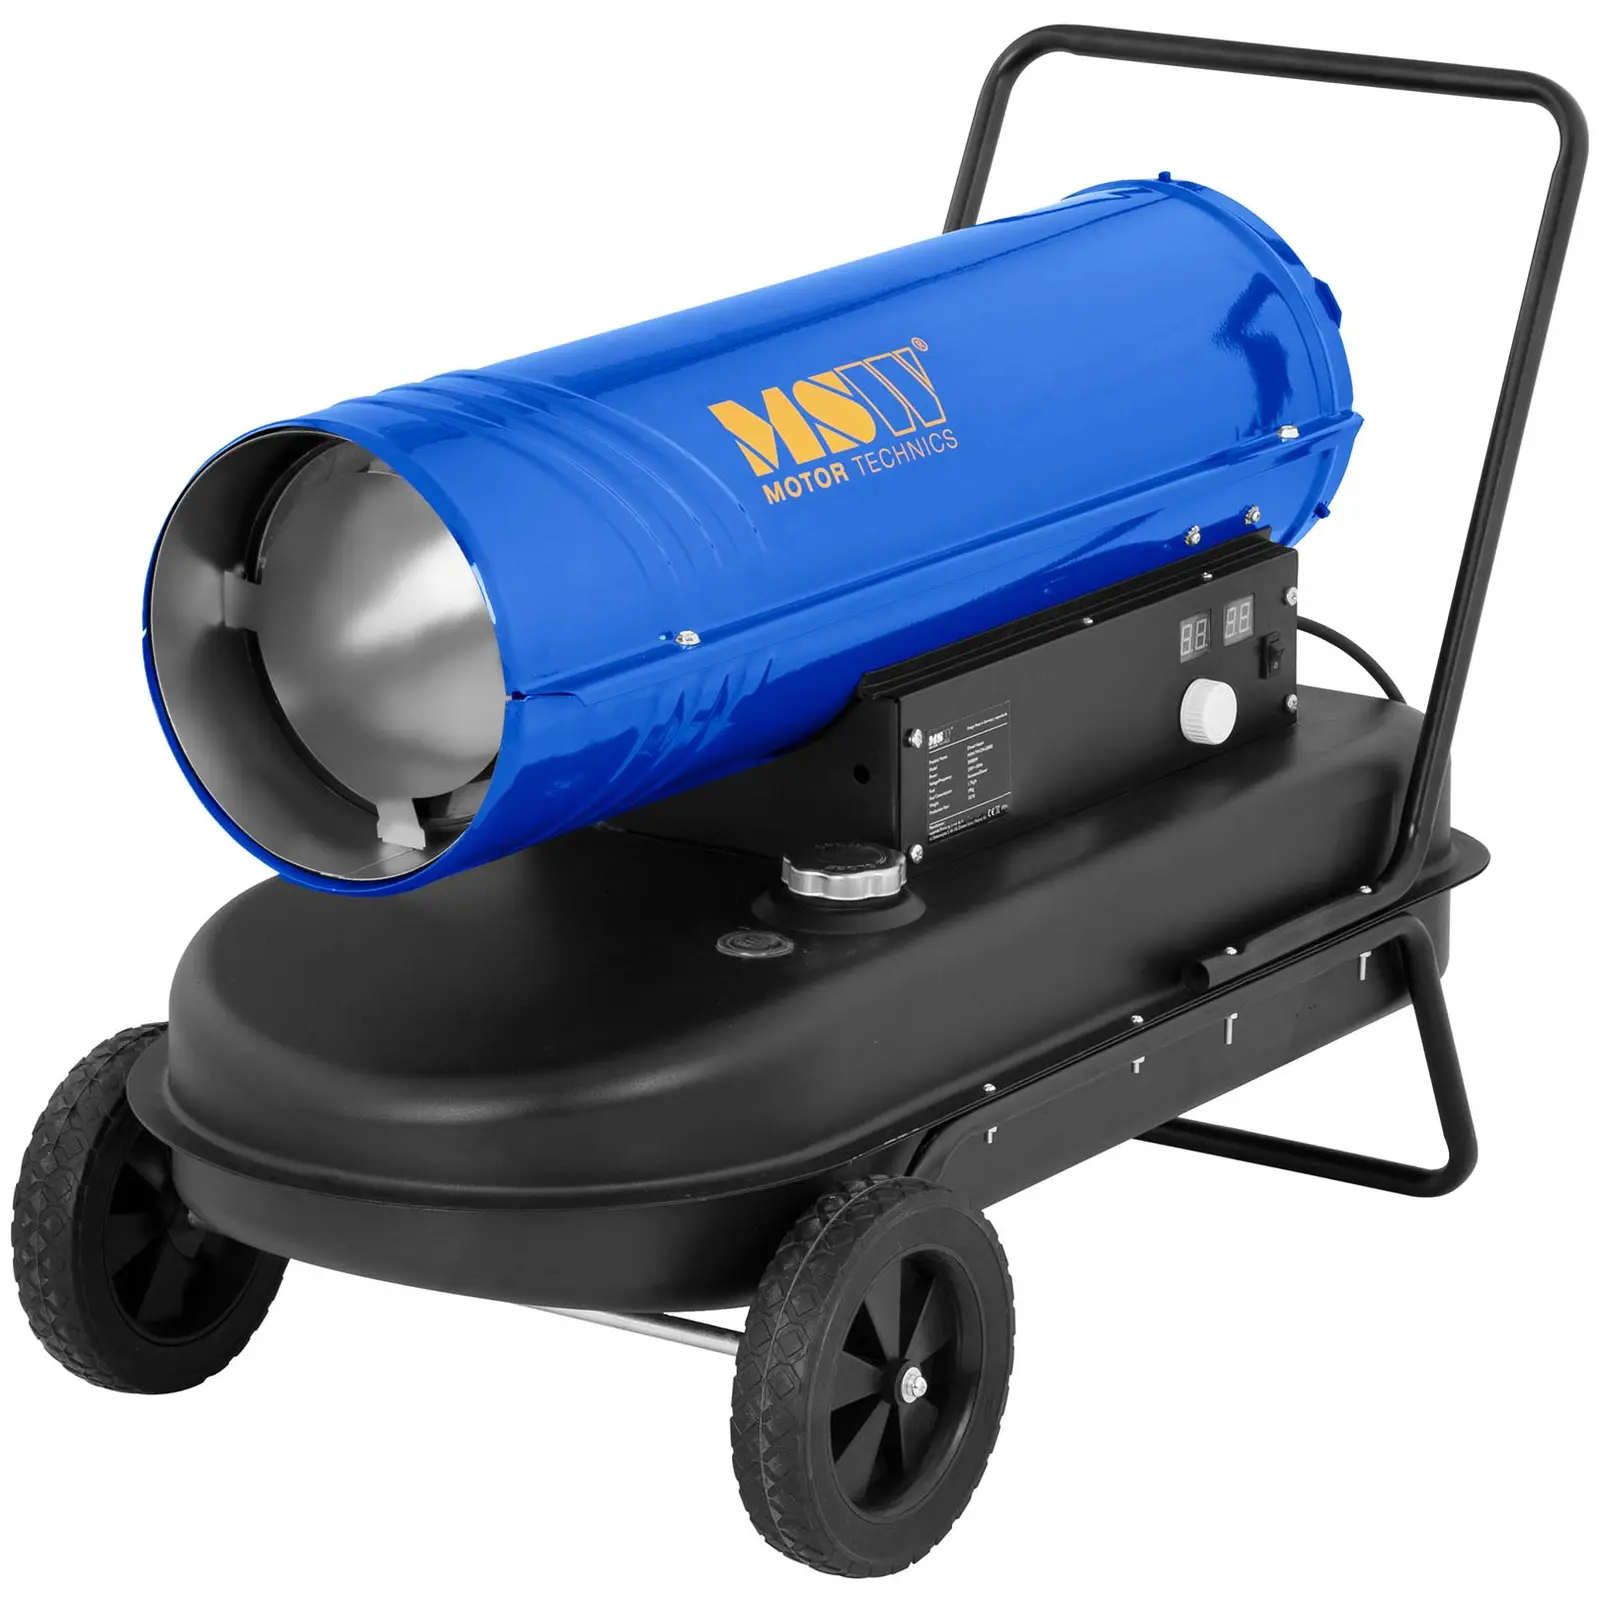
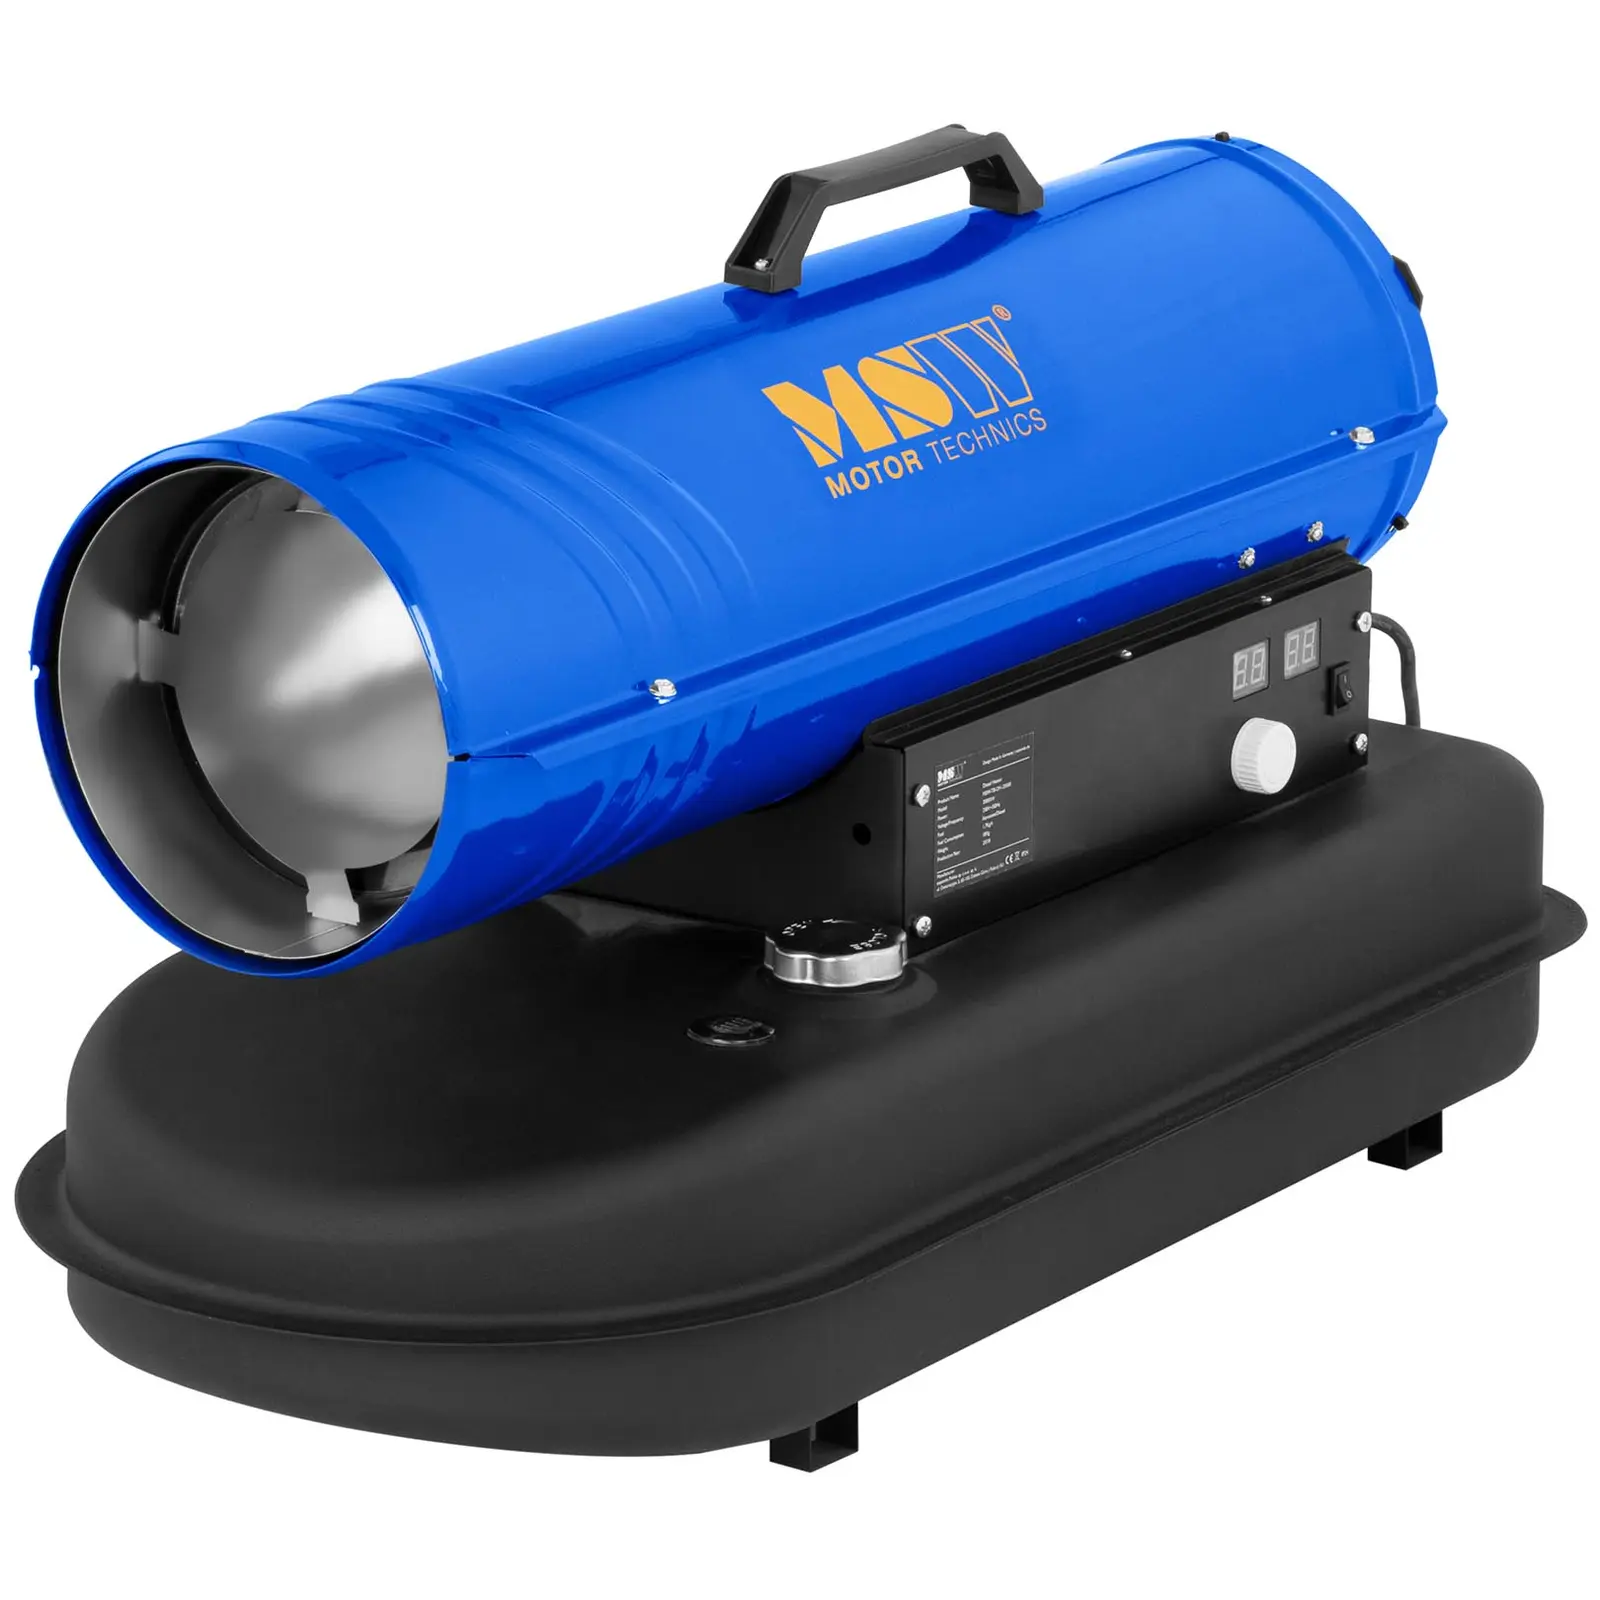
Another commonly used method is drying walls with heat. This involves using electric, oil, or gas heaters that blow heated air between 50°C and 250°C directly onto the damp wall. With this method, ensure that the room temperature stays below 35°C. Higher temperatures can cause high vapour pressure, which may damage the walls. Also, make sure the rooms are well ventilated when using hot air to dry walls.
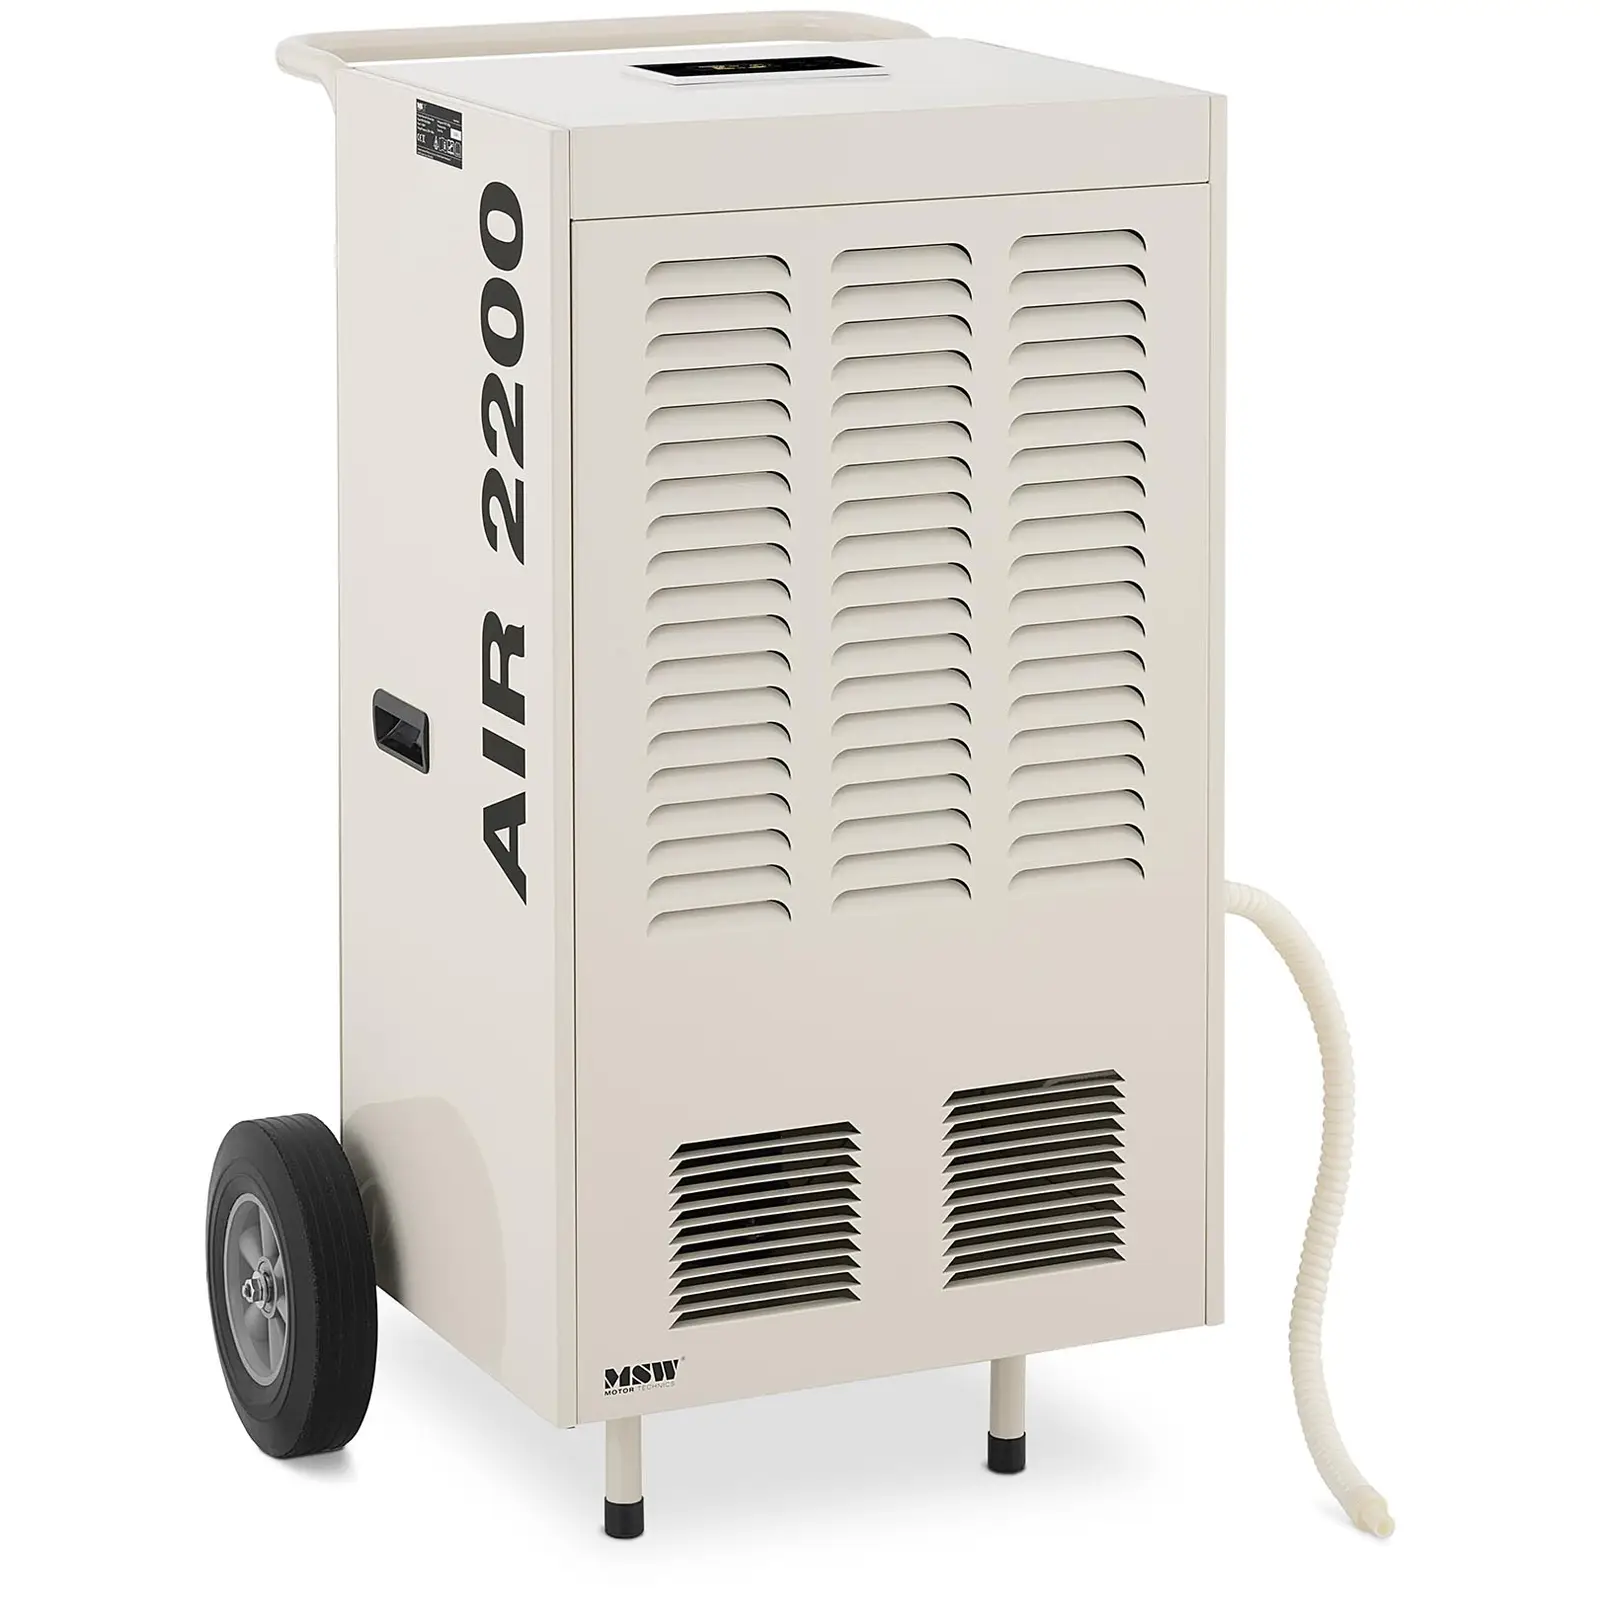
Adsorption drying involves reducing humidity in the entire room. Dehumidifiers draw in air and remove moisture using substances like lithium chloride, silica, or kieselguhr. Condensers work on a similar principle: they also draw in air, but condense the moisture over a special evaporator. The collected water is then stored in a tank or directly discharged into the sewage system. In both cases, it is crucial to seal the room as much as possible.
The cost of each drying method for damp walls can vary significantly. The expense depends on the level of moisture, the thickness of the walls, and the room size. You can rent the necessary equipment from DIY stores or purchase it directly. A high-efficiency fan heater capable of drying up to 600 m³/h can be bought for around £300, while a professional adsorption dehumidifier costs around £2,000. The most expensive option is a microwave generator, with prices starting at about £3,500.
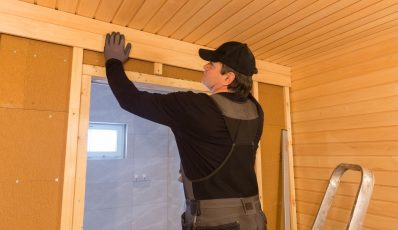
Damp walls in new builds
In newly built homes, moisture is a common occurrence. It can appear on walls, ceilings, and even on screed. The key rule here is to ventilate all affected rooms thoroughly. However, never move in before the walls are properly dried. The addition of furniture or even heating can slow down the elimination of residual moisture. The result can be peeling paint, bubbling plaster, and mould growth. That’s why it’s best to wait before moving in. The moisture in a new house usually dissipates within six months. And with mechanical or thermal drying techniques, you can reduce this time to about two weeks.
How to deal with rising damp
The methods discussed above are excellent for drying walls after flooding or a pipe burst. However, when moisture rises from the ground due to capillary action, it’s a different story. In such cases, invasive drying methods are remarkably effective. Unlike the techniques discussed thus far, these methods don’t just remove moisture from the walls; they also prevent water from entering the masonry in the first place by acting like a moisture barrier for the wall.
- Crystalline injection: This technology creates an insulating layer by injecting water-insoluble minerals with a crystalline structure (usually silicates) into the pores and capillaries of the walls. After about a month, everything hardens completely, providing protection against moisture for around ten years. This method costs about £35/m² for a 40 cm thick wall.
- Thermal injection: With this approach, boreholes are drilled into the walls and heated air injected inside. The resulting hydrophobic blocks are filled with a methyl silicone resin solution. This method is more expensive than crystalline injection, costing around £200/m² for a 40 cm thick wall. However, it only takes about seven days to dry, and the protection lasts up to 20 years.
What helps against mould at home?
Moisture in the home can lead to dangerous mould. If you discover mould in your home, act immediately and remove it thoroughly (e.g., with a brush). Next, treat the affected areas with a fungicide. If that doesn’t work, remove the plaster and use stronger measures like specialised anti-fungal pastes. Then, after a few days, re-plaster the dried wall.
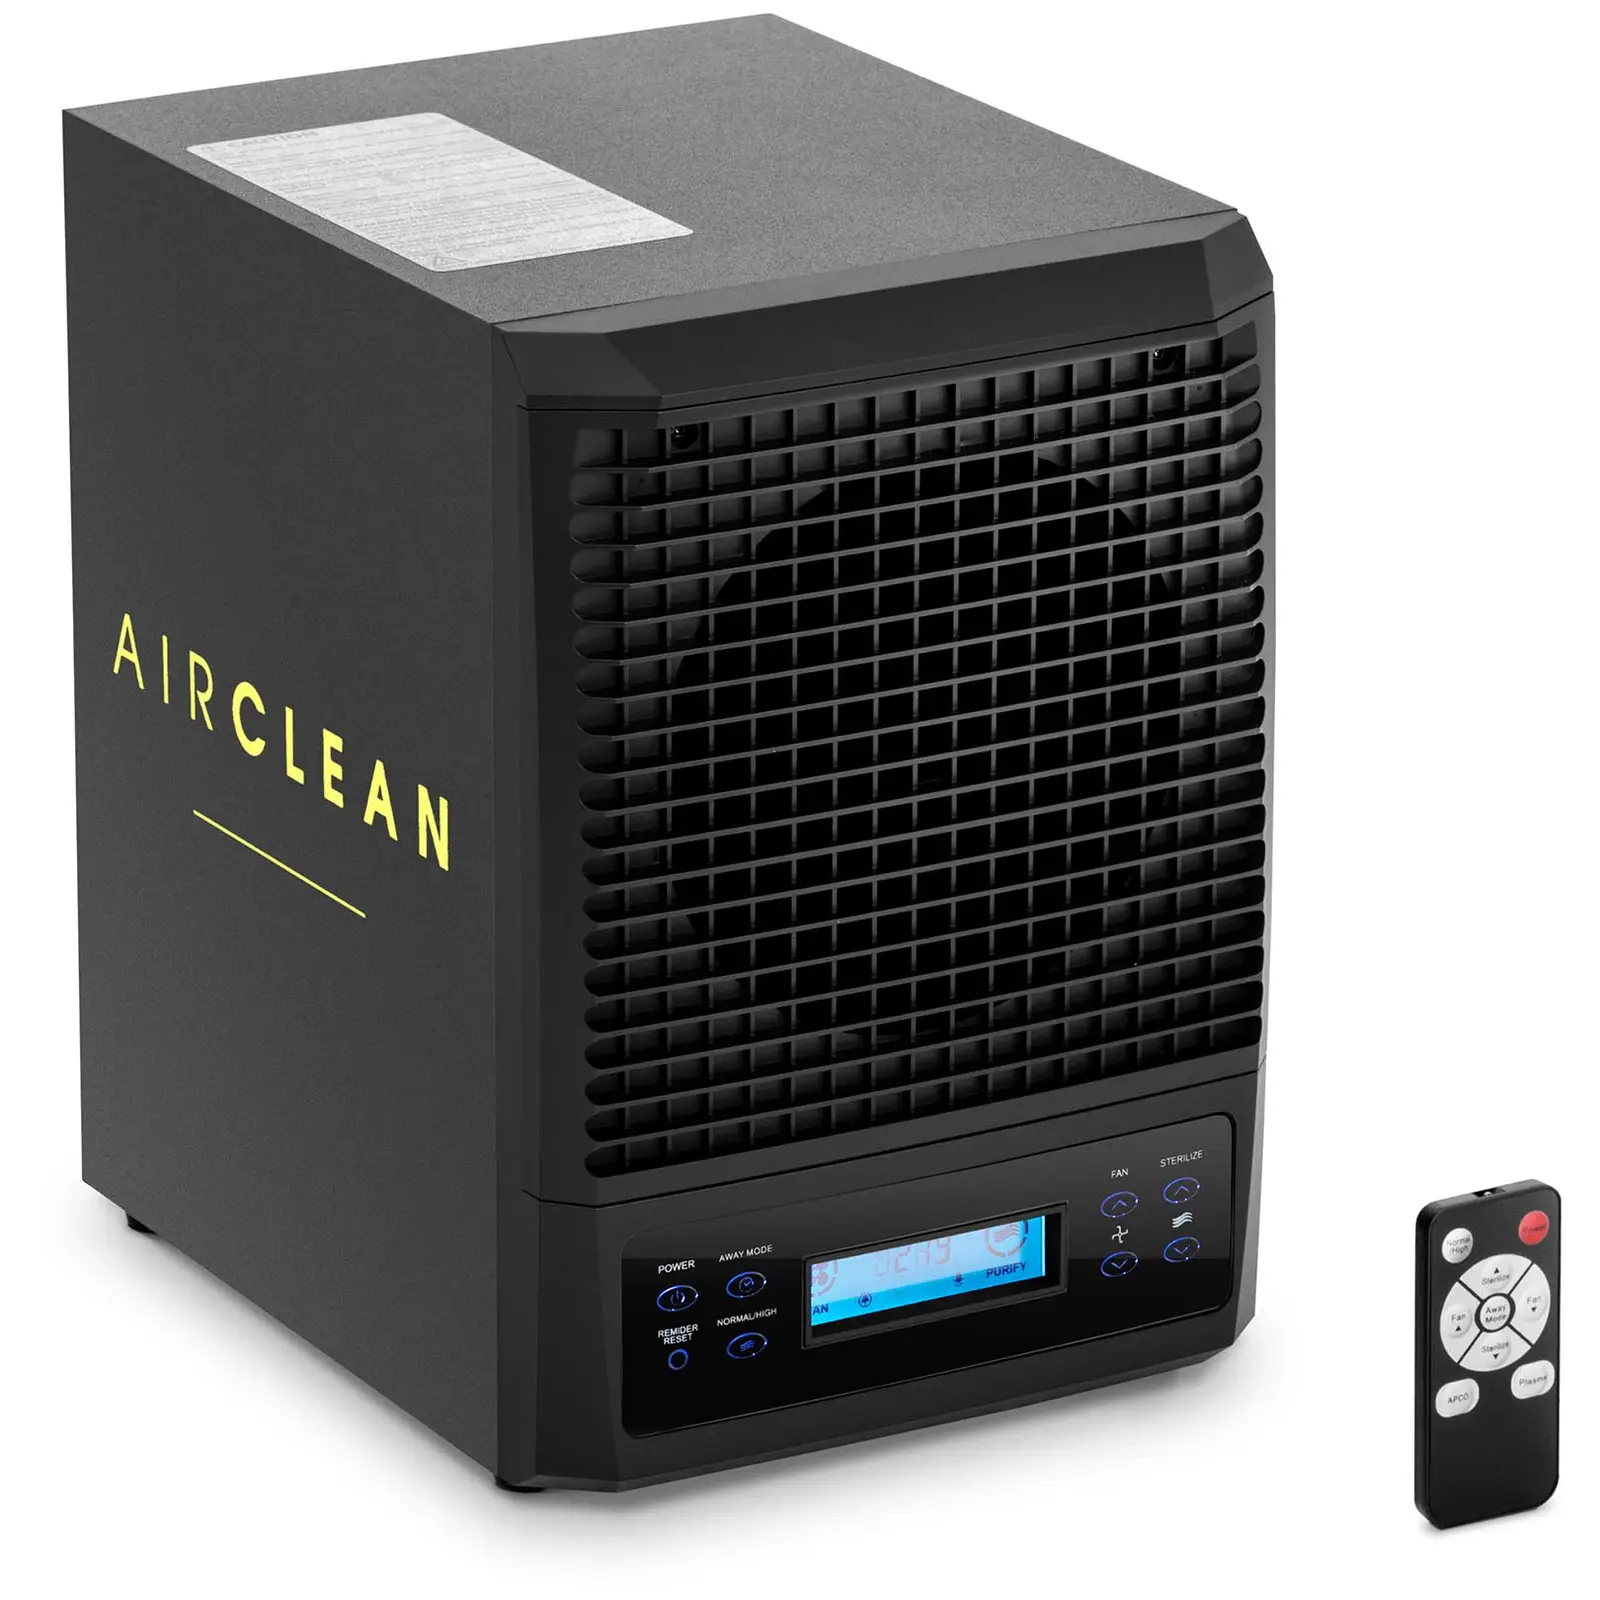
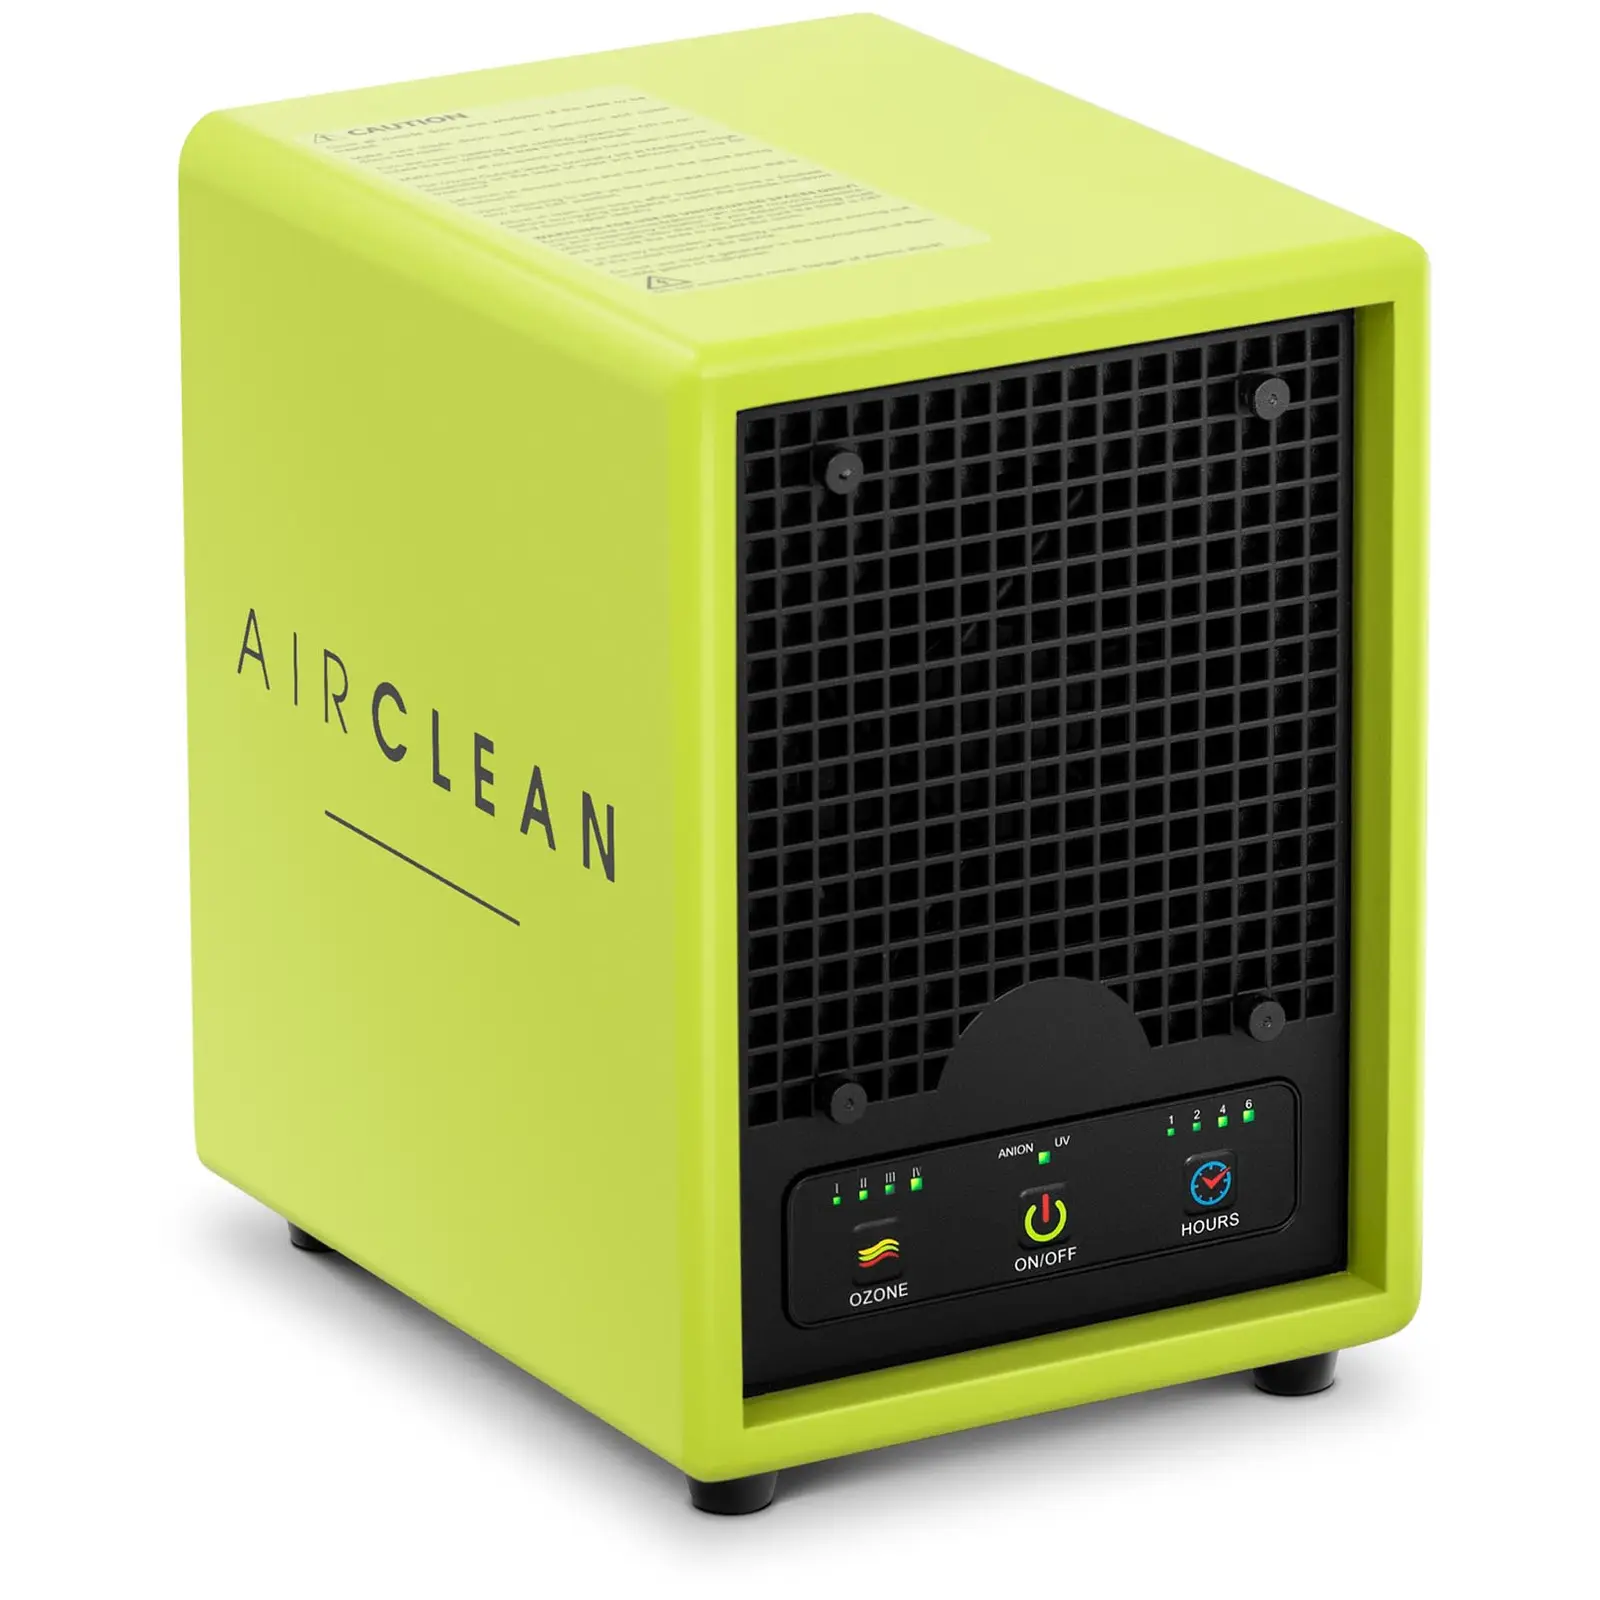
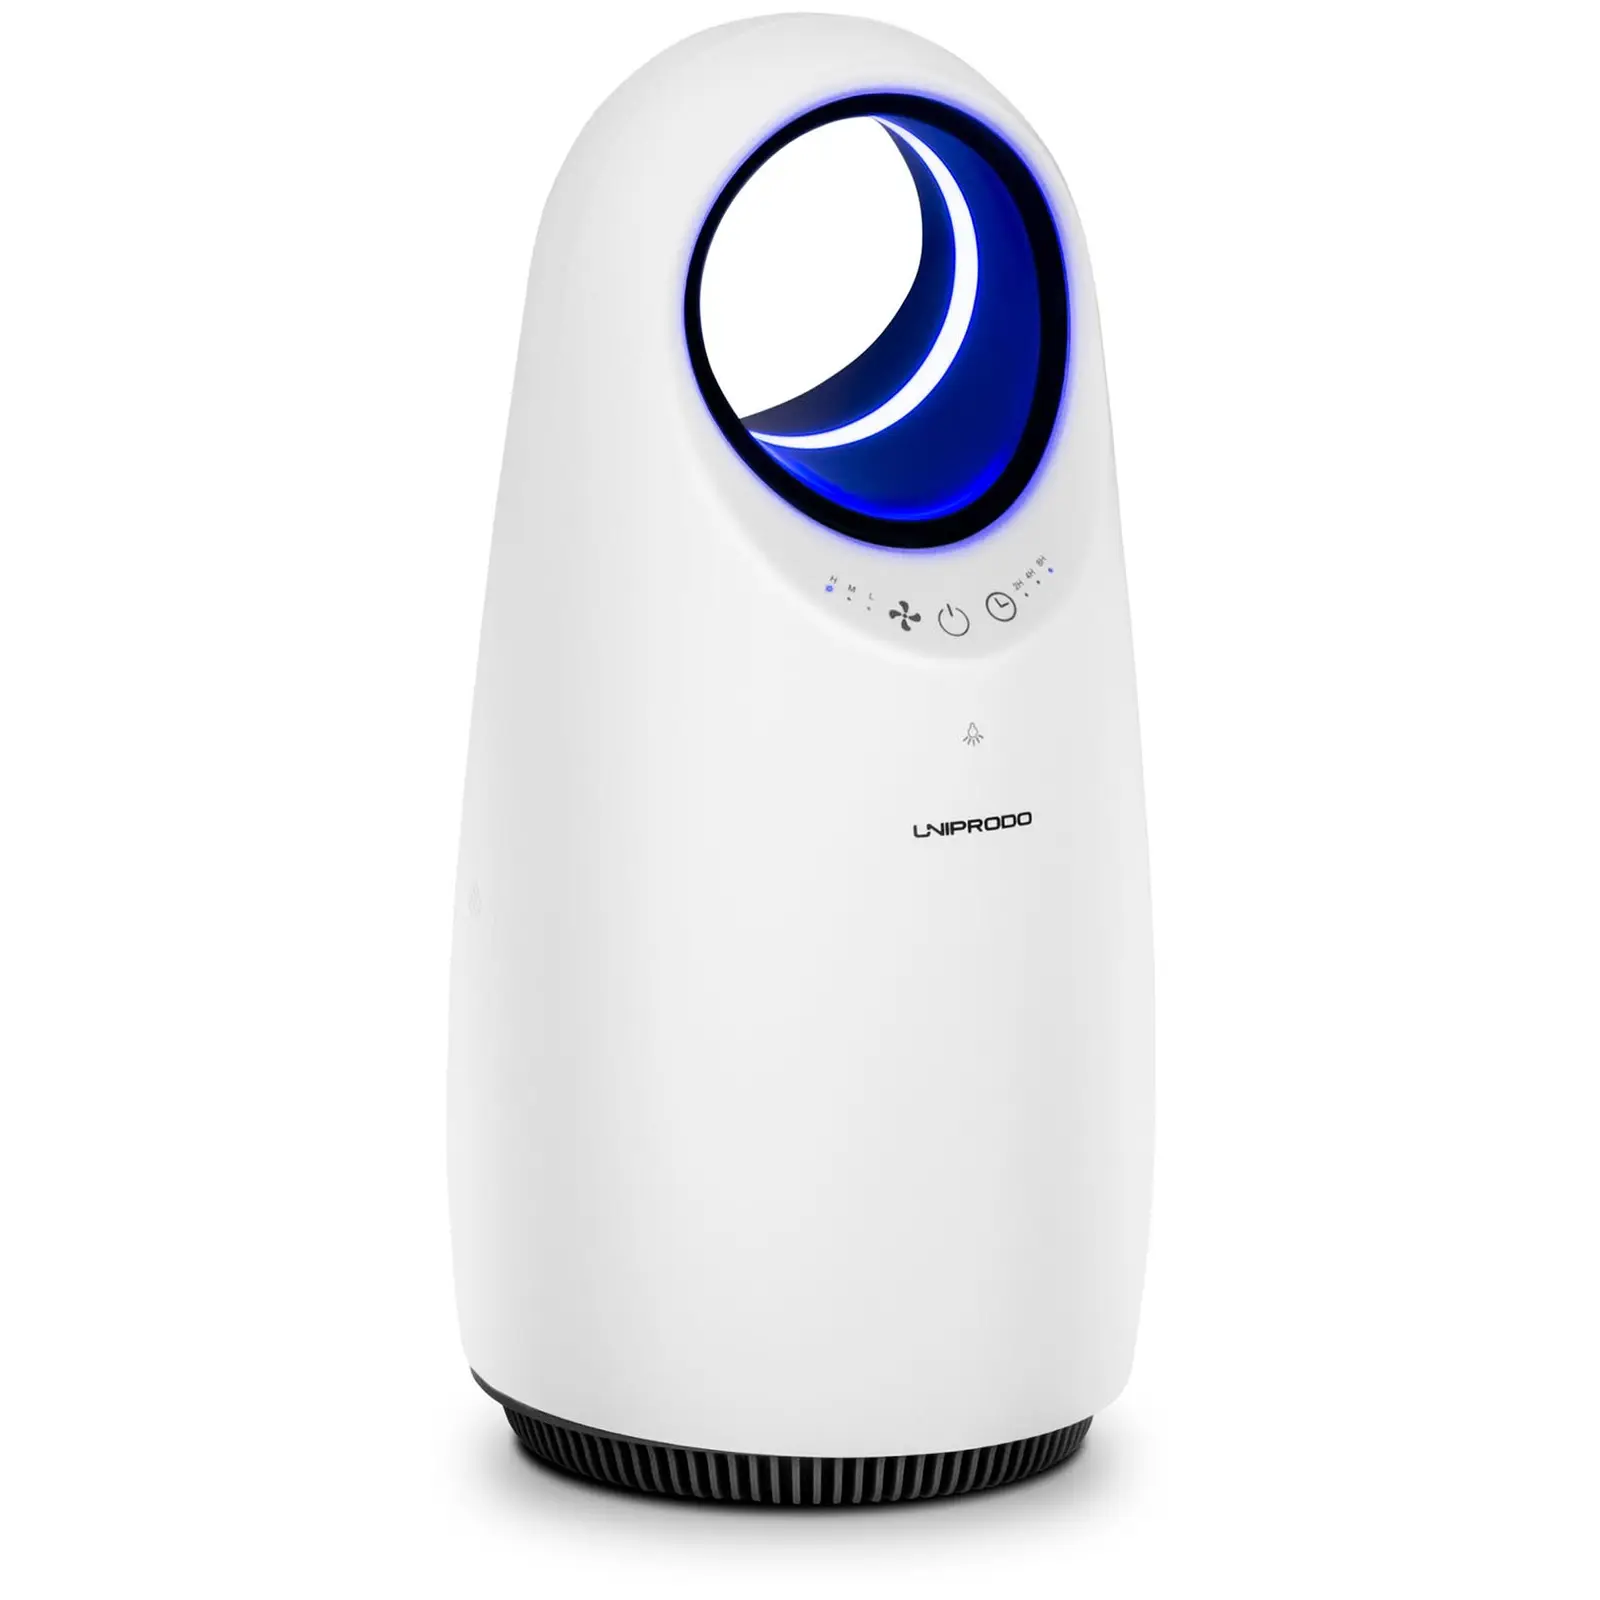
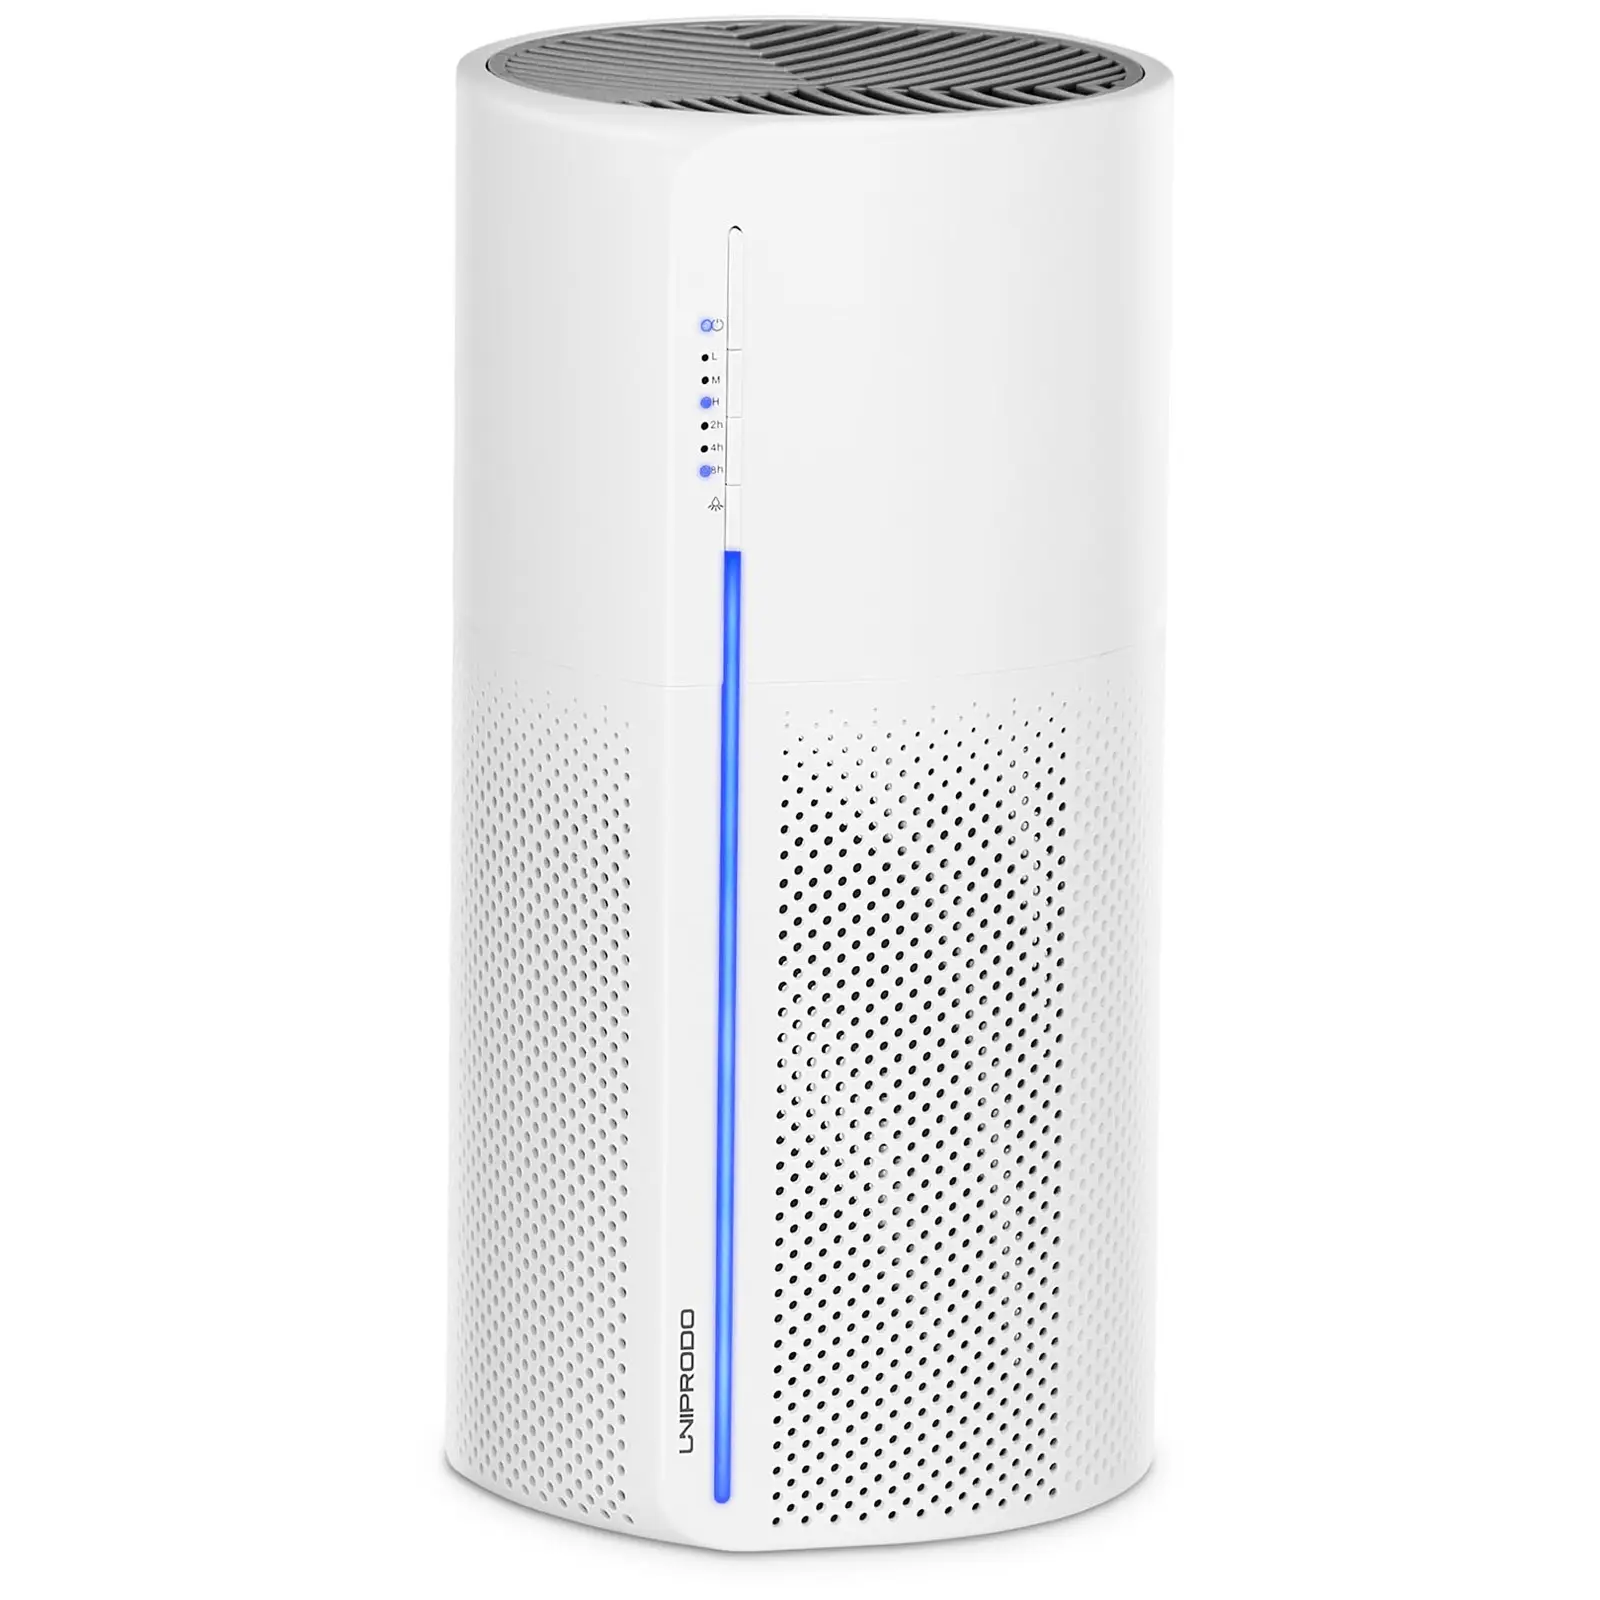
Remember to ventilate properly in the future to prevent mould from returning. Rooms on middle floors or with thick walls especially need regular fresh air. Overly cold temperatures in winter can also lead to increased humidity. Water condenses most often in the coldest areas with minimal airflow. This is why mould frequently appears behind large wardrobes, in room corners, or near ceilings. Always maintain a gap of about 10 cm between the wall and furniture. Keep the temperature between 20°C and 22°C. The ideal humidity level is between 40% and 60%. Air purifiers can help maintain this level, with good quality models ranging from £25 to £90.
Home remedies for damp walls
Besides proper ventilation and maintaining appropriate temperatures in your home, there are a few simple tricks to combat moisture. Fill small containers with moisture-absorbing materials like salt or chalk. Certain plants, such as ferns, resurrection plants, ivy, or spider plants, also actively reduce humidity.
Conclusion: Act fast against damp and mould!
Tackling damp walls and mould is vital for preserving your building’s structure and safeguarding occupants’ health. Mould doesn’t just harm the structure; it can trigger serious health issues, including allergies and respiratory problems. That’s why swift, effective wall drying is crucial. Whether you opt for traditional methods like dehumidifiers and heaters or modern techniques like microwave drying, the choice depends on your specific situation and local conditions. Regular checks, good ventilation, and proper sealing are key preventive measures to stop moisture and mould in their tracks. By taking proactive steps and using the right drying methods, you can protect your home from the damaging effects of moisture and mould, ensuring a healthy living environment.


Share